In this lesson, we will look at Laravel and Filament installation. You can skip this lesson if you already know how to install Laravel and Filament.
The simplest way to install Laravel is to follow the official documentation. We will use the Laravel installer to create a new project.
laravel new Filament-CRM-CourseThis will generate a fresh Laravel installation in a Filament-CRM-Course directory. You can change the name of the project to whatever you want.
Don't forget to set your database credentials in the .env file.
Next on our list is Filament. We will use Composer to install Filament.
composer require filament/filamentThis will install the Filament package in your Laravel project. Next, we need to install Filament Panels:
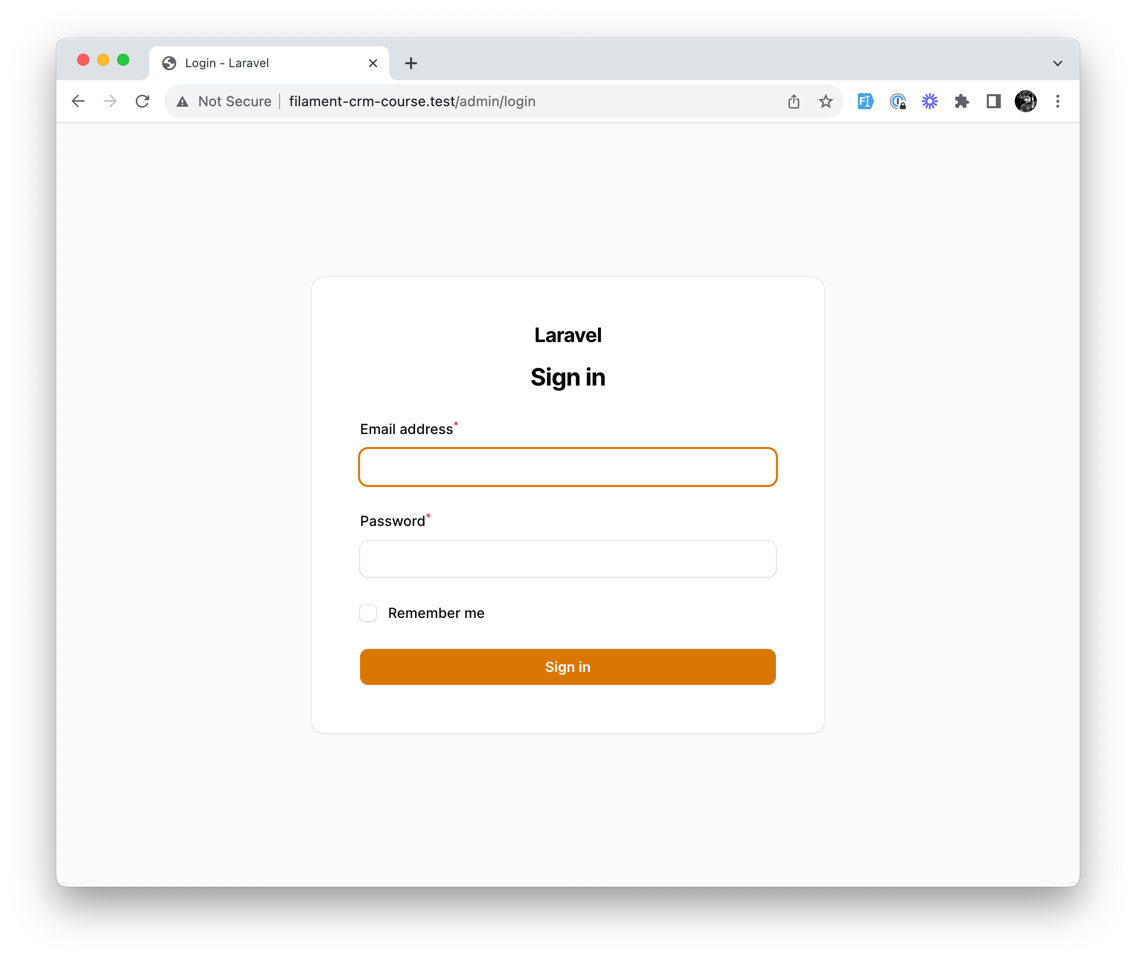
php artisan filament:install --panelsOnce that is done, we can visit our project in the browser like so:
http://filament-crm-course.test/admin/login (don't forget to change the domain to match your project's domain)

To log in, we need to create a user. But before we do that, Filament asks us to add FilamentUser to our User Model:
app/Models/User.php
use Filament\Models\Contracts\FilamentUser;use Filament\Panel;use Illuminate\Foundation\Auth\User as Authenticatable; // ... class User extends Authenticatable implements FilamentUser{ // ... public function canAccessPanel(Panel $panel): bool { return true; // @todo Change this to check for access level }}This is required for Filament to manage your User permissions and who can access the admin panel. We have set it to true, allowing everyone to access the admin panel. We will change this later in this Course.
Next, we can define a simple admin user in our DatabaseSeeder.php file:
database/seeders/DatabaseSeeder.php
public function run(): void{ User::factory()->create([ 'name' => 'Test Admin', 'email' => 'admin@admin.com', ]);}Then run the migrations and seeders:
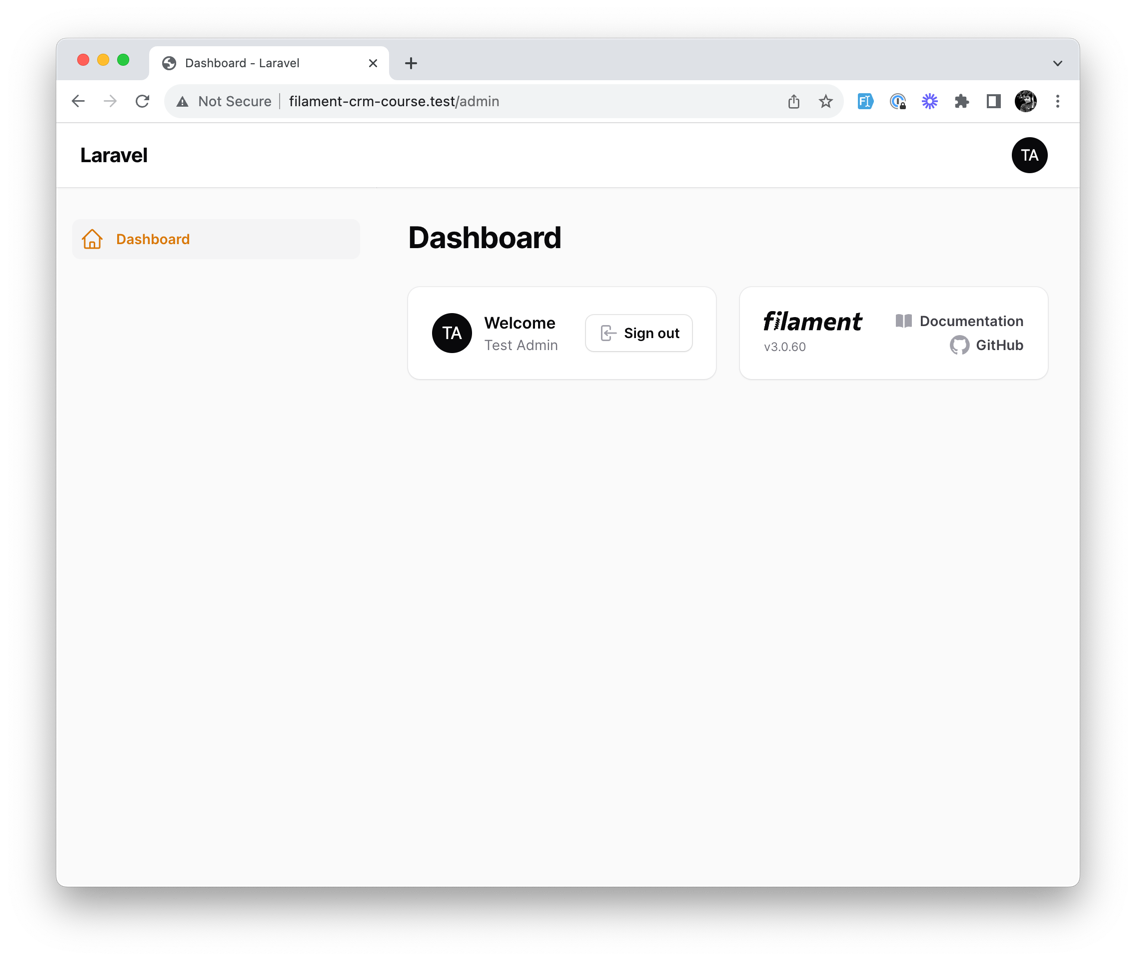
php artisan migrate --seedAnd we should be able to log in with our admin user: (Email: admin@admin.com, Password: password)

That's it! We have Laravel and Filament configured and ready to go. In the next lesson, we will create our first Filament Resource - Customer.