Next, we want to build an info list (View) page for our Customers. This page has to display all the information we have on our Customer along with a list of Pipeline Status logs:

In this lesson, we will do the following:
Let's get to work and create a new file for our View:
php artisan make:filament-page ViewCustomer --resource=CustomerResource --type=ViewRecordThis should create the following file:
app/Filament/Resources/CustomerResource/Pages/ViewCustomer.php
namespace App\Filament\Resources\CustomerResource\Pages; use App\Filament\Resources\CustomerResource;use Filament\Resources\Pages\CreateRecord;use Filament\Resources\Pages\ViewRecord; class ViewCustomer extends ViewRecord{ protected static string $resource = CustomerResource::class;}Once this is done, we can go ahead and create links to the View page:
app/Filament/Resources/CustomerResource.php
// ... public static function table(Table $table): Table{ return $table ->columns([ // ... ]) ->filters([ // ]) ->actions([ // ... ]) ->recordUrl(function ($record) { if ($record->trashed()) { return null; } return Pages\EditCustomer::getUrl([$record->id]); return Pages\ViewCustomer::getUrl([$record->id]); }) ->bulkActions([ Tables\Actions\BulkActionGroup::make([ Tables\Actions\DeleteBulkAction::make(), ]), ]);} public static function getPages(): array{ return [ 'index' => Pages\ListCustomers::route('/'), 'create' => Pages\CreateCustomer::route('/create'), 'edit' => Pages\EditCustomer::route('/{record}/edit'), 'view' => Pages\ViewCustomer::route('/{record}'), ];}Now you should be able to open the table and click on a row to view the Customer's details:
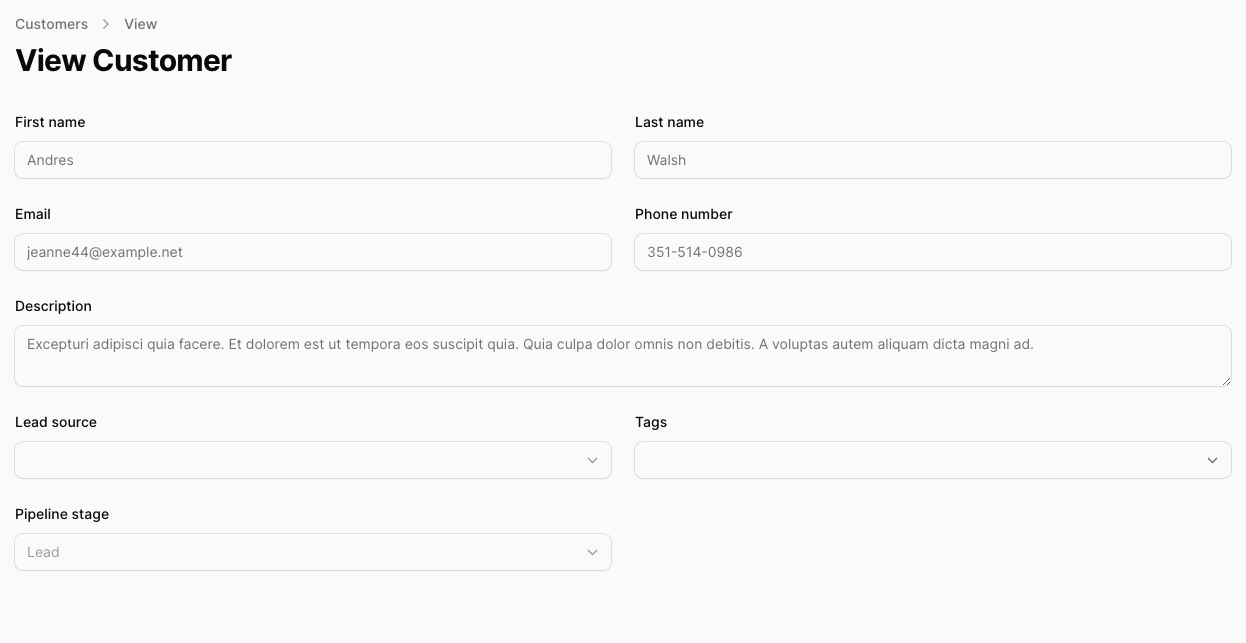
All of these fields were auto-guessed by Filament and displayed as is from the Form definition. We can customize them by using the infoList() method. Let's do that now.
While the auto-guessed fields are great, we can customize them to our liking by simply defining the structure just like we do with Forms:
app/Filament/Resources/CustomerResource.php
use Filament\Infolists\Components\RepeatableEntry;use Filament\Infolists\Components\Section;use Filament\Infolists\Components\TextEntry;use Filament\Infolists\Components\ViewEntry;use Filament\Infolists\Infolist;use Filament\Support\Colors\Color; // ... public static function infoList(Infolist $infolist): Infolist{ return $infolist ->schema([ Section::make('Personal Information') ->schema([ TextEntry::make('first_name'), TextEntry::make('last_name'), ]) ->columns(), Section::make('Contact Information') ->schema([ TextEntry::make('email'), TextEntry::make('phone_number'), ]) ->columns(), Section::make('Additional Details') ->schema([ TextEntry::make('description'), ]), Section::make('Lead and Stage Information') ->schema([ TextEntry::make('leadSource.name'), TextEntry::make('pipelineStage.name'), ]) ->columns(), Section::make('Pipeline Stage History and Notes') ->schema([ ViewEntry::make('pipelineStageLogs') ->label('') ->view('infolists.components.pipeline-stage-history-list') ]) ->collapsible() ]);} // ...If you try to load the page - you will see that we have an error:

This is due to us using ViewEntry and not having a defined view. Let's create one now:
resources/views/infolists/components/pipeline-stage-history-list.blade.php
<x-dynamic-component :component="$getEntryWrapperView()" :entry="$entry" class="grid grid-cols-[--cols-default] fi-in-component-ctn gap-6"> @foreach($getState() as $pipelineLog) <div class="mb-4"> <div class=""> <span class="font-bold">{{ $pipelineLog->user?->name ?? 'System' }}</span>, <span x-data="{}" x-tooltip="{ content: '{{ $pipelineLog->created_at }}', theme: $store.theme, }">{{ $pipelineLog->created_at->diffForHumans() }}</span> </div> <div class=""> <span class="font-bold">Pipeline Stage:</span> {{ $pipelineLog->pipelineStage->name }} </div> @if($pipelineLog->notes) <div class=""> <span class="font-bold">Note:</span> {{ $pipelineLog->notes }} </div> @endif </div> @endforeach</x-dynamic-component>Now, if we reload the page, we should see a nicer design for our View plus Pipeline Stage History:
That's it! We have our View page ready.
We will create a Document Resource for our Customers in the next lesson.