Not all Laravel projects are being started using starter kits with Tailwind pre-installed; in this lesson, we will cover how to install and configure TailwindCSS in your Laravel project from scratch. Or want to include it in your existing project to experiment or migrate.
Let's start!
Install tailwindcss and its peer dependencies via npm.
npm install -D tailwindcss postcss autoprefixerThen, create your tailwind.config.js file using the npx command.
npx tailwindcss initConfigure your template paths by adding the paths to Laravel resources in your tailwind.config.js file.
tailwind.config.js
/** @type {import('tailwindcss').Config} */export default { content: [ './vendor/laravel/framework/src/Illuminate/Pagination/resources/views/*.blade.php', './storage/framework/views/*.php', './resources/views/**/*.blade.php', ], theme: { extend: {}, }, plugins: [],}Create a new PostCSS configuration in your project root directory.
postcss.config.js
export default { plugins: { tailwindcss: {}, autoprefixer: {}, },};Add the @tailwind directives for each of Tailwind’s layers to your main CSS file.
resources/css/app.css
@tailwind base; @tailwind components;@tailwind utilities;Add a @vite directive with paths to the main CSS and JS file before the end of the </head> tag in your main application layout if you do not have that already.
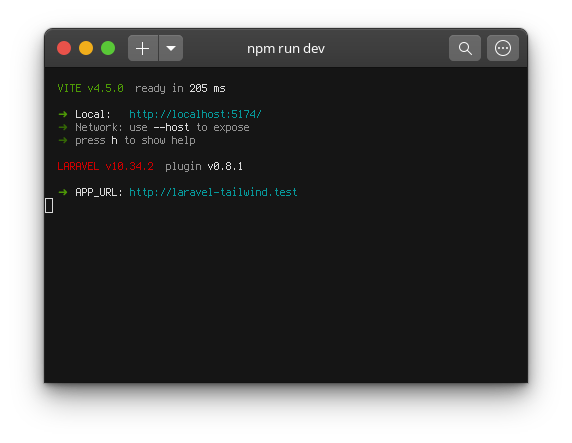
<head> <!-- Scripts --> @vite(['resources/css/app.css', 'resources/js/app.js'])</head>Run your build process with npm run dev or whatever command is configured in your package.json file.

Now it is done, you can use TailwindCSS utility classes in your project.