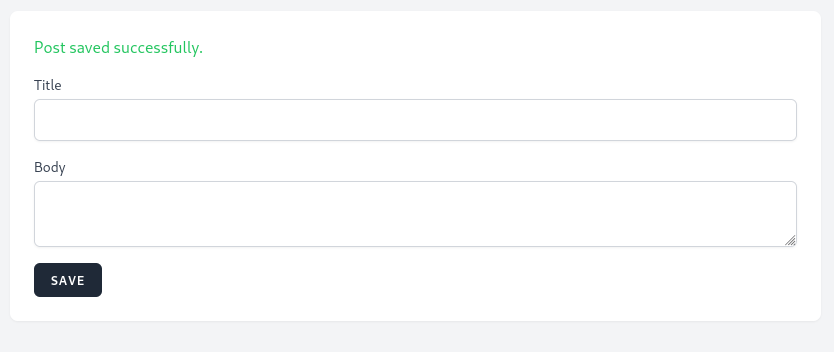
I want to start this course by demonstrating Livewire to you. Its purpose is to create dynamic pages with no browser refresh but without writing JavaScript. So, let's start with a simple example of submitting the form and showing the success message on the same page, clearing up the form fields.
Let's start by installing Livewire into a Laravel project and creating the first Component.
By the of the lesson, you will know how to:
Before installing Livewire, we will create a new Laravel project.
For this case, to have a simple design, I will use the Laravel Breeze starter kit but our custom version of it - Breeze Pages Skeleton. It allows you to quickly have Breeze-style pages without authentication.
Notice: you don't have to use Breeze or our skeleton to use Livewire. This is just for demonstration purposes.
git clone https://github.com/LaravelDaily/Laravel-Breeze-Pages-Skeleton projectcd project# Copy `.env.example` file to `.env` and edit database credentials therecomposer installphp artisan key:generatephp artisan migrate --seednpm install && npm run buildNow you should see this homepage.
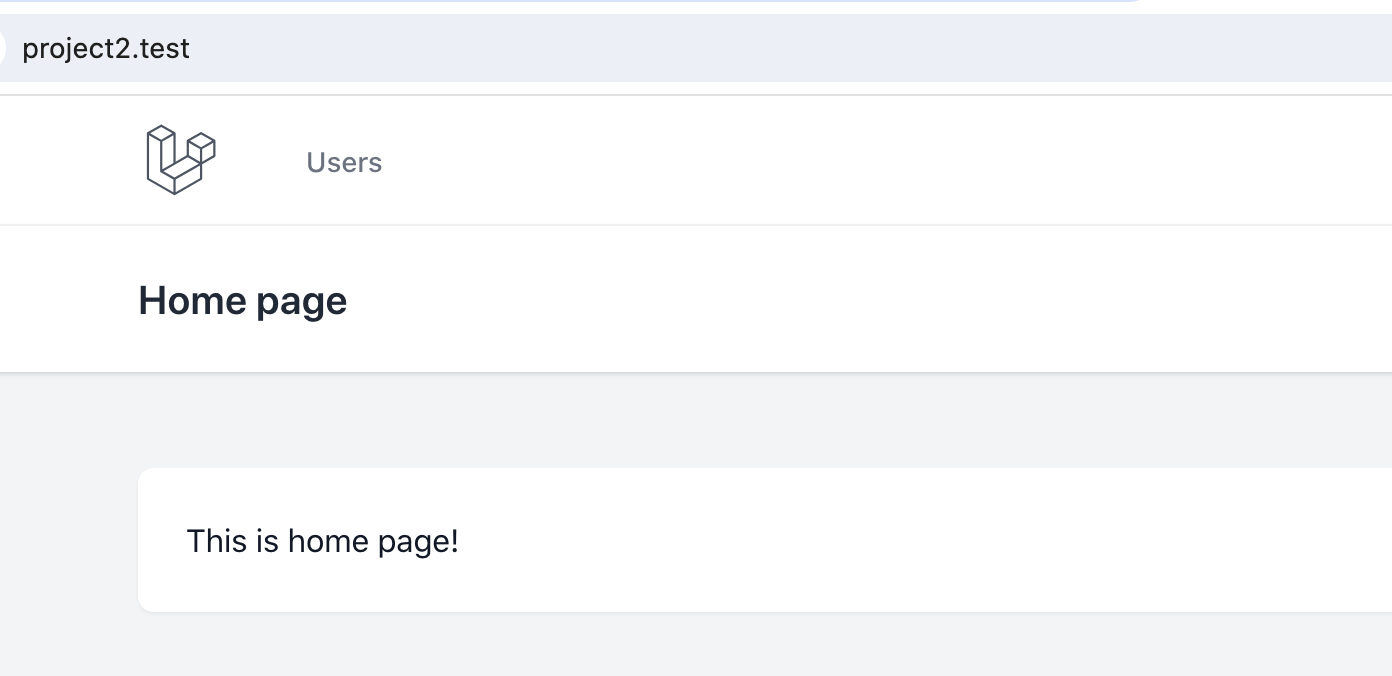
Notice: the URL project2.test comes from my local Laravel Valet. Your domain will likely be different.
Next, we create a Migration and a Model for posts that we will work with:
php artisan make:model Post -mMigration:
public function up(): void{ Schema::create('posts', function (Blueprint $table) { $table->id(); $table->string('title'); $table->text('body'); $table->timestamps(); });}app/Models/Post.php:
class Post extends Model{ use HasFactory; protected $fillable = ['title', 'body'];}Let's add our new table to the database:
php artisan migrateNext, we create a Blade View file for our upcoming form. We just open the existing resources/views/home.blade.php and do File -> Save as with a new filename, changing the text from "This is home page!" to "Livewire form will be here".
resources/views/posts/create.blade.php:
<x-app-layout> <x-slot name="header"> <h2 class="font-semibold text-xl text-gray-800 dark:text-gray-200 leading-tight"> {{ __('Create Post') }} </h2> </x-slot> <div class="py-12"> <div class="max-w-7xl mx-auto sm:px-6 lg:px-8"> <div class="bg-white dark:bg-gray-800 overflow-hidden shadow-sm sm:rounded-lg"> <div class="p-6 text-gray-900 dark:text-gray-100"> Livewire form will be here. </div> </div> </div> </div></x-app-layout>Finally, we create a Laravel Route to that Blade file.
routes/web.php:
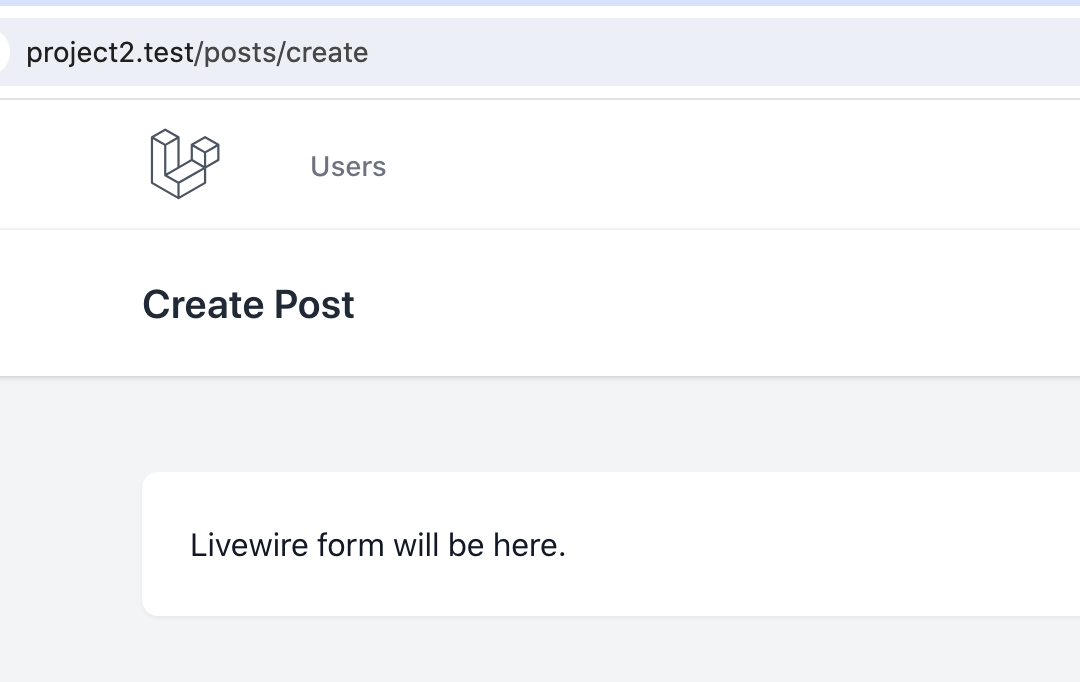
Route::view('posts/create', 'posts.create');And now, if we launch the URL /posts/create, we see the new page.
Ok, we've done our Laravel "homework". Now we're ready for Livewire.
In the Terminal, we run this:
composer require livewire/livewire:^3.0Now that we have installed Livewire, let's create a Component and call it CreatePost.
php artisan make:livewire CreatePostThis command creates two files:
app/Livewire/CreatePost.php
resources/views/livewire/create-post.blade.php
Now that we have a Livewire component, we need to render it inside the Laravel Blade file. You can do that using the <livewire:component-name /> syntax.
So, to render our CreatePost component, we need to add <livewire:create-post /> where we want to show the content of it.
resources/views/posts/create.blade.php:
<x-app-layout> <x-slot name="header"> // ... </x-slot> <div class="py-12"> <div class="max-w-7xl mx-auto sm:px-6 lg:px-8"> <div class="bg-white dark:bg-gray-800 overflow-hidden shadow-sm sm:rounded-lg"> <div class="p-6 text-gray-900 dark:text-gray-100"> <livewire:create-post /> </div> </div> </div> </div></x-app-layout>For a simple demonstration that it works, let's add a static text to the Livewire component in the resources/views/livewire/create-post.blade.php Blade file.
resources/views/livewire/create-post.blade.php:
<div> Create Post Livewire Component</div>Important: The Livewire component needs to have a root
<div>HTML tag.
Now, visit the page /posts/create where your Livewire component should be rendered, and you will see that static text from the Component.

Great, our component is loaded!
Extra mini-step for those who use Laravel Breeze as a starter kit. Breeze automatically adds Alpine.js in its main JavaScript file:
resources/js/app.js:
import './bootstrap'; import Alpine from 'alpinejs'; window.Alpine = Alpine; Alpine.start();But when we install Livewire, it also adds Alpine by default since the Livewire 3 version.
So, to avoid conflicts of double-loading Alpine, we need to leave only one line in this Breeze file.
resources/js/app.js:
import './bootstrap';If you use npm run dev, JavaScript should re-compile automatically. Otherwise, re-run npm run build.
Now, let's add a simple form instead of that static text. The form input design is based on Blade components from Laravel Breeze.
resources/views/livewire/create-post.blade.php:
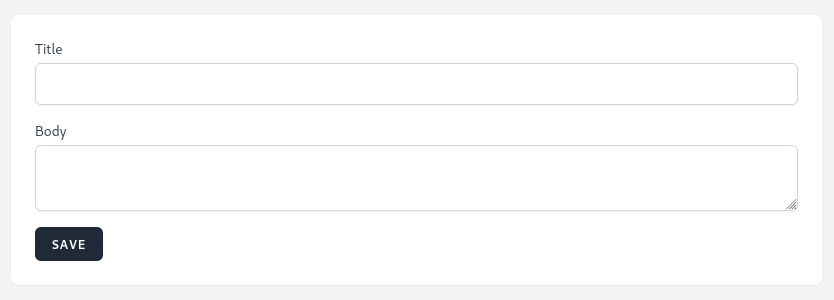
<div> <form method="POST"> <div> <label for="title" class="block font-medium text-sm text-gray-700">Title</label> <input id="title" class="block mt-1 w-full border-gray-300 rounded-md shadow-sm" type="text" /> @error('title') <span class="mt-2 text-sm text-red-600">{{ $message }}</span> @enderror </div> <div class="mt-4"> <label for="body" class="block font-medium text-sm text-gray-700">Body</label> <textarea id="body" class="block mt-1 w-full border-gray-300 rounded-md shadow-sm"></textarea> @error('body') <span class="mt-2 text-sm text-red-600">{{ $message }}</span> @enderror </div> <button class="mt-4 px-4 py-2 bg-gray-800 rounded-md font-semibold text-xs text-white uppercase tracking-widest hover:bg-gray-700"> Save </button> </form></div>The form should look similar to this:
So now that we have a form, each input field should have a public property inside the Livewire PHP class.
app/Livewire/CreatePost.php:
use Livewire\Component;use Illuminate\Contracts\View\View; class CreatePost extends Component{ public string $title = ''; public string $body = ''; public function render(): View { return view('livewire.create-post'); }}Now, we need to bind those properties to the inputs in the Blade file using the wire:model directive. Notice these two additions below:
wire:model="title"
wire:model="body"
resources/views/livewire/create-post.blade.php:
<div> <form method="POST"> <div> <label for="title" class="block font-medium text-sm text-gray-700">Title</label> <input id="title" class="block mt-1 w-full border-gray-300 rounded-md shadow-sm" type="text" /> <input id="title" wire:model="title" class="block mt-1 w-full border-gray-300 rounded-md shadow-sm" type="text" /> @error('title') <span class="mt-2 text-sm text-red-600">{{ $message }}</span> @enderror </div> <div class="mt-4"> <label for="body" class="block font-medium text-sm text-gray-700">Body</label> <textarea id="body" class="block mt-1 w-full border-gray-300 rounded-md shadow-sm"></textarea> <textarea id="body" wire:model="body" class="block mt-1 w-full border-gray-300 rounded-md shadow-sm"></textarea> @error('body') <span class="mt-2 text-sm text-red-600">{{ $message }}</span> @enderror </div> <button class="mt-4 px-4 py-2 bg-gray-800 rounded-md font-semibold text-xs text-white uppercase tracking-widest hover:bg-gray-700"> Save </button> </form></div>That binding means that whenever the input value changes, the Livewire component variables will receive those new values, and then you may perform PHP operations with them.
Now, let's add an action to save a post to the DB. For that, we create a method inside the Livewire PHP class. This method can be called whatever you want. We will just name it save().
app/Livewire/CreatePost.php:
class CreatePost extends Component{ // ... public function save(): void { dd('save'); // Just for demonstration, for now } // ...}For now, we hardcode the text just to show that it works.
Now, we need to call this method from Blade upon pressing the Save button. This is done by using the wire:submit directive and specifying the method.
resources/views/livewire/create-post.blade.php:
<div> <form method="POST"> <form method="POST" wire:submit="save"> // ... </form></div>Now, after clicking the Save button, we will have a dd() message save.

This means the button works! Now, let's replace the dd() with saving a post to the DB.
app/Livewire/CreatePost.php:
use App\Models\Post; class CreatePost extends Component{ // ... public function save(): void { dd('save'); Post::create([ 'title' => $this->title, 'body' => $this->body, ]); } // ...}After clicking Save, we should see a new post if we check the posts table in the DB.

Currently, our form doesn't have any validation after submitting, so let's add a few rules.
One of the ways to add them, released in the Livewire 3, is to use PHP 8 syntax of attributes on top of each property variable.
app/Livewire/CreatePost.php:
use Livewire\Attributes\Validate; class CreatePost extends Component{ #[Validate('required|min:5')] public string $title = ''; #[Validate('required|min:5')] public string $body = ''; public function save(): void { $this->validate(); Post::create([ 'title' => $this->title, 'body' => $this->body, ]); } // ...}And that's it. That is how easy it is to add validation in the Livewire component. And all Laravel validation rules also work here.
After clicking the Save button, you will see validation error messages.
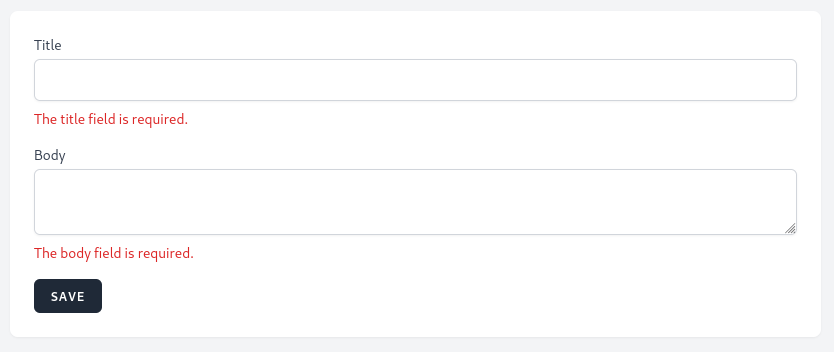
Again, to reiterate: this happens without a page refresh but without writing any JavaScript. That's the beauty of Livewire.
Now, after saving the post, let's show a success message above the form and clear the form.
First, the success message. For this, we need a new boolean property $success, with a false default value.
class CreatePost extends Component{ #[Validate('required|min:5')] public string $title = ''; #[Validate('required|min:5')] public string $body = ''; public bool $success = false; // ...}In the Blade file, we need to make a simple if-check to see whether $success is true, and then the message will be shown.
resources/views/livewire/create-post.blade.php:
<div> @if($success) <span class="block mb-4 text-green-500">Post saved successfully.</span> @endif // ...</div>Notice. I'm not sure if you fully understand by now, but I will reiterate: each property of the Livewire class is automatically available in the Blade file as a variable. There is no need to pass them manually.
All that is left is to set success to true and reset the form.
app/Livewire/CreatePost.php:
class CreatePost extends Component{ // ... public function save(): void { $this->validate(); Post::create([ 'title' => $this->title, 'body' => $this->body, ]); $this->success = true; $this->reset('title', 'body'); } // ...}The method $this->reset() sets all the passed properties to their default values, which are empty strings in our case.
After the post is saved, we see a success message.

Great, it all works!
The repository for this lesson is here on GitHub.
So, does it give you an overview and "the first feeling" of Livewire? To reiterate, it gives you the opportunity to process form input variables without refreshing the page, but it all happens in a PHP/Laravel code familiar to us. No JavaScript to write. At all.
Curious to find out more? Let's dive deeper!