First, before starting to implement all features, we need to create a Laravel project, install Laravel Breeze for quick authentication scaffolding, and Livewire for dynamic interfaces.
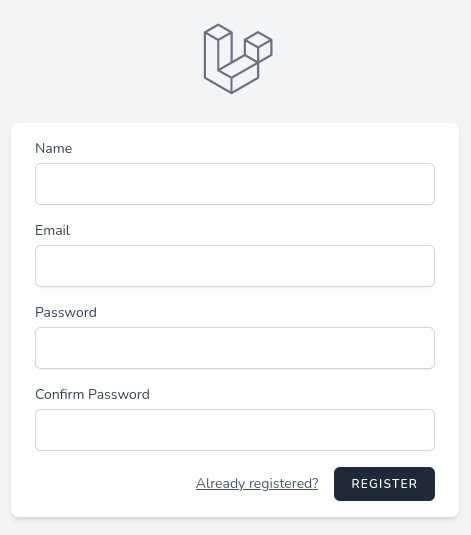
laravel new projectcd projectcomposer require laravel/breeze --devphp artisan breeze:install bladeThat's it, we have default Laravel Breeze installed:

Next, we will install Livewire.
composer require livewire/livewireAdd the following Blade directives in the head tag, and before the end body tag in the resources/views/layouts/app.blade.php file.
<!DOCTYPE html><html lang="{{ str_replace('_', '-', app()->getLocale()) }}"> <head> // <!-- Scripts --> @vite(['resources/css/app.css', 'resources/js/app.js']) @livewireStyles </head> <body class="font-sans antialiased"> // @livewireScripts </body></html>Usually, we shouldn't add @livewireStyles and @livewireScripts, but without it, the user dropdown won't work.
Next, because Livewire has integrated Alpine.js we need to remove it.
resources/js/app.js:
import './bootstrap'; import Alpine from 'alpinejs'; window.Alpine = Alpine; Alpine.start(); Last thing, by default, when using Livewire full-page components Livewire is set to use layouts in components/layouts/app.blade.php. We need to change that because Breeze puts layout in a different directory.
composer require livewire/livewireconfig/livewire.php:
// ...'layout' => 'components.layouts.app', 'layout' => 'layouts.app', That's it for the preparation quick start, now we're ready to create our Livewire components, in the next lesson!