.png-674b526369b42.jpg)
Today let's make a step-by-step tutorial on how to use a Laravel Breeze starter kit and prepare the fundamentals to separate the role-based areas: so students, teachers, and admins could have separate design layouts, menus, and routes.
Notice: if you prefer video format, I've packaged this article also as a mini-course with 43 minutes of video, watch here.
The overall goal is to separate both the code and the visual parts, so different roles wouldn't even know that the other "portals" exist.
This is our rough plan of action:
At the end of this tutorial, you will also have a link to the GitHub repository.
Keep in mind that this is only one of the ways to structure such projects, during each step you may come up with a different solution and that's fine - that's the flexible beauty of Laravel.
So, are you ready?
This part is easy and standard.
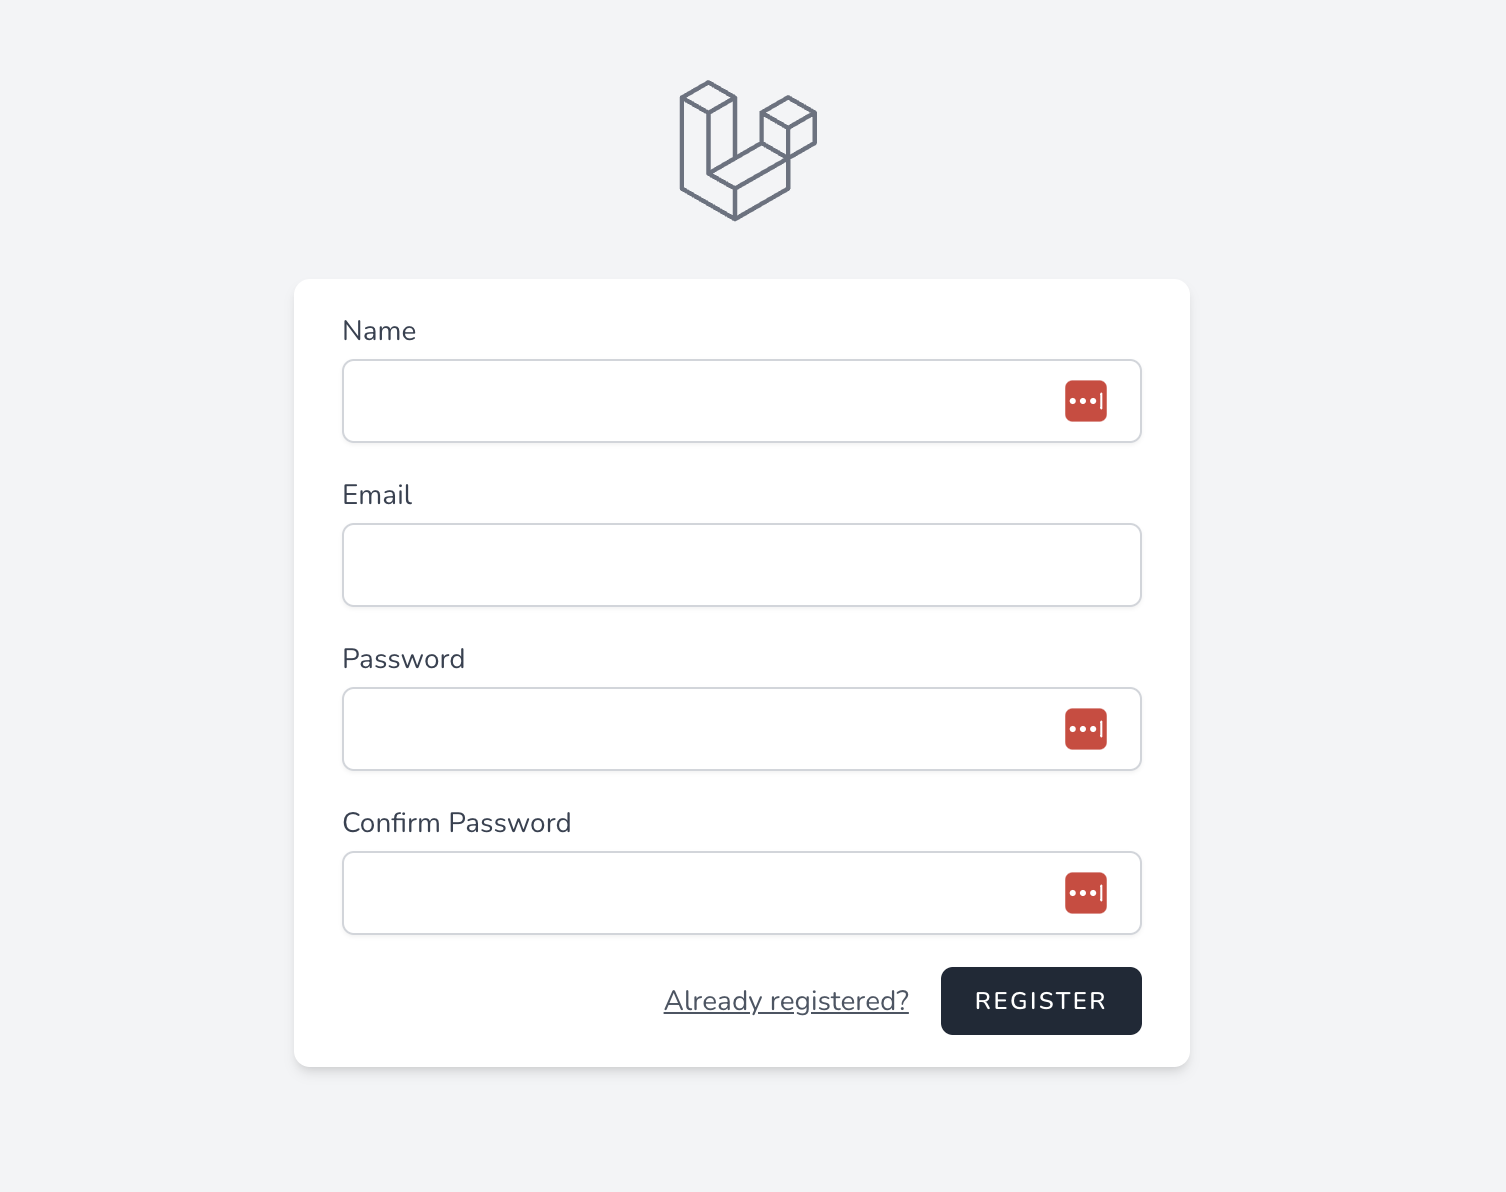
laravel new projectcd projectcomposer require laravel/breezephp artisan breeze:installAnd that's it, we have a default Laravel Breeze with a registration page like this:
Next, in this tutorial, I will create one simple static page for every role:
I deliberately won't build the functionality of those pages, because that is not the point: for your cases, you will fill it in with your different logic anyway. Here, we're focusing on separating the areas, no matter what functionality is inside, so my goal is for you to understand the principles.
In the beginning, let's assume that we have only one role, so every new user is a Student.
But, at the same time, we plan that there will be roles soon, so we need to separate the student area up front.
So, for our first page of the Student's Timetable we need these parts:
And since we already know that there will be other roles, let's immediately separate everything into subfolders and groups.
So, we generate the controller with the Student namespace right away:
php artisan make:controller Student/TimetableControllerThe idea here is that all Controllers for students would be placed in that subfolder, and respectively other roles will have their subfolders.
Inside that Controller, let's fill in some fake data and load the Blade view from a subfolder, as well.
app/Http/Controllers/Student/TimetableController.php:
namespace App\Http\Controllers\Student; use App\Http\Controllers\Controller; class TimetableController extends Controller{ public function index() { $timetable = [ 'Monday' => [ '09:00' => 'Lesson 1', '10:00' => 'Lesson 2', '11:00' => 'Lesson 3', '12:00' => 'Lesson 4', ], 'Tuesday' => [ '09:00' => 'Lesson 1', '10:00' => 'Lesson 2', '11:00' => 'Lesson 3', '12:00' => 'Lesson 4', ], 'Wednesday' => [ '09:00' => 'Lesson 1', '10:00' => 'Lesson 2', '11:00' => 'Lesson 3', '12:00' => 'Lesson 4', ] ]; return view('student.timetable', compact('timetable')); }}Next, let's create a Blade view file. In the case of Breeze, we already have resources/views/dashboard.blade.php, so we can just open that one, do File -> Save as... and place it into a new location, replacing the "You're logged in!" text with our timetable.
resources/views/student/timetable.blade.php:
<x-app-layout> <x-slot name="header"> <h2 class="font-semibold text-xl text-gray-800 leading-tight"> {{ __('Timetable') }} </h2> </x-slot> <div class="py-12"> <div class="max-w-7xl mx-auto sm:px-6 lg:px-8"> <div class="bg-white overflow-hidden shadow-sm sm:rounded-lg"> <div class="p-6 bg-white border-b border-gray-200"> <table> @foreach ($timetable as $day => $lessons) <tr> <td>{{ $day }}</td> <td> <ul> @foreach ($lessons as $time => $lesson) <li>{{ $time }}: {{ $lesson }}</li> @endforeach </ul> </td> </tr> @endforeach </table> </div> </div> </div> </div></x-app-layout>Next, we need to create a route to load this page. For the first simple version, let's do something like this:
routes/web.php:
Route::get('/student/timetable', [\App\Http\Controllers\Student\TimetableController::class, 'index']) ->middleware(['auth', 'verified']) ->name('student.timetable');Finally, let's add a menu item on top, in the Laravel Breeze structure it's this file.
resources/views/layouts/navigation.blade.php:
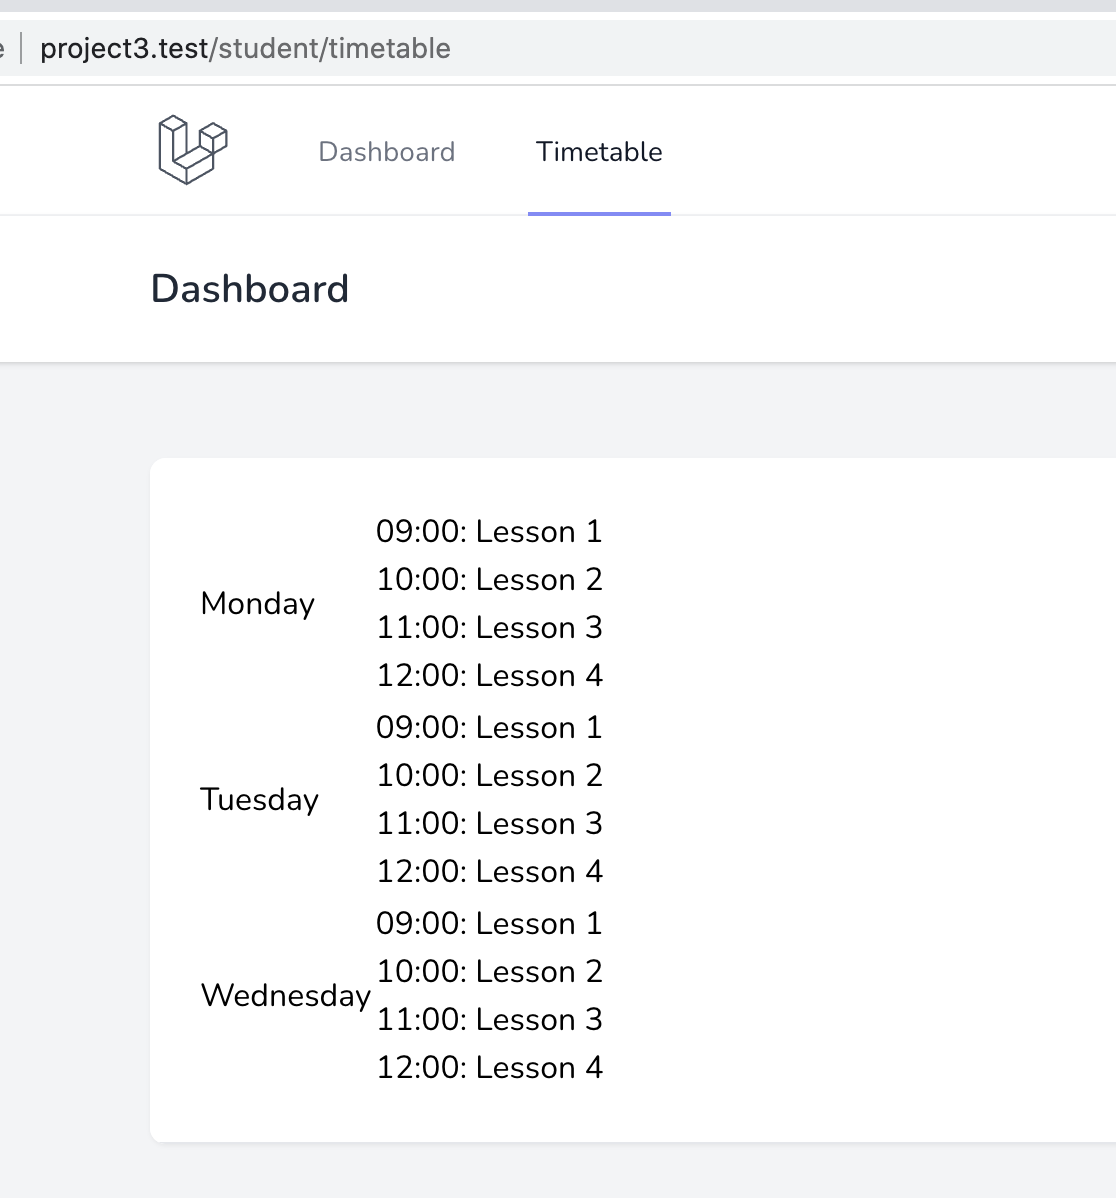
<!-- Navigation Links --><div class="hidden space-x-8 sm:-my-px sm:ml-10 sm:flex"> <x-nav-link :href="route('dashboard')" :active="request()->routeIs('dashboard')"> {{ __('Dashboard') }} </x-nav-link> <x-nav-link :href="route('student.timetable')" :active="request()->routeIs('student.timetable')"> {{ __('Timetable') }} </x-nav-link></div> // ... don't forget the responsive links! <!-- Responsive Navigation Menu --><div :class="{'block': open, 'hidden': ! open}" class="hidden sm:hidden"> <div class="pt-2 pb-3 space-y-1"> <x-responsive-nav-link :href="route('dashboard')" :active="request()->routeIs('dashboard')"> {{ __('Dashboard') }} </x-responsive-nav-link> <x-responsive-nav-link :href="route('student.timetable')" :active="request()->routeIs('student.timetable')"> {{ __('Timetable') }} </x-responsive-nav-link> </div>And now, after registering with a new user, we will see a new menu item on top. And if we click it, it will become active visually and show us the timetable. Yay, the first visual result!
Not sure if you noticed over the years of my tutorials and videos, but I'm a big fan of the strategy "first quickly make it work, refactor/improve later". So now, as we have the working version, we can think about how to improve it for the future.
So, we separated the Controllers and the Views into their subfolders, that's good. What about Routes? Will all the routes for all the roles just be listed in the same routes/web.php file?
Imagine we have more pages for the students in the future, and you would have this:
Route::get('/student/timetable', [\App\Http\Controllers\Student\TimetableController::class, 'index']) ->middleware(['auth', 'verified']) ->name('student.timetable'); Route::get('/student/some_page', [\App\Http\Controllers\Student\SomeController::class, 'index']) ->middleware(['auth', 'verified']) ->name('student.some_page'); Route::get('/student/another_page', [\App\Http\Controllers\Student\AnotherController::class, 'index']) ->middleware(['auth', 'verified']) ->name('student.another_page');Do you see the repeating parts? Not too elegant code, is it? Let's group the repeating parts into, well, a Route group.
routes/web.php:
Route::middleware(['auth', 'verified']) ->prefix('student') ->name('student.') ->group(function() { Route::get('/timetable', [\App\Http\Controllers\Student\TimetableController::class, 'index']) ->name('timetable'); // Later we may add: Route::get('/some_page', [\App\Http\Controllers\Student\SomeController::class, 'index']) ->name('some_page'); Route::get('/another_page', [\App\Http\Controllers\Student\AnotherController::class, 'index']) ->name('another_page'); });As you can see, we have put the repeating URL parts into ->prefix('student'), and the repeating route names parts into ->name('student.') (important - with a dot!). So we don't need to repeat those inside.
One step even further may be separating the routes into their own files. I won't do it in this tutorial, but you may put the line above into a separate routes/student.php, and following what Laravel Breeze already does with routes/auth.php separation, have something like this.
routes/web.php:
Route::get('/', function () { return view('welcome');}); Route::get('/dashboard', function () { return view('dashboard');})->middleware(['auth', 'verified'])->name('dashboard'); require __DIR__.'/auth.php';require __DIR__.'/student.php';Laravel Breeze comes with the default /dashboard route and page. In our case, we don't need that dashboard and we want to immediately redirect to the student.timetable route.
Also, in the future, we will have a separate function to decide where to redirect, based on the role. But for now, let's replace the dashboard with our own route.
So, we need to make a few changes.
Both Register and Login and Controllers in Laravel Breeze end up redirecting to one constant:
app/Http/Controllers/Auth/AuthenticatedSessionController.php:
public function store(LoginRequest $request){ // ... return redirect()->intended(RouteServiceProvider::HOME);}And here:
app/Http/Controllers/Auth/AuthenticatedSessionController.php:
public function store(Request $request){ // ... return redirect(RouteServiceProvider::HOME);}So we need to change the value of that constant.
app/Providers/RouteServiceProvider.php:
class RouteServiceProvider extends ServiceProvider{ public const HOME = '/student/timetable'; // previous default value '/dashboard'Notice that here we use the URL string and not the route name because constants don't allow the usage of functions like route('student.timetable').
Then, we need to change the link of the main logo:
recources/views/layouts/navigation.blade.php:
<a href="{{ route('student.timetable') }}"> <x-application-logo // ...And then, the cleanup:
<x-nav-link> and <x-responsive-nav-link> from navigation.blade.php
routes/web.php fileresources/views/dashboard.blade.php
Let's introduce the concept of Roles into our system. First, we need to take care of that on the back-end, in the model/migration part.
php artisan make:model Role -mNew DB table roles with just one column.
database/migrations/xxxxxx_create_roles_table.php:
return new class extends Migration{ public function up() { Schema::create('roles', function (Blueprint $table) { $table->id(); $table->string('name'); $table->timestamps(); }); }Let's also make that column fillable, in the new model.
app/Models/Role.php:
class Role extends Model{ use HasFactory; protected $fillable = ['name'];}Also, let's immediately seed the two roles we will work with.
database/seeders/DatabaseSeeder.php:
class DatabaseSeeder extends Seeder{ public function run() { Role::create(['name' => 'Student']); Role::create(['name' => 'Teacher']); }}Next, add a field users.role_id:
php artisan make:migration add_role_id_to_users_tablepublic function up(){ Schema::table('users', function (Blueprint $table) { // Default role: student $table->foreignId('role_id')->default(1)->constrained(); });}And add that one to the fillables, too:
app/Models/User.php:
class User extends Authenticatable{ protected $fillable = [ 'name', 'email', 'password', 'role_id', ];Now, we can refresh the database with seeds, by running:
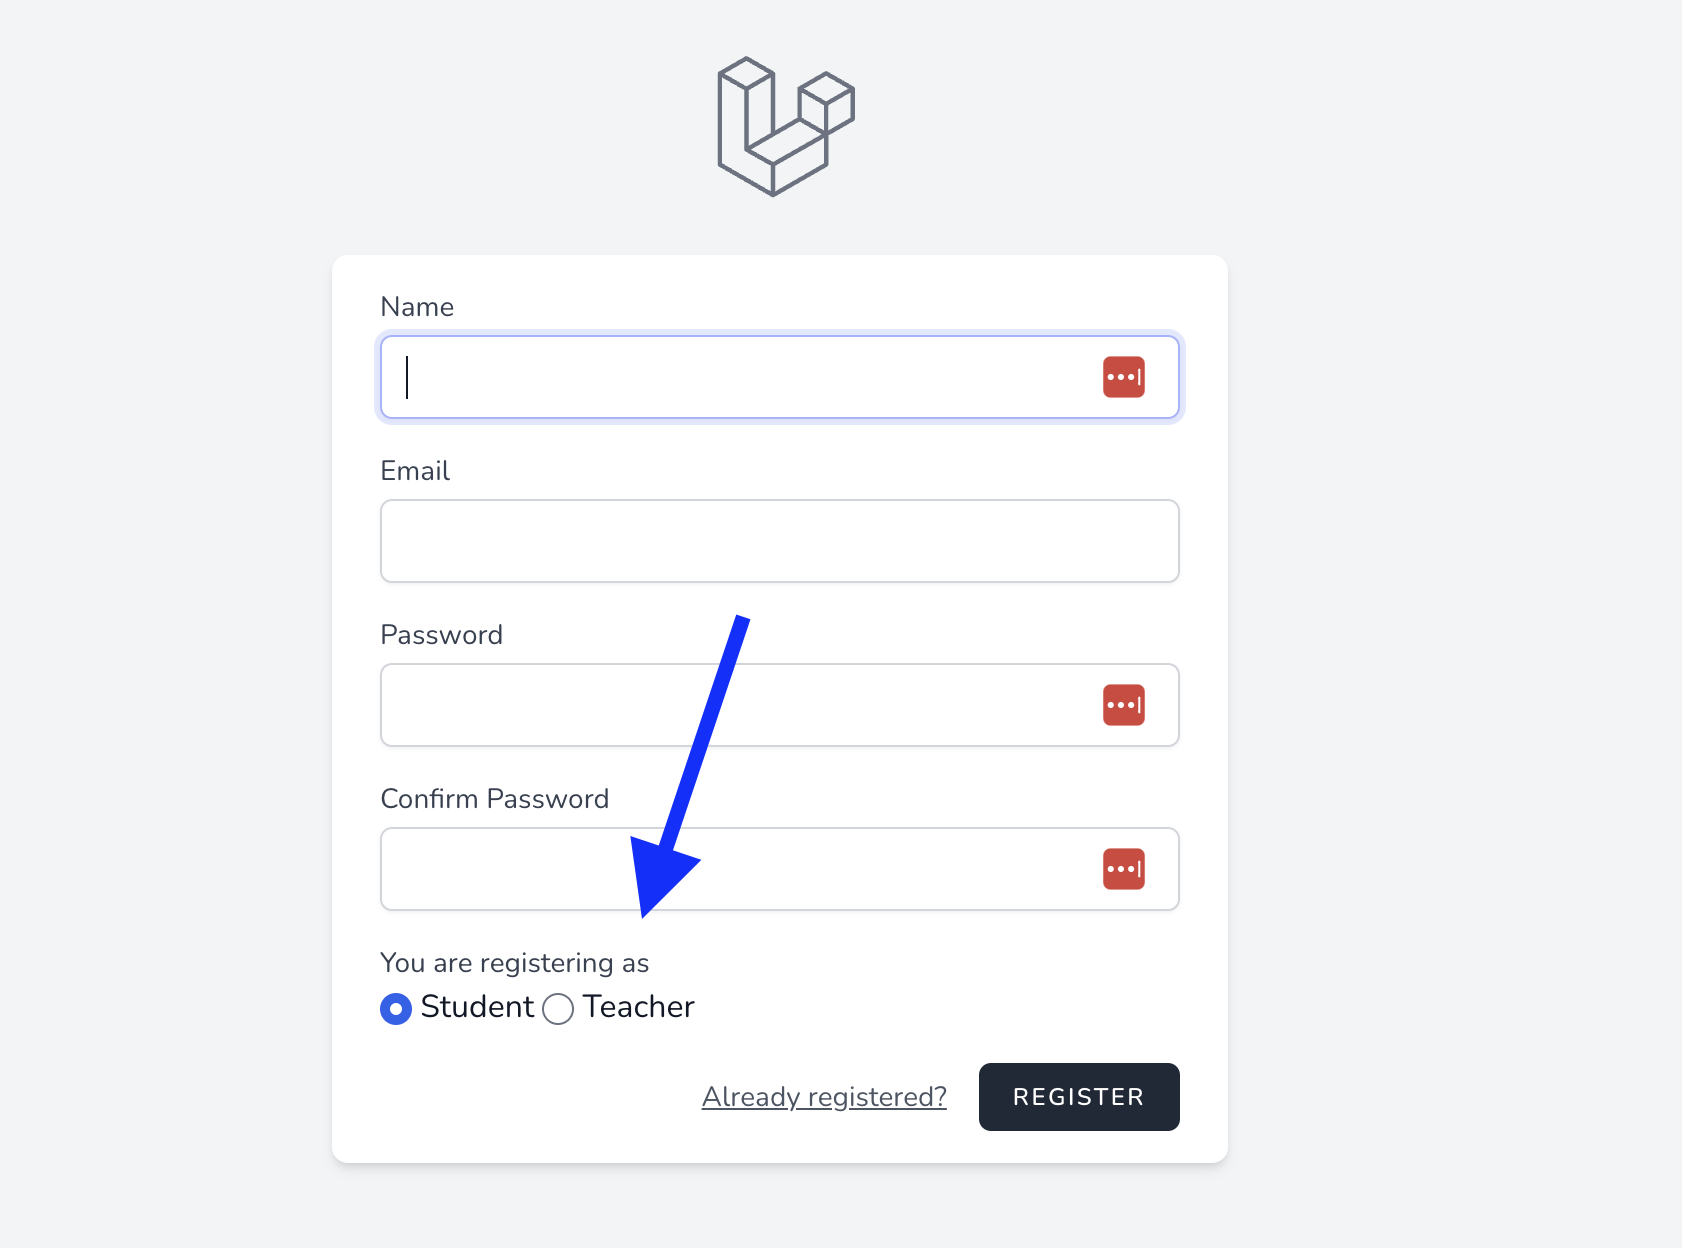
php artisan migrate:fresh --seedOk, the database is ready. Now, in the registration form, let's add a choice for the user - who are they registering as: as a student, or as a teacher? We add a simple radio box.
resources/views/auth/register.blade.php:
// ... <x-input-error :messages="$errors->get('password_confirmation')" class="mt-2" /></div> <!-- Role --><div class="mt-4"> <x-input-label for="role" :value="__('You are registering as')" /> <label> <input type="radio" name="role_id" value="1" checked /> Student </label> <label> <input type="radio" name="role_id" value="2" /> Teacher </label> <x-input-error :messages="$errors->get('role')" class="mt-2" /></div> <div class="flex items-center justify-end mt-4"> <a class="underline text-sm text-gray-600 hover:text-gray-900" href="{{ route('login') }}"> {{ __('Already registered?') }}// ...Visually, it looks like this:
To save this role in the database, we modify the Registration Controller of Laravel Breeze and add role_id in both the validation and creation of the User.
app/Http/Controllers/Auth/RegisteredUserController.php:
public function store(Request $request){ $request->validate([ 'name' => ['required', 'string', 'max:255'], 'email' => ['required', 'string', 'email', 'max:255', 'unique:users'], 'password' => ['required', 'confirmed', Rules\Password::defaults()], 'role_id' => ['required', 'in:1,2'] ]); $user = User::create([ 'name' => $request->name, 'email' => $request->email, 'password' => Hash::make($request->password), 'role_id' => $request->role_id, ]);Ok great, so now our teachers can register!
But wait, they are redirected to the student's timetable... Let's fix this and create a separate page/layout/route/menu for the teacher.
So, our goal is to create a timetable page for the teacher that would use a different layout.
First, let's create a Controller, within a separate new namespace:
php artisan make:controller Teacher/TimetableControllerapp/Http/Controllers/Teacher/TimetableController.php:
namespace App\Http\Controllers\Teacher; use App\Http\Controllers\Controller; class TimetableController extends Controller{ public function index() { return view('teacher.timetable'); }}Notice: In the teacher's and the following admin's example, I won't even bother to create the logic in the controller, that's not the point of this tutorial. You will add your custom logic related to your individual projects, anyway.
Next, let's create a separate Blade file.
resources/views/teacher/timetable.blade.php:
<x-app-layout> <x-slot name="header"> <h2 class="font-semibold text-xl text-gray-800 leading-tight"> {{ __('Timetable') }} </h2> </x-slot> <div class="py-12"> <div class="max-w-7xl mx-auto sm:px-6 lg:px-8"> <div class="bg-white overflow-hidden shadow-sm sm:rounded-lg"> <div class="p-6 bg-white border-b border-gray-200"> Teacher's timetable coming soon. </div> </div> </div> </div></x-app-layout>And we create a new Route group, to link to that new Controller.
routes/web.php:
Route::middleware(['auth', 'verified']) ->prefix('teacher') ->name('teacher.') ->group(function() { Route::get('/timetable', [\App\Http\Controllers\Teacher\TimetableController::class, 'index']) ->name('timetable'); // ... other routes for teachers in the future });Now, let's work on the different layouts.
Both Blade files use the same layout at the moment: <x-app-layout>. It is a "fancy" way using Blade components for layouts in Laravel Breeze. The whole logic is here.
app/View/Components/AppLayout.php:
class AppLayout extends Component{ public function render() { return view('layouts.app'); }}And then the Blade itself:
resources/views/layouts/app.blade.php:
<!DOCTYPE html><html lang="{{ str_replace('_', '-', app()->getLocale()) }}"> <head> // ... </head> <body class="font-sans antialiased"> <div class="min-h-screen bg-gray-100"> @include('layouts.navigation') <!-- Page Heading --> @if (isset($header)) <header class="bg-white shadow"> <div class="max-w-7xl mx-auto py-6 px-4 sm:px-6 lg:px-8"> {{ $header }} </div> </header> @endif <!-- Page Content --> <main> {{ $slot }} </main> </div> </body></html>Alternatively, you may switch to the "classic" way of building layouts using template inheritance, but in this tutorial, I will follow the Laravel Breeze way.
So, to create a separate layout, we need to duplicate those two files. In fact, let's remove the "app" layout altogether and replace it with the Student and Teacher layouts.
app/View/Components/StudentLayout.php:
namespace App\View\Components; use Illuminate\View\Component; class StudentLayout extends Component{ public function render() { return view('layouts.student'); }}app/View/Components/TeacherLayout.php:
namespace App\View\Components; use Illuminate\View\Component; class TeacherLayout extends Component{ public function render() { return view('layouts.teacher'); }}Then, the Blade files - same duplication but separate files.
resources/views/layouts/student.blade.php:
<!DOCTYPE html><html lang="{{ str_replace('_', '-', app()->getLocale()) }}"> <head> // ... </head> <body class="font-sans antialiased"> <div class="min-h-screen bg-gray-100"> @include('layouts.navigation.student') // ... </div> </body></html>resources/views/layouts/teacher.blade.php:
<!DOCTYPE html><html lang="{{ str_replace('_', '-', app()->getLocale()) }}"> <head> // ... </head> <body class="font-sans antialiased"> <div class="min-h-screen bg-gray-100"> @include('layouts.navigation.teacher') // ... </div> </body></html>I deliberately skipped and commented on the irrelevant sections cause they repeat identically from the former app.blade.php layout.
In this tutorial, I will not get deeper into customizing the visual design of each area, but you can do it yourself, after we separate the layouts and you will be free to make any individual changes to them, without risking touching other templates.
Notice that I also separated the navigation files. We also have separate two files now. The former resources/views/layouts/navigation.blade.php is renamed into resources/views/layouts/navigation/student.blade.php without any changes, and for the teachers we duplicate that file into a new one, changing the links to the teacher's timetable.
resources/views/layouts/navigation/teacher.blade.php:
<nav x-data="{ open: false }" class="bg-white border-b border-gray-100"> <!-- Primary Navigation Menu --> <div class="max-w-7xl mx-auto px-4 sm:px-6 lg:px-8"> <div class="flex justify-between h-16"> <div class="flex"> <!-- Logo --> <div class="shrink-0 flex items-center"> <a href="{{ route('teacher.timetable') }}"> <x-application-logo class="block h-10 w-auto fill-current text-gray-600" /> </a> </div> <!-- Navigation Links --> <div class="hidden space-x-8 sm:-my-px sm:ml-10 sm:flex"> <x-nav-link :href="route('teacher.timetable')" :active="request()->routeIs('teacher.timetable')"> {{ __('Timetable') }} </x-nav-link> </div> </div> // ... </div> </div> <!-- Responsive Navigation Menu --> <div :class="{'block': open, 'hidden': ! open}" class="hidden sm:hidden"> <div class="pt-2 pb-3 space-y-1"> <x-responsive-nav-link :href="route('teacher.timetable')" :active="request()->routeIs('teacher.timetable')"> {{ __('Timetable') }} </x-responsive-nav-link> </div> // ... </div></nav>Now, we can finally change the layout in our main Blade files.
resources/views/student/timetable.blade.php:
<x-student-layout> // ... everything inside stays the same</x-student-layout>resources/views/teacher/timetable.blade.php:
<x-teacher-layout> // ... everything inside stays the same</x-teacher-layout>And finally, we can load /teacher/timetable in the browser after register/login, and see the teacher page:
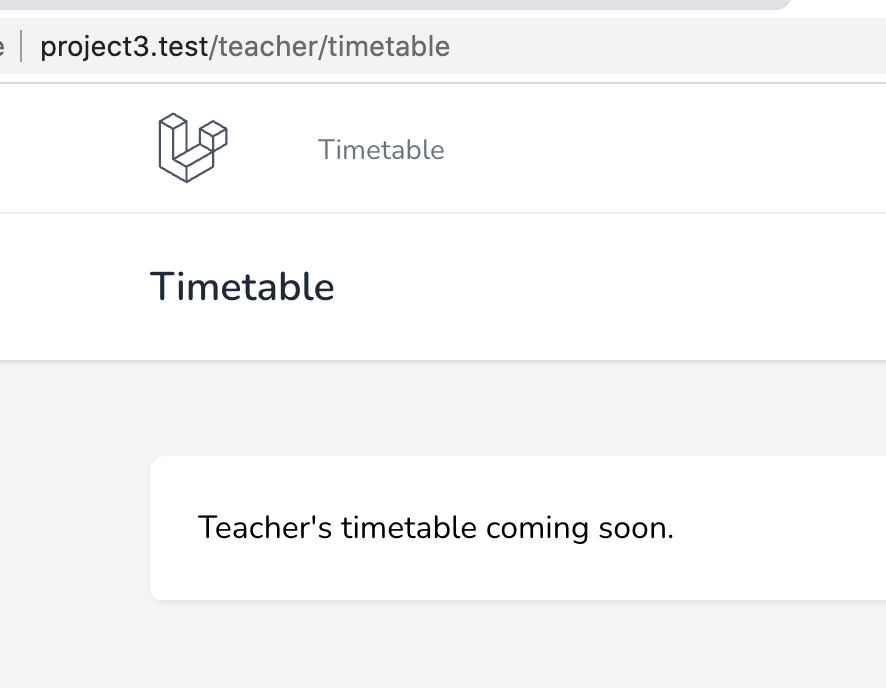
You would say that layout didn't change? Yes, visually, but it actually comes from the different Blade layout file. Let's make it different visually by adding some color to the background.
For example, let's change the main div background color from bg-gray-100 to bg-amber-50.
resources/views/layouts/teacher.blade.php:
<body class="font-sans antialiased"> <div class="min-h-screen bg-amber-50">Notice: to re-compile the styles, you may need to run npm run dev.
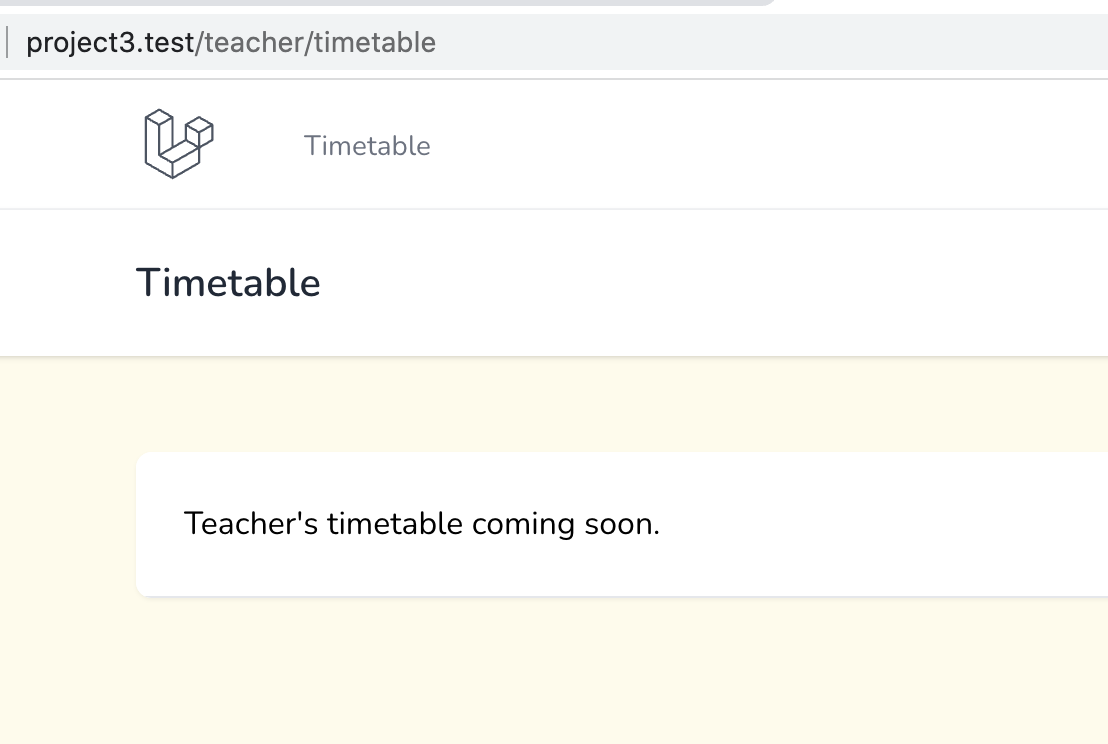
Cool, we separated the layouts! Now, let's work on redirecting different users to their own areas automatically.
As you may remember, we have this constant in the RouteServiceProvider:
public const HOME = '/student/timetable';So, whoever the user, would get redirected to the student area, which is wrong.
We need to create some kind of function that would return the redirection route based on the role of the user. You can place that function in various places of the application, but in my opinion, the most logical is the User model itself.
app/Models/User.php:
class User extends Authenticatable{ // ... public function getRedirectRoute() { return match((int)$this->role_id) { 1 => 'student.timetable', 2 => 'teacher.timetable', }; }}As you can see, I'm immediately using PHP match operator instead of a simple if-else, because I know that in the future we will have more roles, like Admin.
Also, I'm casting role_id to an integer, cause, during my tests, it sometimes returned as a string, and didn't match correctly, not sure why.
Now, we can use that function in both Login and Register Controllers.
app/Http/Controllers/Auth/AuthenticatedSessionController.php:
public function store(LoginRequest $request){ $request->authenticate(); $request->session()->regenerate(); return redirect()->route(auth()->user()->getRedirectRoute());}app/Http/Controllers/Auth/RegisteredUserController.php:
public function store(Request $request){ $request->validate([ 'name' => ['required', 'string', 'max:255'], 'email' => ['required', 'string', 'email', 'max:255', 'unique:users'], 'password' => ['required', 'confirmed', Rules\Password::defaults()], 'role_id' => ['required', 'in:1,2'] ]); $user = User::create([ 'name' => $request->name, 'email' => $request->email, 'password' => Hash::make($request->password), 'role_id' => $request->role_id, ]); event(new Registered($user)); Auth::login($user); return redirect()->route(auth()->user()->getRedirectRoute());}Ok, now our redirects work fine, and both students and teachers would not visibly see each other's areas.
But there's still a security problem with permissions.
Any user may access both the /student/timetable and /teacher/timetable URLs, no matter what role they have. So, let's work on that one next.
Roles and permissions in Laravel are a separate huge topic, and I have a long video about it. But in this case, we will implement just the restriction, with Middleware.
In other words, if a student tries to access the teacher area or vice versa, they would get a "Forbidden" page with a 403 status code.
Let's generate a middleware class.
php artisan make:middleware RoleMiddlewareInside of that class method handle(), we will add a parameter of $roleId, which we will pass from the routes. And then we check if the role is not as expected, and we abort the mission.
app/Http/Middleware/RoleMiddleware.php:
public function handle(Request $request, Closure $next, int $roleId){ if (auth()->user()->role_id != $roleId) { abort(403); } return $next($request);}Next, we assign this middleware a role, in the Kernel file, by adding it to the array.
app/Http/Kernel.php:
use App\Http\Middleware\RoleMiddleware; // ... protected $routeMiddleware = [ 'auth' => \App\Http\Middleware\Authenticate::class, // ... other middlewares 'role' => RoleMiddleware::class,];To use this Middleware with the new name of "role", we get back to the Routes file, and add this middleware to the route groups with a different parameter:
routes/web.php:
Route::middleware(['auth', 'verified', 'role:1']) ->prefix('student') ->name('student.') ->... Route::middleware(['auth', 'verified', 'role:2']) ->prefix('teacher') ->name('teacher.') ->...And that's it!
Now, I know this code doesn't look very readable: role:1 and role:2 are not clear. But if I put a string with a role name here, like role:student, then I would need to query the relationship each time, which would lead to performance issues. Another alternative would be to save the role as a string in the database, but I'm also not sure it would be an elegant solution.
Now, while we have our routes file opened, let me show you a trick to avoid a longer app/Http/Controllers/Teacher/TimetableController use every time.
Of course, you know that we can put this as a "use" statement above, and then use only the Controller name inside of Route::get(). But what if we have two controllers with the same name, like in our case?
Instead of importing Controller on top in "use", you can import a namespace. It would allow you to reference the controller with the namespace, but not the full path.
routes/web.php:
use Illuminate\Support\Facades\Route;use App\Http\Controllers\Student;use App\Http\Controllers\Teacher; Route::middleware(['auth', 'verified', 'role:1']) ->prefix('student') ->name('student.') ->group(function() { Route::get('/timetable', [Student\TimetableController::class, 'index']) ->name('timetable'); }); Route::middleware(['auth', 'verified', 'role:2']) ->prefix('teacher') ->name('teacher.') ->group(function() { Route::get('/timetable', [Teacher\TimetableController::class, 'index']) ->name('timetable'); });See how elegant the Route::get() becomes? You refer any controller just with Student\WhateverController instead of the full App\Http....
So, we've done everything successfully for the student and the teacher. Let's test our structure by adding another role to it, showing how easy it is now.
First, admins wouldn't be able to register, only login. And we will seed one admin by default.
database/seeders/DatabaseSeeder.php:
public function run(){ Role::create(['name' => 'Student']); Role::create(['name' => 'Teacher']); Role::create(['name' => 'Admin']); User::create([ 'name' => 'Admin', 'email' => 'admin@admin.com', 'password' => bcrypt('somesecretpassword'), 'role_id' => 3 ]);}Next, generate a controller:
php artisan make:controller Admin/StudentsControllerInside the new controller, load the upcoming view file:
namespace App\Http\Controllers\Admin; use App\Http\Controllers\Controller; class StudentsController extends Controller{ public function index() { return view('admin.students'); }}Next, let's add the route to that Controller. Just copy-paste the Route group with a different set of parameters.
routes/web.php:
use App\Http\Controllers\Admin; Route::middleware(['auth', 'verified', 'role:3']) ->prefix('admin') ->name('admin.') ->group(function() { Route::get('/students', [Admin\StudentsController::class, 'index']) ->name('students'); });Next, create that Blade file, by just opening the resources/views/teacher/timetable.blade.php and doing File -> Save as..., then changing the main layout.
resources/views/admin/students.blade.php:
<x-admin-layout> <x-slot name="header"> <h2 class="font-semibold text-xl text-gray-800 leading-tight"> {{ __('Students') }} </h2> </x-slot> <div class="py-12"> <div class="max-w-7xl mx-auto sm:px-6 lg:px-8"> <div class="bg-white overflow-hidden shadow-sm sm:rounded-lg"> <div class="p-6 bg-white border-b border-gray-200"> Student list coming soon. </div> </div> </div> </div></x-admin-layout>Next, create the admin layout. Open app/View/Components/StudentLayout.php and also do File -> Save as... with a few naming changes:
app/View/Components/AdminLayout.php:
class AdminLayout extends Component{ public function render() { return view('layouts.admin'); }}Next, open the resources/views/layouts/teacher.blade.php and also do File -> Save as... by changing the navigation route, and the background color.
resources/views/layouts/admin.blade.php:
<!DOCTYPE html><html lang="{{ str_replace('_', '-', app()->getLocale()) }}"> <head> // ... </head> <body class="font-sans antialiased"> <div class="min-h-screen bg-blue-50"> @include('layouts.navigation.admin') // ... </div> </body></html>Notice: to re-compile the styles for the background color change, you may need to run npm run dev.
Finally, open the resources/views/layouts/navigation/teacher.blade.php and also do File -> Save as... by changing the menu item from "Timetable" to "Students".
resources/views/layouts/navigation/admin.blade.php:
<nav x-data="{ open: false }" class="bg-white border-b border-gray-100"> <!-- Primary Navigation Menu --> <div class="max-w-7xl mx-auto px-4 sm:px-6 lg:px-8"> <div class="flex justify-between h-16"> <div class="flex"> <!-- Logo --> <div class="shrink-0 flex items-center"> <a href="{{ route('admin.students') }}"> <x-application-logo class="block h-10 w-auto fill-current text-gray-600" /> </a> </div> <!-- Navigation Links --> <div class="hidden space-x-8 sm:-my-px sm:ml-10 sm:flex"> <x-nav-link :href="route('admin.students')" :active="request()->routeIs('adimn.students')"> {{ __('Students') }} </x-nav-link> </div> </div> // ... </div> </div> <!-- Responsive Navigation Menu --> <div :class="{'block': open, 'hidden': ! open}" class="hidden sm:hidden"> <div class="pt-2 pb-3 space-y-1"> <x-responsive-nav-link :href="route('admin.students')" :active="request()->routeIs('admin.students')"> {{ __('Students') }} </x-responsive-nav-link> </div> // ... </div></nav>Finally, what should happen after the login of admin? Correct, the redirect to the new route. So, we add another parameter to the match() function in the User model.
app/Models/User.php:
public function getRedirectRoute(){ return match((int)$this->role_id) { 1 => 'student.timetable', 2 => 'teacher.timetable', 3 => 'admin.students' };}Let's try it out. We need to re-seed the database, of course:
php artisan migrate:fresh --seedAnd now, if we log in with admin@admin.com and somesecretpassword...
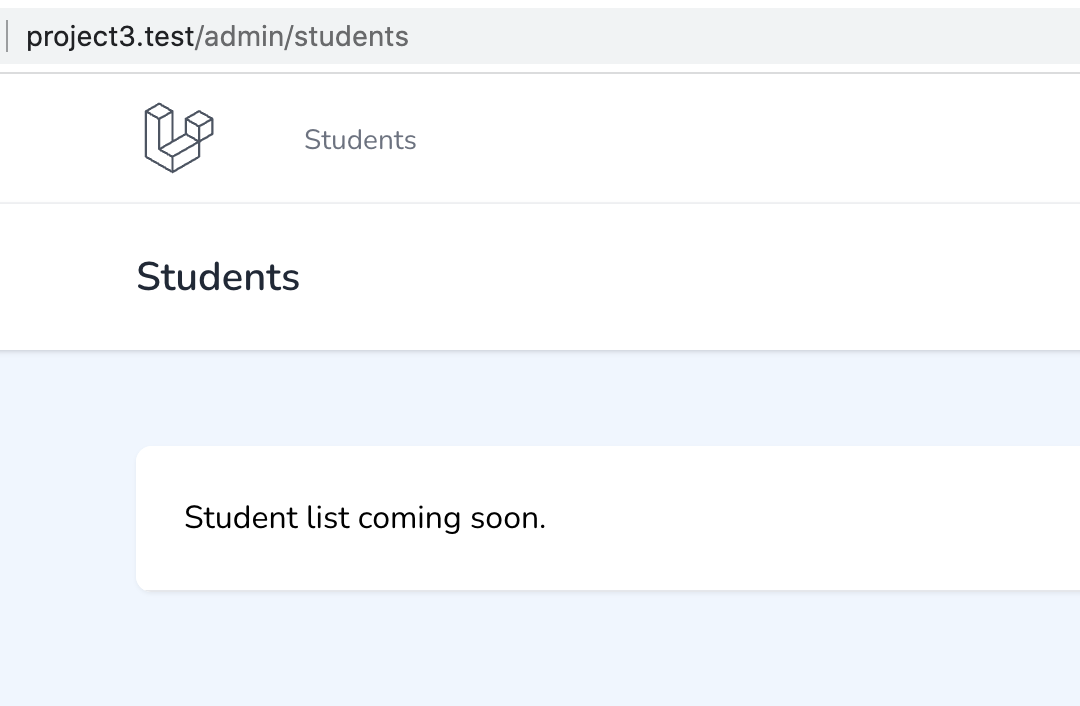
We have a page, with a different background, and different menu, job is done!
So this is our step-by-step tutorial project. Of course, as I said, along the way there were different ways to structure things, so if you have any comments or questions, drop them below.
Link to the repository: LaravelDaily/Laravel-Breeze-User-Roles-Areas