Now that we have created Migrations and have a table in the DB, let's show categories on the front end.
In this lesson, we will familiarize ourselves with an MVC (Model View Controller): three layers responsible for viewing data, getting data, and routing the inputs.
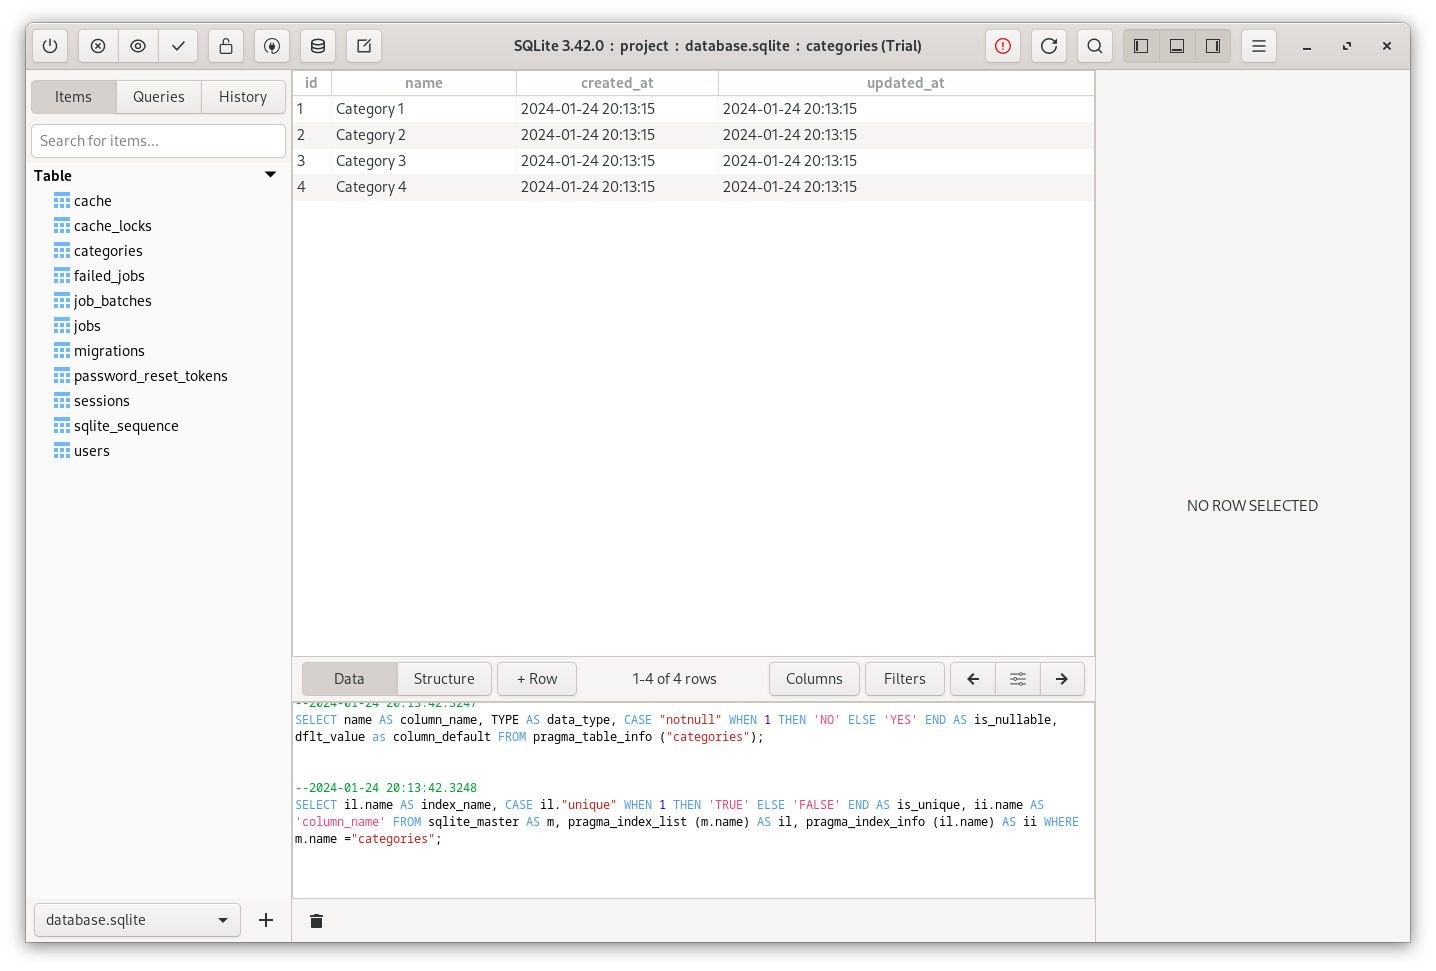
I have created four categories manually in the categories table. Later in this course, we will create a panel to manage them.

For now, let's show these four categories in the sidebar.
First, we need to get these categories from the DB. This is where the Controllers are introduced. Until now, we've used Routes with Route::view() for static pages.
If you want dynamic data, you need to introduce a Controller, which would get that dynamic data and pass it to the View.
You will use many artisan commands to make or run something. The Controller also can be created using an artisan command:
php artisan make:controller HomeController
Controllers are created in the app/Http/Controllers folder.
One controller can have multiple methods for different Routes. Let's create the index() method in the Controller, which will return the View.
app/Http/Controllers/HomeController.php:
class HomeController extends Controller{ public function index() { return view('home'); }}Now, let's pass some data to the View. For now, it will be hard-coded.
app/Http/Controllers/HomeController.php:
class HomeController extends Controller{ public function index() { $allCategories = ['Category 1', 'Category 2']; return view('home'); return view('home', ['categories' => $allCategories]); }}The view() helper accepts a second parameter as an array. In this case, in the home View file, data will be accessible as a $categories variable.
We can have a foreach loop in the View file to show these categories. In the View files, many Blade directives start with an "@" sign, which we saw previously in the welcome.blade.php.
resources/views/home.blade.php:
// ... <!-- Categories widget--><div class="card mb-4"> <div class="card-header">Categories</div> <div class="card-body"> <div class="row"> <div class="col-sm-6"> <ul class="list-unstyled mb-0"> @foreach($categories as $category) <li><a href="#!">{{ $category }}</a></li> @endforeach <li><a href="#!">Web Design</a></li> <li><a href="#!">HTML</a></li> <li><a href="#!">Freebies</a></li> </ul> </div> <div class="col-sm-6"> <ul class="list-unstyled mb-0"> <li><a href="#!">JavaScript</a></li> <li><a href="#!">CSS</a></li> <li><a href="#!">Tutorials</a></li> </ul> </div> </div> </div></div> // ...The @foreach() Blade directive is identical to the PHP foreach syntax. To show variables, we have already seen the syntax with curly brackets: {{ $variable }}.
So, we have a View file to show data and a Controller to pass the data. The final piece to the puzzle is the Route.
Instead of Route::view(), we must change it back to Route::get(). And instead of a closure function, we will use an array parameter. The first key will be the path to the Controller, and the second will be the method in that Controller.
routes/web.php:
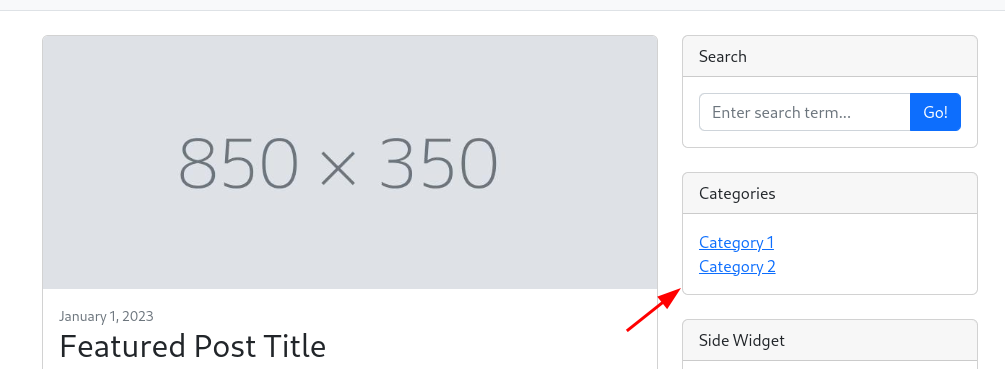
Route::view('/', 'home')->name('home'); Route::get('/', [\App\Http\Controllers\HomeController::class, 'index'])->name('home'); Route::view('contact', 'contact')->name('contact');Route::view('about', 'about')->name('about');After refreshing the home page, we see these two categories.

This is how the MVC works with routing, controller, and the view.
Let's introduce another layer: Model. It will responsible for getting the data from the database. In fact, there are two ways to fetch the data from a database. The first way is using query builder.
Using query builder, you use a DB facade, provide a table, and call methods.
app/Http/Controllers/HomeController.php:
use Illuminate\Support\Facades\DB; class HomeController extends Controller{ public function index() { $allCategories = ['Category 1', 'Category 2']; $allCategories = DB::table('categories')->get(); return view('home', ['categories' => $allCategories]); }}Remember to import a namespace.
Then, $categories become an object, and in the View, we need to specify which field to show.
resources/views/home.blade.php:
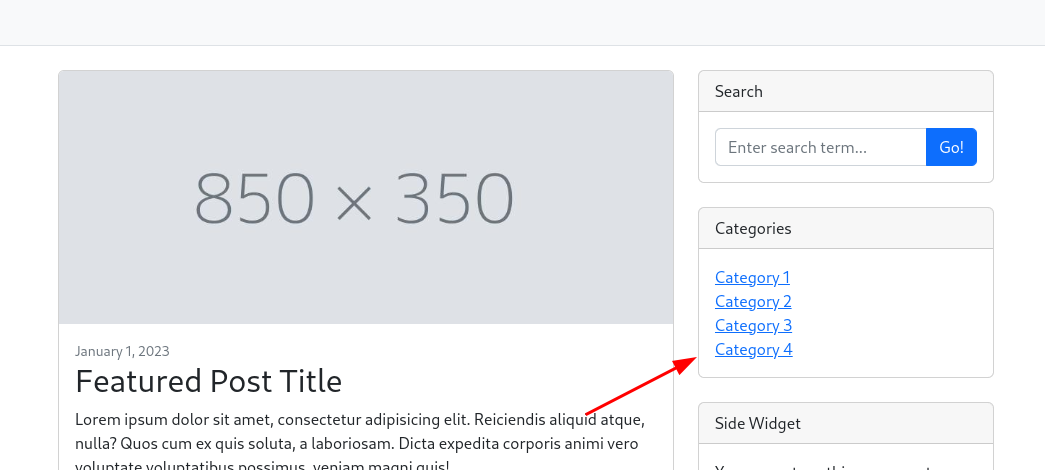
<ul class="list-unstyled mb-0"> @foreach($categories as $category) <li><a href="#!">{{ $category }}</a></li> <li><a href="#!">{{ $category->name }}</a></li> @endforeach</ul>Now, on the home page, we see four categories from the database.

But a more appropriate and most common way is to create a Model and use Eloquent. Eloquent is a database layer of Laravel.
It has many features and methods, so using Eloquent instead of a query builder is more convenient. To create a Model, run an artisan command.
php artisan make:model Category
Typically, a Model name is a database name in a singular form.
All model classes are created in the app/Models category, and they extend a Model class from Eloquent.
By default, if you use Laravel naming, the Category Model will know to use the categories table, as a plural form of the word "category". If you have another naming, you can specify the table name in the Model with the protected $table property.
app/Models/Category.php:
class Category extends Model{ use HasFactory; protected $table = 'categories'; }In the Controller, we can use the Category Model and call the all() method to fetch all records from the categories table.
app/Http/Controllers/HomeController.php:
use App\Models\Category; class HomeController extends Controller{ public function index() { $allCategories = DB::table('categories')->get(); $allCategories = Category::all(); return view('home', ['categories' => $allCategories]); }}Remember to import a namespace.
And that's it. We don't need to specify any tables. After refreshing the home page, we should see the same four categories.
In summary, it is essential to understand the whole workflow and request lifecycle of MVC: Route, Controller, Model, and View.
So, routes have a Controller and a method. In the Controllers method, you get the data and pass it to the view. The view is then displaying that data.