In this first lesson, we will create a new project with Laravel. The official Laravel documentation installation page has a lot of information. There is more than one way to install Laravel.
The official Laravel documentation is mainly based on a tool called Laravel Sail, which is based on Docker. But we won't be using Sail in this course. To use it, you must know at least the basics of Docker. And we don't want unnecessary prerequisites for beginners, right?
My personal preference is to use Laravel installer.
But before we use the installer, we need to prepare your machine.
To install Laravel, you must first install composer on your machine. Composer is later used to install every Laravel package.
Next, you need to have a PHP web server on your machine. There are different "bundle" tools for different operating systems that include Nginx/Apache, PHP, MySQL, and a few more things for PHP web-projects:
On my machine, I will be using Laravel Valet as this is my preferred way.
Notice: Laravel 11 requires at least PHP 8.2 version.
First, we need to install the Laravel Installer globally.
composer global require laravel/installerThen, we can use the command laravel new example-app to create a new Laravel project: the folder example-app will be created automatically with the Laravel files inside.
Let's create a new project.
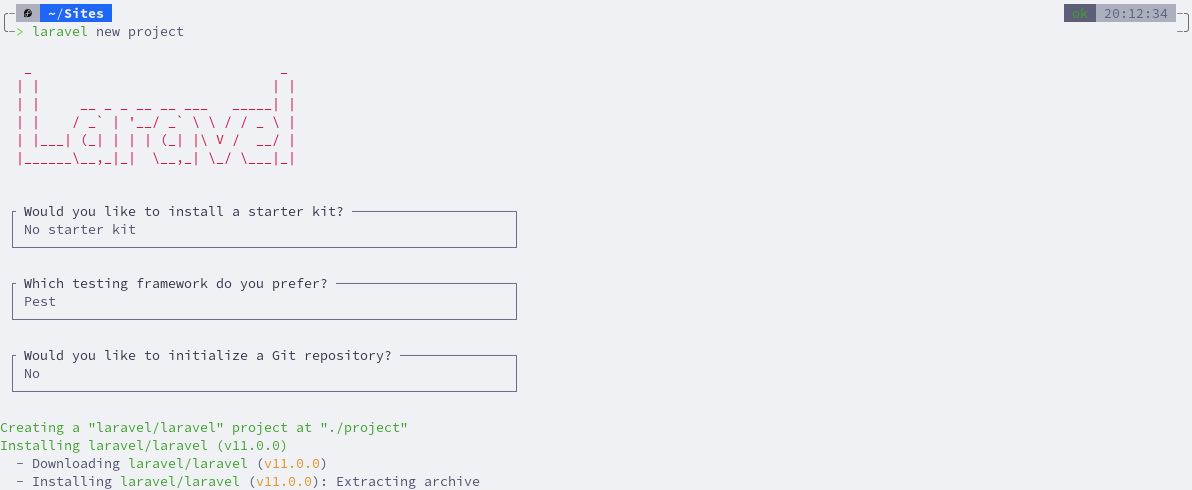
laravel new projectThis command will create a new Laravel project inside a project folder.
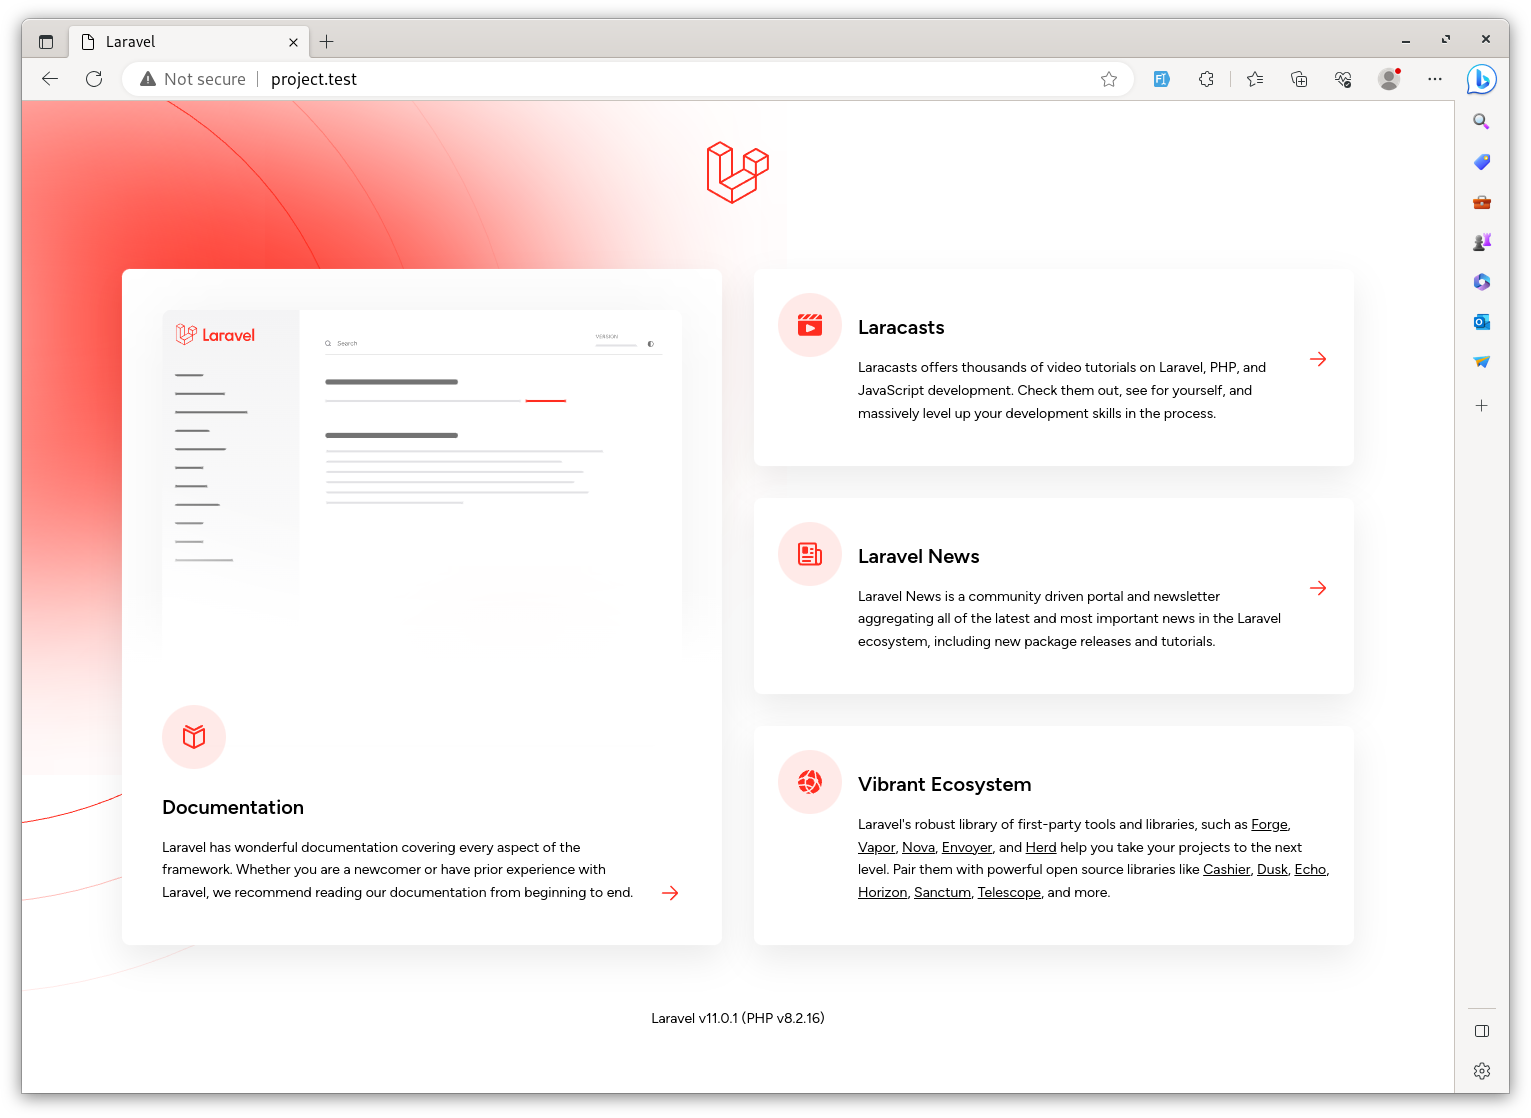
Because I am using Laravel Valet, it will automatically generate a domain project.test, which I can immediately launch in the browser.
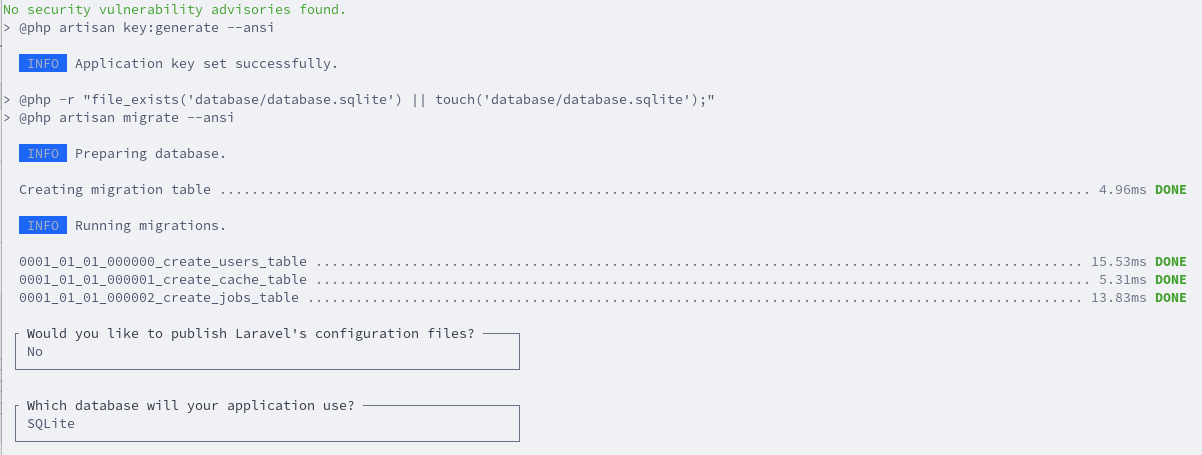
When the installer is executed, there are a few options to choose from:

Laravel uses SQLite as a default SQL database engine. After the Laravel project is created, the SQLite database is created automatically in the database folder, with the DB structure built from the Migration files (we will talk about migrations later).

Now, when we visit http://project.test in the browser, we can see the default Laravel welcome page.

If you open the project in the code editor and specifically the routes/web.php file, you will see one Route is defined.
routes/web.php:
use Illuminate\Support\Facades\Route; Route::get('/', function () { return view('welcome');});Here we have a / homepage, which leads to a View called welcome. Views are found in the resources/views folder.
So that's it, we installed Laravel!
In the next lesson, let's talk about how to create pages: how the routing and the views work.