In this lesson, let's replace the default Laravel homepage with some design. For the design, we will use a simple Bootstrap 5 blog template.
The default Laravel welcome page uses Tailwind, but for this lesson, I deliberately chose a Bootstrap example so you would focus just on Laravel structure first, without thinking about how to compile Tailwind classes with NPM. We will get to the Tailwind example later in the course.
First, let's prepare our Laravel project for the new Home Blade file.
Create a new View file home.blade.php inside the resources/views folder. Change the homepage Route to use this View file in the Routes files.
The second Route and welcome.blade.php with second.blade.php can be deleted.
routes/web.php:
Route::get('/', function () { return view('welcome'); return view('home'); }); Route::get('/second', function () { return view('second');});Next, download the Bootstrap template and extract it on your machine. Then, open the index.html in your editor. Copy all its content into View resources/views/home.blade.php.
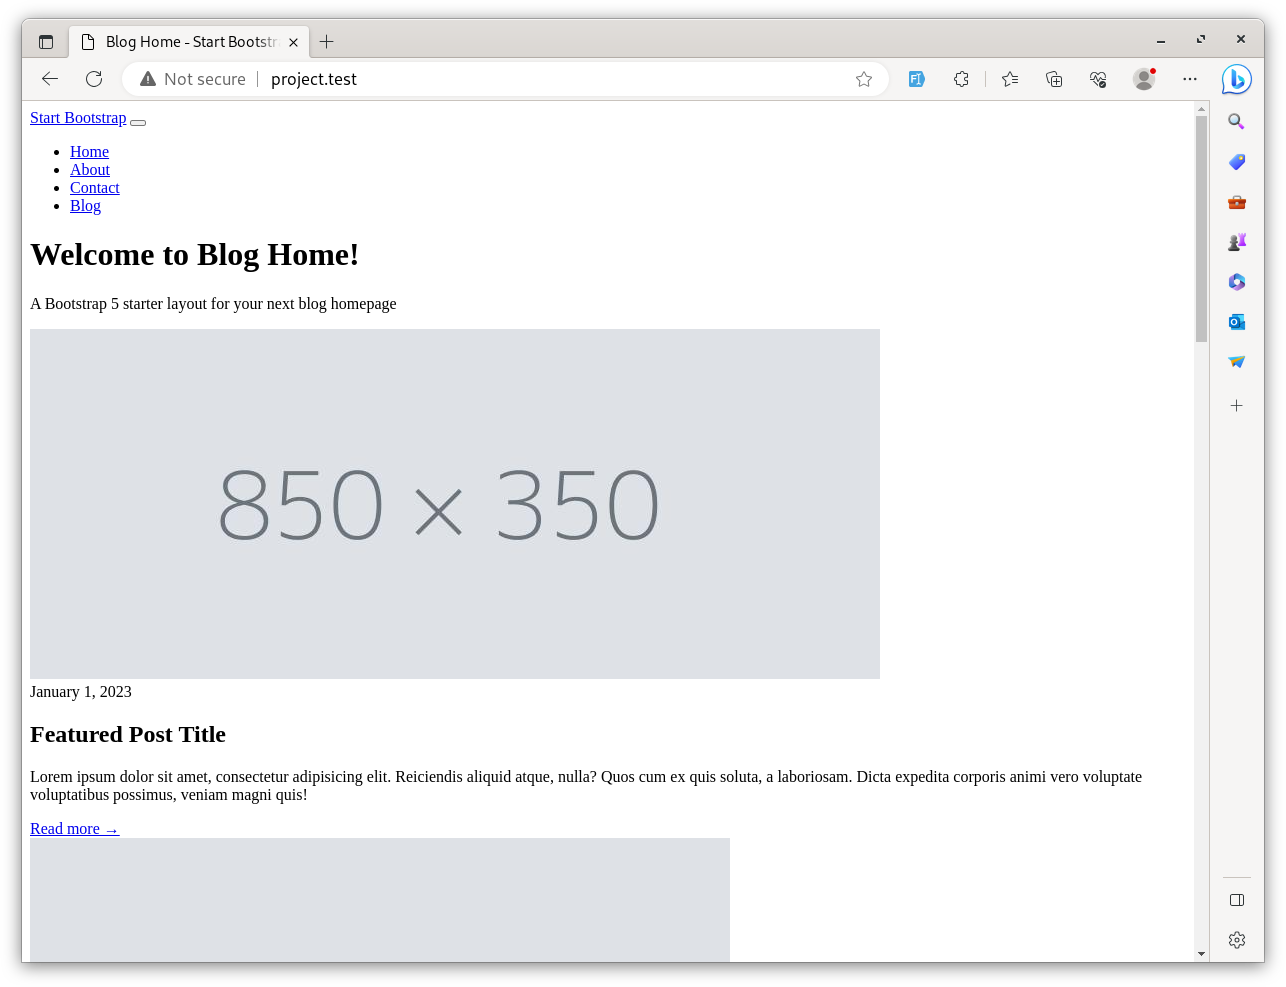
After refreshing the homepage, you should see the text, but it's without CSS styles.

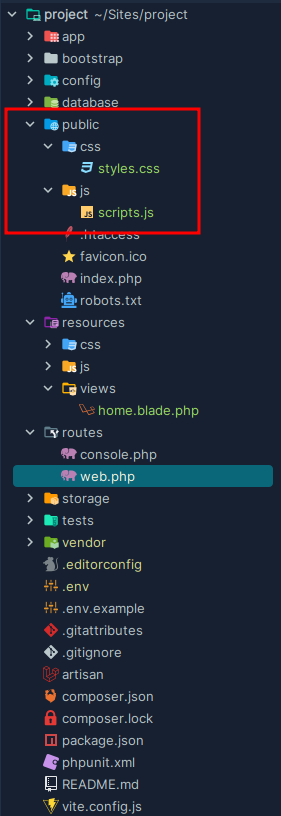
Now, we need to style this page. When you extracted the Bootstrap template, two folders were inside css and js. First, we must copy these two folders into our project's public folder.

Now, we must tell Laravel how to access these assets. For this, we will use an asset() helper function. This helper will return a full path to the asset, including the domain.
To use the asset() helper inside a Blade file, we must use the Blade syntax of {{ $variable }}, which just echoes the result. In our case, that $variable will be the result of the asset() method:
resources/views/home.blade.php:
<!DOCTYPE html><html lang="en"> <head> <meta charset="utf-8" /> <meta name="viewport" content="width=device-width, initial-scale=1, shrink-to-fit=no" /> <meta name="description" content="" /> <meta name="author" content="" /> <title>Blog Home - Start Bootstrap Template</title> <!-- Favicon--> <link rel="icon" type="image/x-icon" href="assets/favicon.ico" /> <!-- Core theme CSS (includes Bootstrap)--> <link href="css/styles.css" rel="stylesheet" /> <link href="{{ asset('css/styles.css') }}" rel="stylesheet" /> </head> <body> // ... <!-- Bootstrap core JS--> <script src="https://cdn.jsdelivr.net/npm/bootstrap@5.2.3/dist/js/bootstrap.bundle.min.js"></script> <!-- Core theme JS--> <script src="js/scripts.js"></script> <script src="{{ asset('js/scripts.js') }}"></script> </body></html>If we check the View Source code in the browser, we can see that asset has a full path URL.

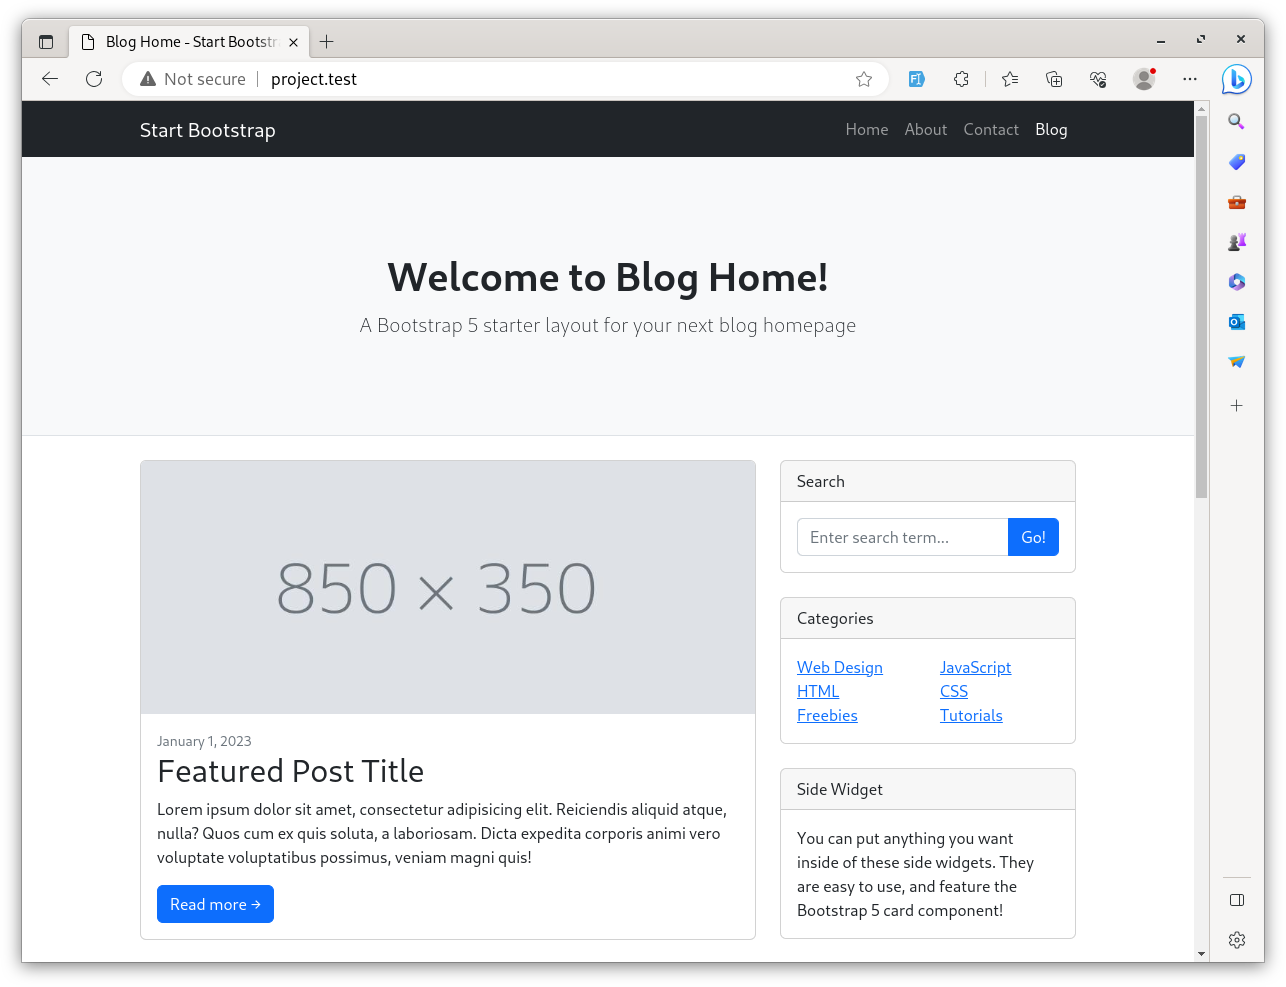
And the template now has proper styles.

Of course, now this template is just a static page, for now. But with this example, you should be able to understand the main thing: that the CSS/JS assets are put into the /public folder and are referenced with the asset() helper.
For Tailwind and more modern full-stack projects, the assets are actually placed in the resources/js and resources/css folders first and then are automatically compiled into the /public folder, with commands like npm run dev or npm run build. But again, for now, I wanted to focus on the Laravel structure, not diving too deep into the front-end and full-stack parts.
In the next lesson, we will build other pages, a common layout, and menu items.