.png-674b52414081f.jpg)
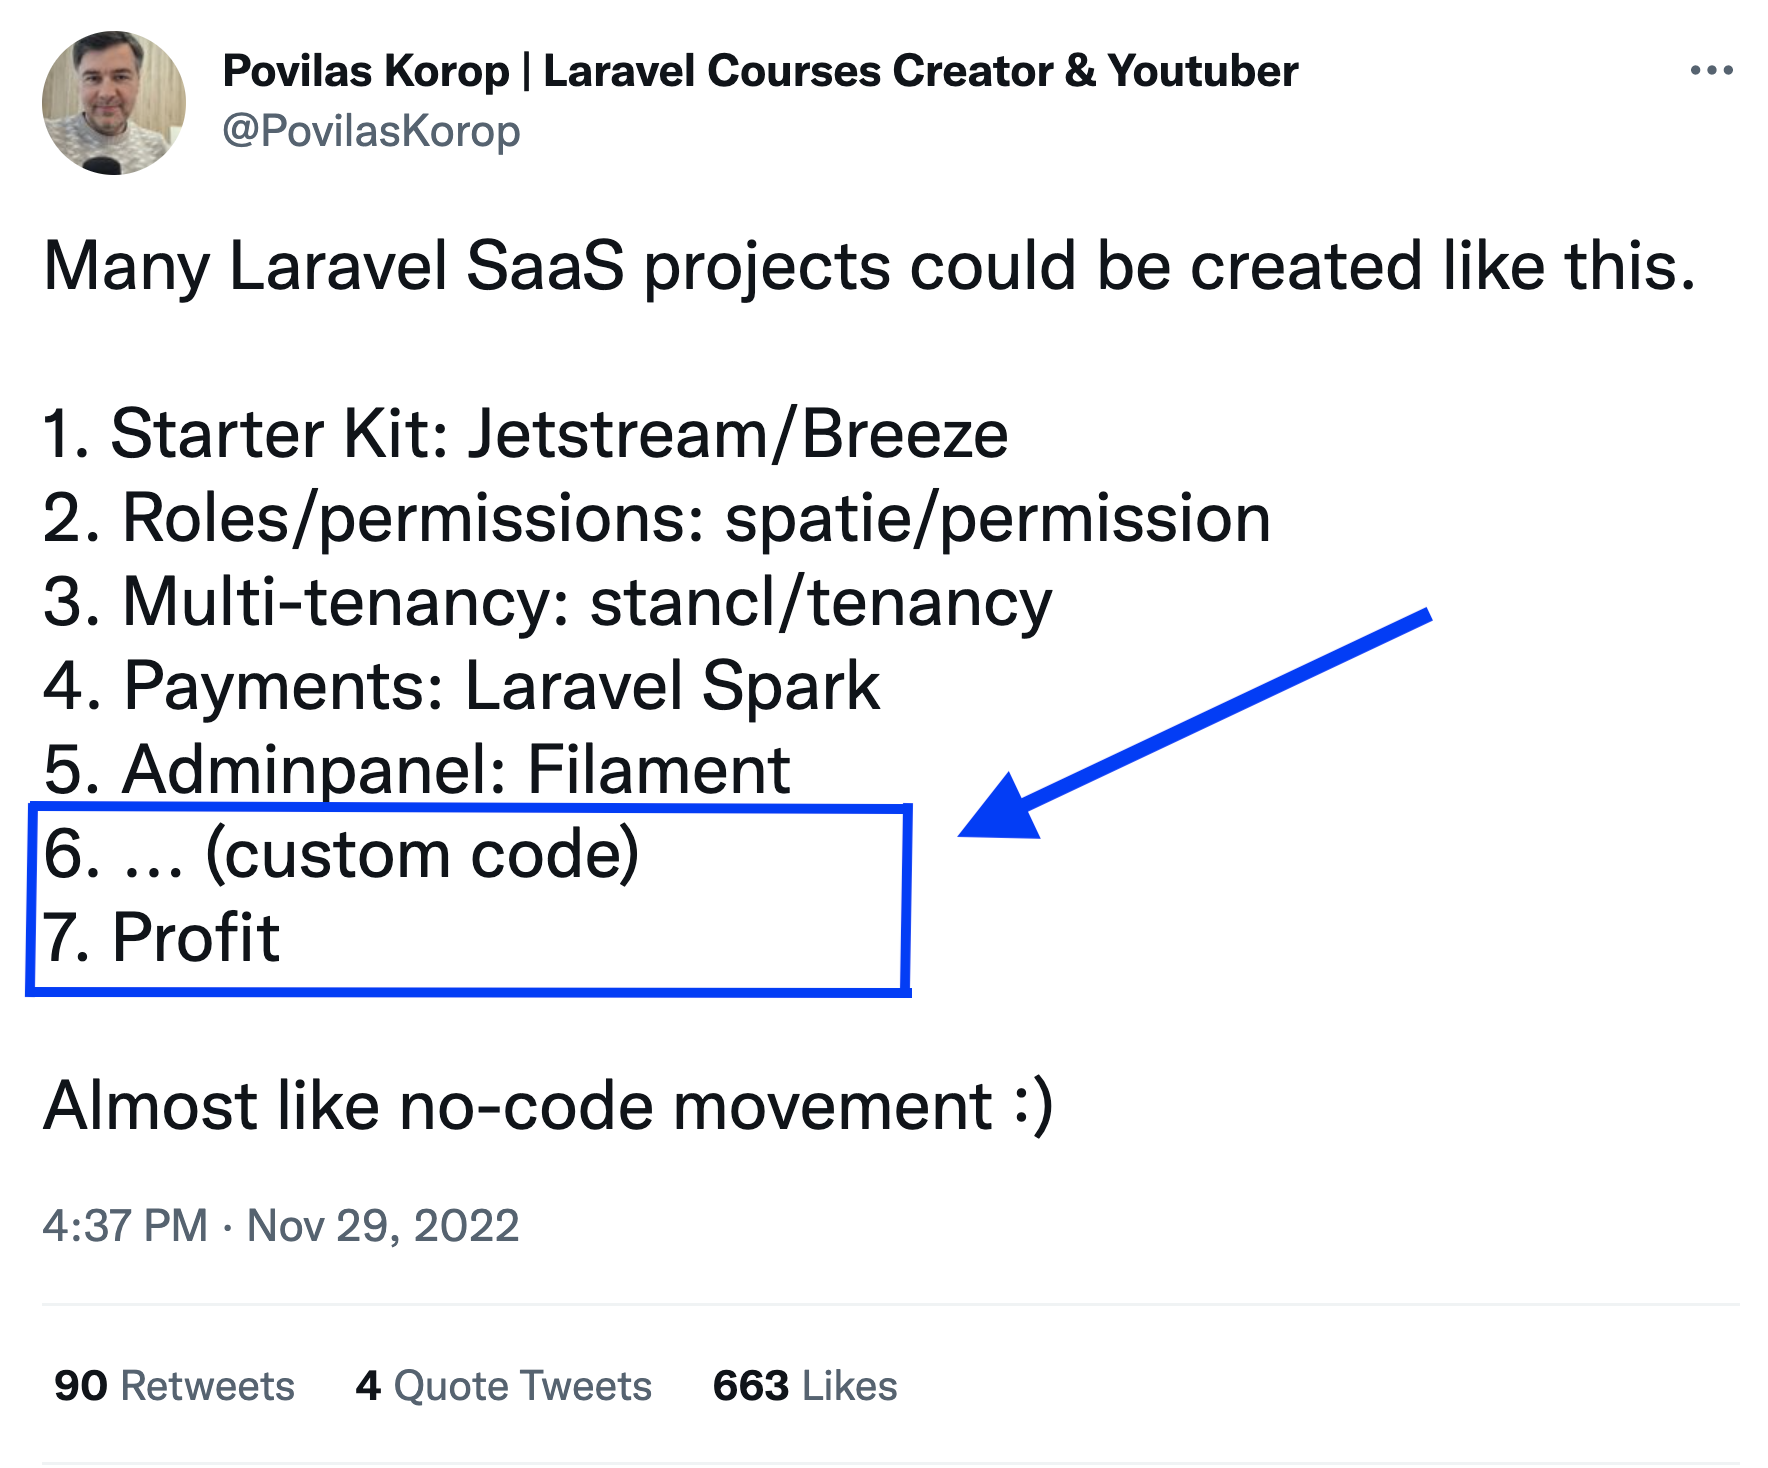
Some time ago I posted a tweet that went viral: it was my vision of how typical Laravel SaaS could be created, by just using the packages and tools from the community.
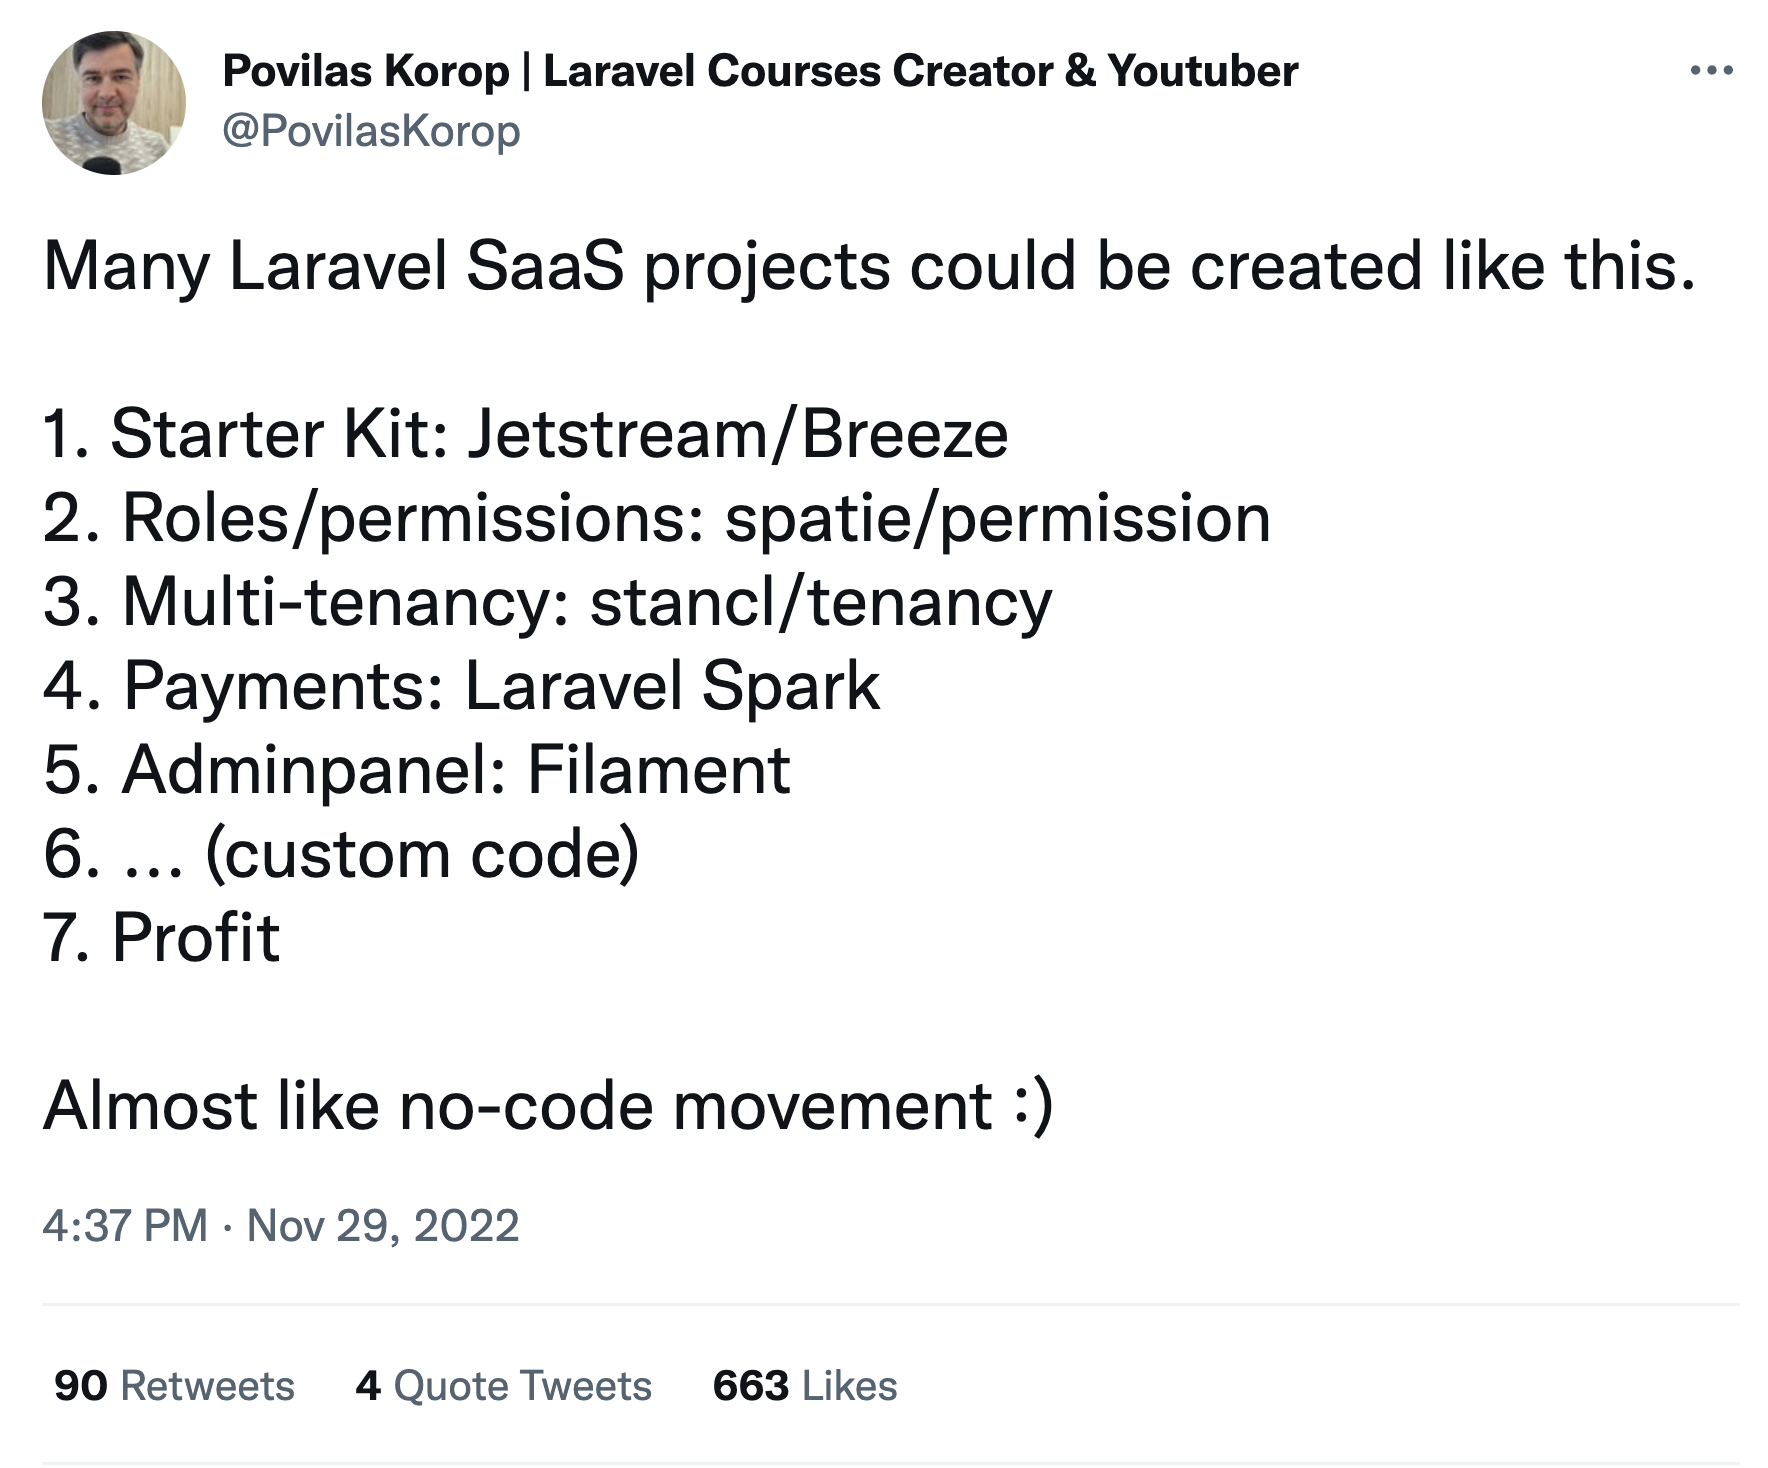
In this article, I decided to expand and actually show you how it can be done. That tweet above is exactly the plan of what we'll cover below, in this very long step-by-step tutorial.
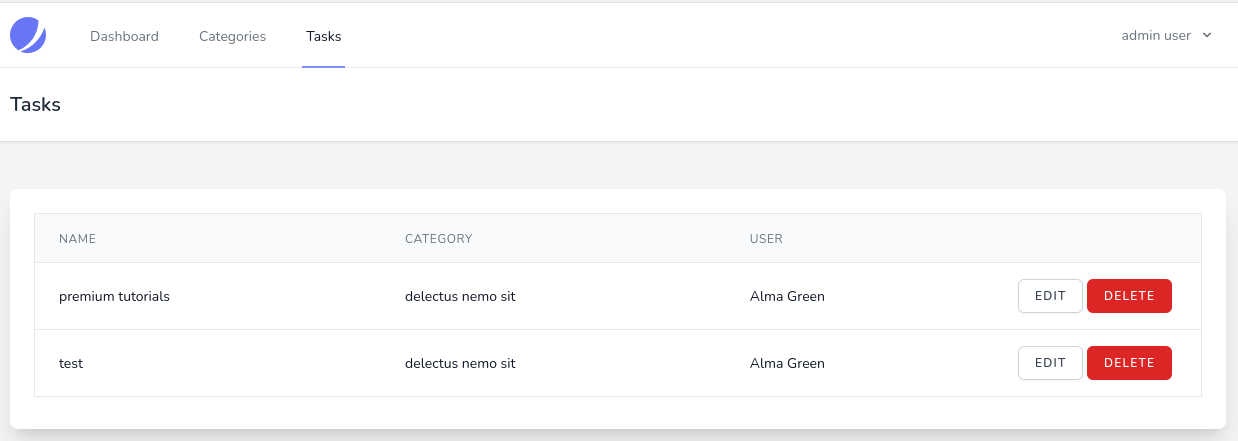
The example project is quite simple, with a few CRUDs to manage Tasks and their Categories. You can call it a simple to-do list with SaaS on top.
But we will cover the fundamentals of how those tools work, so you can adopt any of them to your needs, by reading their documentation and experimenting.
So, let's start from scratch, from installing Jetstream starter kit?
This part is easy and standard.
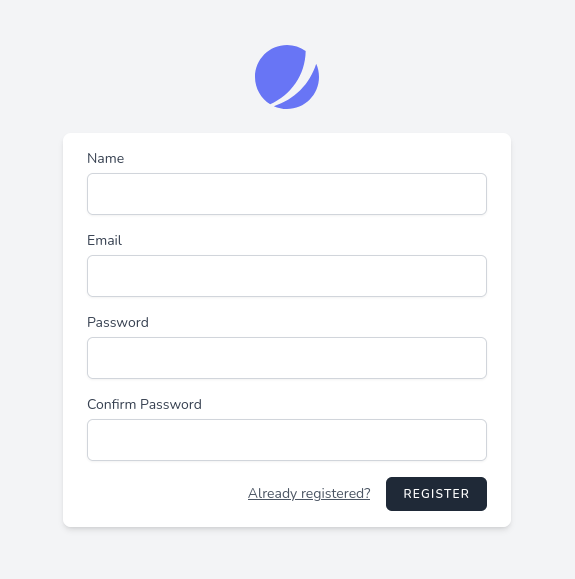
laravel new projectcd projectcomposer require laravel/jetstreamphp artisan jetstream:install livewireAnd that's it, we have default Laravel Jetstream installed:
If you plan to use Jetstreams teams functionality, install Jetstream using the
--teamsoption.
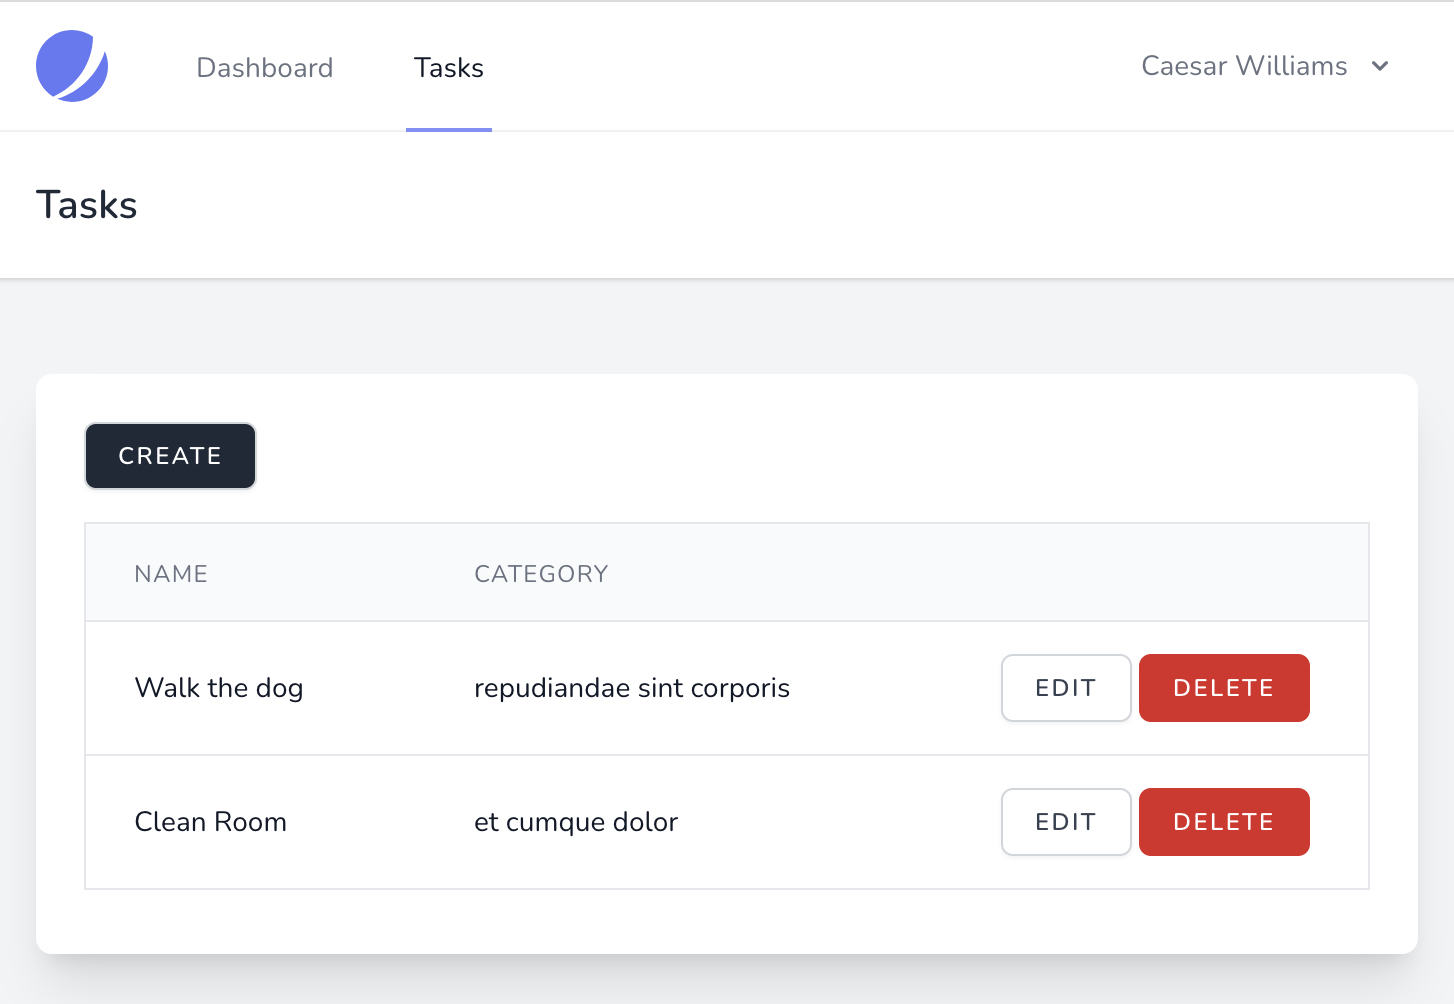
For this basic SaaS, we will create two CRUDs: Categories and Tasks. Categories will be managed by the admin, and each User will manage their own Tasks.
First, create a model with migration and controller.
php artisan make:model Category -mcphp artisan make:model Task -mcdatabase/migrations/xxxx_create_categories_table.php:
return new class extends Migration { public function up() { Schema::create('categories', function (Blueprint $table) { $table->id(); $table->string('name'); $table->timestamps(); }); }};database/migrations/xxxx_create_tasks_table.php:
return new class extends Migration { public function up() { Schema::create('tasks', function (Blueprint $table) { $table->id(); $table->string('name'); $table->foreignId('category_id')->constrained(); $table->foreignId('user_id')->constrained(); $table->timestamps(); }); }};Add two relations to the Task model:
app/Models/Task.php:
class Task extends Model{ protected $fillable = ['name', 'category_id', 'user_id']; public function category(): BelongsTo { return $this->belongsTo(Category::class); } public function user(): BelongsTo { return $this->belongsTo(User::class); } }routes/web.php:
Route::resource('categories', CategoryController::class)->except('show');Route::resource('tasks', TaskController::class)->except('show');Notice: did you know you can use ->except() like this, on resourceful routes? In our case, Controllers don't have the show() method, so it may (or should?) be disabled from the routes, too.
app/Http/Controllers/CategoryController.php:
class CategoryController extends Controller{ public function index(): View { $categories = Category::latest()->paginate(); return view('categories.index', compact('categories')); } public function create(): View { return view('categories.create'); } public function store(CategoryRequest $request): RedirectResponse { Category::create($request->validated()); return to_route('categories.index'); } public function edit(Category $category): View { return view('categories.edit', compact('category')); } public function update(CategoryRequest $request, Category $category): RedirectResponse { $category->update($request->validated()); return to_route('categories.index'); } public function destroy(Category $category) { $category->delete(); return to_route('categories.index'); }}Notice: did you know about the to_route() helper that appeared in Laravel 9? It's a shorter version of redirect()->route().
app/Http/Controllers/TaskController.php:
class TaskController extends Controller{ public function index() { $tasks = Task::with('category', 'user')->latest()->paginate(); return view('tasks.index', compact('tasks')); } public function create(): View { $categories = Category::pluck('name', 'id'); return view('tasks.create', compact('categories')); } public function store(TaskRequest $request): RedirectResponse { Task::create($request->validated()); return to_route('tasks.index'); } public function edit(Task $task): View { $categories = Category::pluck('name', 'id'); return view('tasks.edit', compact('task', 'categories')); } public function update(TaskRequest $request, Task $task): RedirectResponse { $task->update($request->validated()); return to_route('tasks.index'); } public function destroy(Task $task) { $task->delete(); return to_route('tasks.index'); }}For validation, we use Form Requests:
php artisan make:request CategoryRequestphp artisan make:request TaskRequestapp/Http/Requests/CategoryRequest.php:
class CategoryRequest extends FormRequest{ public function rules(): array { return [ 'name' => ['required', 'string'], ]; } public function authorize(): bool { return true; }}app/Http/Requests/TaskRequest.php:
class TaskRequest extends FormRequest{ public function rules(): array { return [ 'name' => ['required', 'string'], 'category_id' => ['integer', 'exists:categories,id'], ]; } public function authorize(): bool { return true; }}Visually, the layout of the forms and tables will be in Blade files, in the resources/views/categories and resources/views/tasks folders.
I don't want to stop on that because this tutorial is not about the Blade or design, so you can check how we made them in the demo repository.
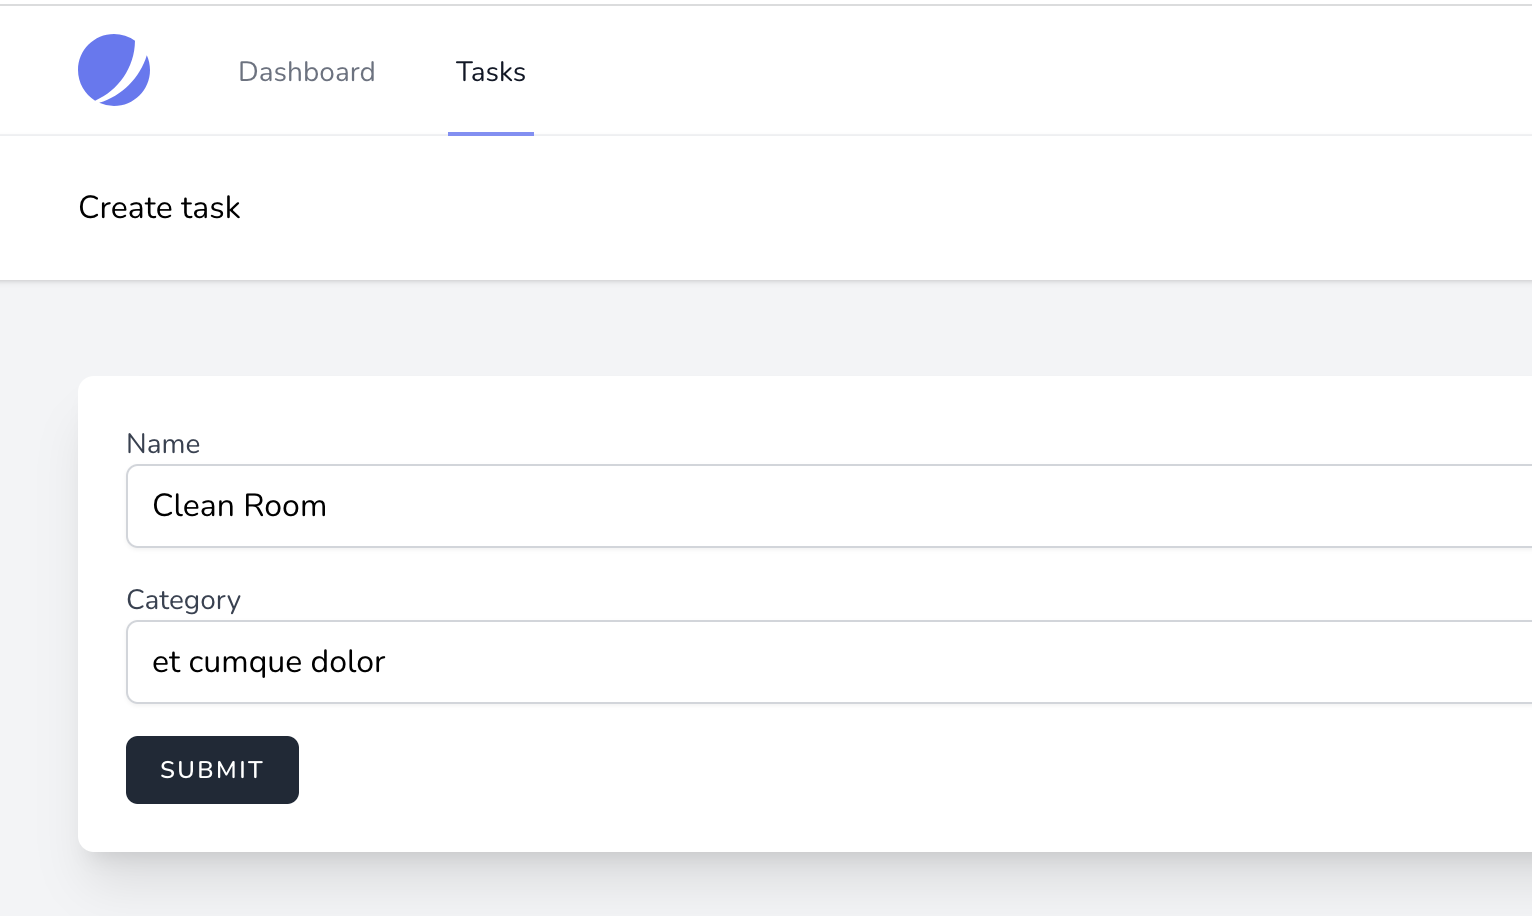
Here's what the form to create a task looks like:
In some cases, if it's a basic SaaS application, it might be just enough to check if the authenticated user is the owner of the record.
In our case, we need to restrict the Task model to be accessible only to its creator user.
We will use two Eloquent features for this:
First, create an Observer:
php artisan make:observer TaskObserver --model=TaskNext, in the newly created Observer you will need to add a new method creating() which will be called whenever Task is created to set user_id for the current user's ID:
app/Observers/TaskObserver.php:
class TaskObserver{ public function creating(Task $task): void { $task->user_id = auth()->user()->id; } }And the last step for the Observer: you need to register it in EventServiceProvider with the boot() method.
app/Providers/EventServiceProvider.php:
class EventServiceProvider extends ServiceProvider{ public function boot(): void { Task::observe(TaskObserver::class); }}As for Global Scope, there is no command to generate it. We will create a new directory called Scopes in the Models directory. There create a new class TaskOwnerScope which has to implement Scope and requires to have one method apply().
app/Models/Scopes/TaskOwnerScope.php:
class TaskOwnerScope implements Scope{ public function apply(Builder $builder, Model $model) { if (auth()->check()) { $builder->where('user_id', auth()->id()); } }}That's it: a very simple multi-tenancy for very basic SaaS needs.
Ok, I hear you saying: "What if we need a more complex Multi-Tenancy?"
Of course, you may not be building such a simple SaaS. You might need to use subdomains, or maybe it could be better to use multiple databases instead of a single one. To accomplish such tasks, you might use packages like these:
This is a very complex topic in itself, so I can recommend my 2.5-hour course Laravel Multi-Tenancy: All You Need To Know.
Next, we will set up roles with permissions, for two roles:
For that, we will use the spatie/laravel-permission package.
To install this package, run:
composer require spatie/laravel-permissionphp artisan vendor:publish --provider="Spatie\Permission\PermissionServiceProvider"And then add the HasRoles trait to the User model.
app/Models/User.php:
use Spatie\Permission\Traits\HasRoles; class User extends Authenticatable{ use HasRoles; }For more details on the installation, read the package official documentation.
Now, we create two roles: admin and user.
Role::create(['name' => 'admin']);Role::create(['name' => 'user']);You can put those two lines in various places:
In our case, we just put it in the main Seeder, along with 10 fake Categories, and create the first default Admin user.
database/seeders/DatabaseSeeder.php:
use App\Models\User;use App\Models\Category;use Illuminate\Database\Seeder;use Spatie\Permission\Models\Role; class DatabaseSeeder extends Seeder{ public function run() { Category::factory(10)->create(); Role::create(['name' => 'admin']); Role::create(['name' => 'user']); User::create([ 'name' => 'admin user', 'email' => 'admin@admin.com', 'password' => bcrypt('password'), ])->assignRole('admin'); }}See that ->assignRole()? Now, you will want to assign a role like this for the user after registration.
Jetstream uses Fortify package for authentication handling, which uses Action classes.
Registration is handled in the app/Actions/Fortify/CreateNewUser.php file. There you just need to use the method assignRole() after user creation.
class CreateNewUser implements CreatesNewUsers{ use PasswordValidationRules; public function create(array $input) { Validator::make($input, [ 'name' => ['required', 'string', 'max:255'], 'email' => ['required', 'string', 'email', 'max:255', 'unique:users'], 'password' => $this->passwordRules(), 'terms' => Jetstream::hasTermsAndPrivacyPolicyFeature() ? ['accepted', 'required'] : '', ])->validate(); return User::create([ 'name' => $input['name'], 'email' => $input['email'], 'password' => Hash::make($input['password']), ])->assignRole('user'); }}In our SaaS, only the admin will be able to see Categories CRUD. For that, add middleware in routes for categories.
routes/web.php:
Route::resource('categories', CategoryController::class) ->except('show') ->middleware('role:admin');Also, register the role middleware in app\Http\Kernel.php:
class Kernel extends HttpKernel{ // protected $routeMiddleware = [ // ... other middlewares 'role' => \Spatie\Permission\Middlewares\RoleMiddleware::class, ];}Next, we will let admin see everyone's tasks. For that, we need to edit the Global Scope and make it work only when a user has a user role.
app/Models/Scope/TaskOwnerScope.php:
class TaskOwnerScope implements Scope{ public function apply(Builder $builder, Model $model) { $builder->when(auth()->user()->hasRole('user'), function (Builder $builder) { $builder->where('user_id', auth()->id()); }); }}Another permission change: admin won't be able to create new tasks for users, just will be able to edit and delete them.
For that let's first hide the Create button in the Tasks list. To do that, wrap the button in the @role('user') blade directive.
resources/views/tasks/index.blade.php:
@role('user') <div class="flex mb-4"> <x-link-button class="bg-gray-800 hover:text-gray-200 text-white" href="{{ route('tasks.create') }}"> {{ __('Create') }} </x-link-button> </div>@endroleNext, add a condition to the Controller for the create() and store() methods, so that if the admin role tries visiting the URL directly, they would get a forbidden page.
app/Http/Controllers/TaskController.php:
class TaskController extends Controller{ // public function create(): View { abort_if(auth()->user()->hasRole('admin'), Response::HTTP_FORBIDDEN); $categories = Category::pluck('name', 'id'); return view('categories.create', compact('categories')); } public function store(TaskRequest $request): RedirectResponse { abort_if(auth()->user()->hasRole('admin'), Response::HTTP_FORBIDDEN); Task::create($request->validated()); return to_route('tasks.index'); } //}Also, for admin you might want to show the user who created the task. For that, just wrap the column with the @role('admin') Blade directive.
resources/views/tasks/index.blade.php:
<table class="min-w-full divide-y divide-gray-200 border rounded"> <thead> <tr> <th class="px-6 py-3 bg-gray-50 text-left"> <span class="text-xs leading-4 font-medium text-gray-500 uppercase tracking-wider"> Name </span> </th> <th class="px-6 py-3 bg-gray-50 text-left"> <span class="text-xs leading-4 font-medium text-gray-500 uppercase tracking-wider"> Category </span> </th> @role('admin') <th class="px-6 py-3 bg-gray-50 text-left"> <span class="text-xs leading-4 font-medium text-gray-500 uppercase tracking-wider"> User </span> </th> @endrole <th class="px-6 py-3 bg-gray-50 text-left w-52"> <span class="text-xs leading-4 font-medium text-gray-500 uppercase tracking-wider"></span> </th> </tr> </thead> <tbody class="bg-white divide-y divide-gray-200 divide-solid"> @foreach($tasks as $task) <tr class="bg-white"> <td class="px-6 py-4 whitespace-no-wrap text-sm leading-5 text-gray-900"> {{ $task->name }} </td> <td class="px-6 py-4 whitespace-no-wrap text-sm leading-5 text-gray-900"> {{ $task->category->name }} </td> @role('admin') <td class="px-6 py-4 whitespace-no-wrap text-sm leading-5 text-gray-900"> {{ $task->user->name }} </td> @endrole <td class="px-6 py-4 whitespace-no-wrap text-sm leading-5 text-gray-900"> // ... edit/delete actions </td> </tr> @endforeach </tbody></table>
As I said at the start of this article, if you need to use teams/companies functionality, you better install Jetstream with teams while your project is fresh, cause this is a fundamental decision that affects all the further structure.
So, in this section, I will repeat the same process as in the whole article above, just in a shorter version: almost the same logic of changes, but repeated for the Jetstream Teams version.
First, we need to modify the registration Action class: will assign a Role to a user after registration, at the same place where Fortify assigns the Team.
app/Actions/Fortify/CreateNewUser.php:
class CreateNewUser implements CreatesNewUsers{ use PasswordValidationRules; public function create(array $input) { Validator::make($input, [ 'name' => ['required', 'string', 'max:255'], 'email' => ['required', 'string', 'email', 'max:255', 'unique:users'], 'password' => $this->passwordRules(), 'terms' => Jetstream::hasTermsAndPrivacyPolicyFeature() ? ['accepted', 'required'] : '', ])->validate(); return DB::transaction(function () use ($input) { return tap(User::create([ 'name' => $input['name'], 'email' => $input['email'], 'password' => Hash::make($input['password']), ]), function (User $user) { $user->assignRole('user'); $this->createTeam($user); }); }); } //}Next, for Tasks, we need to add the team_id column.
database/migrations/xxxx_create_tasks_table.php:
return new class extends Migration { public function up() { Schema::create('tasks', function (Blueprint $table) { $table->id(); $table->string('name'); $table->foreignId('category_id')->constrained(); $table->foreignId('user_id')->constrained(); $table->foreignId('team_id')->constrained(); $table->timestamps(); }); }};Then, when creating a Task we need to set team_id for the current User's team ID.
app/Observers/TaskObserver.php:
class TaskObserver{ public function creating(Task $task): void { $task->user_id = auth()->id(); $task->team_id = auth()->user()->current_team_id; }}Finally, using our Global Scope, we need to get Tasks also from the current team.
app/Models/Scopes/TaskOwnerScope.php:
class TaskOwnerScope implements Scope{ public function apply(Builder $builder, Model $model) { $builder->when(auth()->user()->hasRole('user'), function (Builder $builder) { $builder->where('user_id', auth()->id()) ->orWhere('team_id', auth()->user()->current_team_id); }); }}And that's it, now every user sees the Tasks from their Team, and not only created by themselves.
If you want to make your application premium, so users would pay for the usage, the most popular way is to add monthly/yearly subscriptions. In Laravel, there's one official first-party tool that can help to do that easily.
This will be the only tool in this tutorial that is NOT free.
Laravel Spark costs $99 per project or $199 for unlimited use. It may look like a lot at a first glance, but read the tutorial below and think how much time it would take you to implement all that process manually. If you have some money to invest, it's a no-brainer purchase.
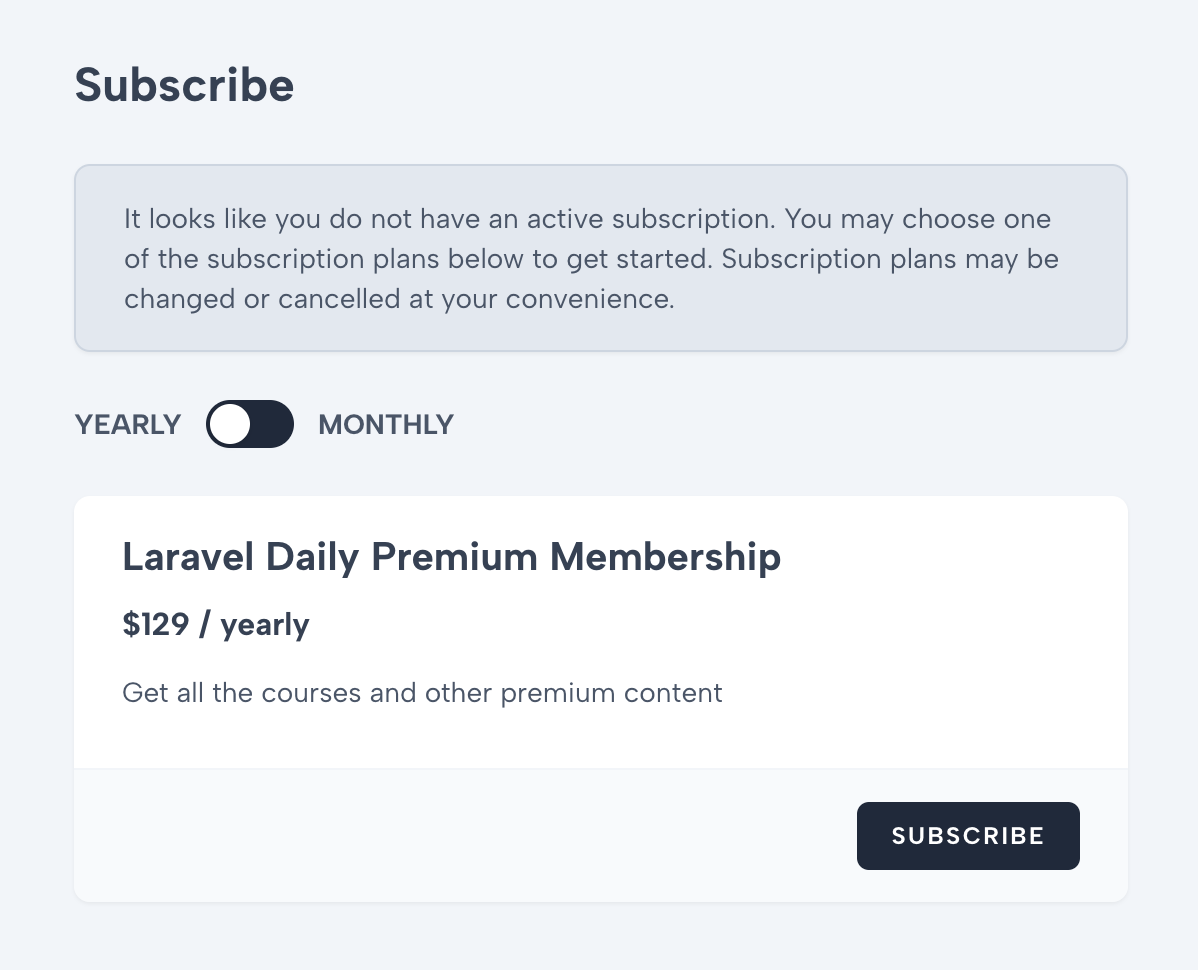
After installing and configuring Spark, you will have a separate /billing page with the dashboard containing all possible features for users: subscribing to the plan, managing payment methods, downloading receipts, etc.
Laravel Spark supports two payment methods:
So if you need some alternative or local payment method, Spark is not for you.
Stripe and Paddle work differently as payment providers: Stripe just provides payment API for you to use, whereas Paddle becomes your merchant, collecting money for you and taking care of invoicing as well.
But from a technical point of view, within the Laravel ecosystem, they work pretty similarly.
Under the hood, Laravel Spark uses one of those free packages for billing: Cashier Stripe or Cashier Paddle.
In this tutorial, I will not actually install Spark into our Jetstream CRUD, because I don't have a spare license, but I will show you a step-by-step process.
Before following the official installation instructions, you need to purchase the license at spark.laravel.com for one project or for unlimited use.
Then, add this to your composer.json:
"repositories": [ { "type": "composer", "url": "https://spark.laravel.com" }], "require": { // ... other requirements "laravel/spark-stripe": "^2.0" // ... or laravel/spark-paddle if you use Paddle},Then, you run composer update which will ask for your Spark license credentials.
Finally, you need to run a specific installation command and then launch migrations:
php artisan spark:installphp artisan migrateThose migrations will add Cashier's DB tables and some fields to the users table.
After installation, you have a file config/spark.php where you need to configure two things:
For the first question, in most cases, you shouldn't change anything in the config: in the majority of projects, the User model is actually the default subscriber, and that's fine.
But you do need to add the Trait into the app/Models/User.php:
use Spark\Billable; class User extends Authenticatable{ use Billable;}As for subscription plans, it may be a bit more complicated, depending on which one you use, Stripe or Paddle.
The main thing is that you need to create those subscription plans in Stripe/Paddle and have the IDs of those plans ready to put into the config.
A typical config/spark.php from the docs looks like this:
'billables' => [ 'user' => [ 'model' => User::class, 'trial_days' => 5, 'plans' => [ [ 'name' => 'Standard', 'short_description' => 'This is a short, human friendly description of the plan.', 'monthly_id' => env('SPARK_STANDARD_MONTHLY_PLAN', 1000), 'yearly_id' => env('SPARK_STANDARD_YEARLY_PLAN', 1001), 'features' => [ 'Feature 1', 'Feature 2', 'Feature 3', ], ], ], ],]See that env('SPARK_STANDARD_MONTHLY_PLAN', 1000)? So yeah, you need to put this SPARK_STANDARD_MONTHLY_PLAN=xxxxx in your .env file, with xxxxx replaced by the ID from Stripe/Paddle.
Why .env? It allows you to have different plan IDs for any environment: different for local, testing, or production.
Finally, in the same .env file you should have the credentials for Stripe/Paddle APIs.
CASHIER_CURRENCY=USDCASHIER_CURRENCY_LOCALE=en # For Stripe:STRIPE_KEY=pk_test_exampleSTRIPE_SECRET=sk_test_exampleSTRIPE_WEBHOOK_SECRET=sk_test_example # For Paddle:PADDLE_SANDBOX=truePADDLE_VENDOR_ID=your-paddle-vendor-idPADDLE_VENDOR_AUTH_CODE=your-paddle-vendor-auth-codePADDLE_PUBLIC_KEY="-----BEGIN PUBLIC KEY-----MIICIjANBiuqhiiG9w0BAQEFXAOCAg8AMIIjjgKCAraAyj/UyC89sqpOnpEZcM76guppK9vfF7balLj87rE9VXq5...EAAQ==-----END PUBLIC KEY-----"And that's it, now you can log into your project, launch the /billing URL and see the dashboard for choosing the plans!

At this point, Spark will take care of the payments: when someone clicks Subscribe, it will open the Stripe/Paddle form and process the payments.
But it will NOT take care of updating your database data after the successful payment, so your Users wouldn't actually activate the subscription. For that, you need to register so-called webhooks.
Generally, the term "webhook" usually refers to calling some external URL or endpoint, after some action in the system. In our case, we need to call our project URL automatically whenever Stripe/Paddle successful payment happens.
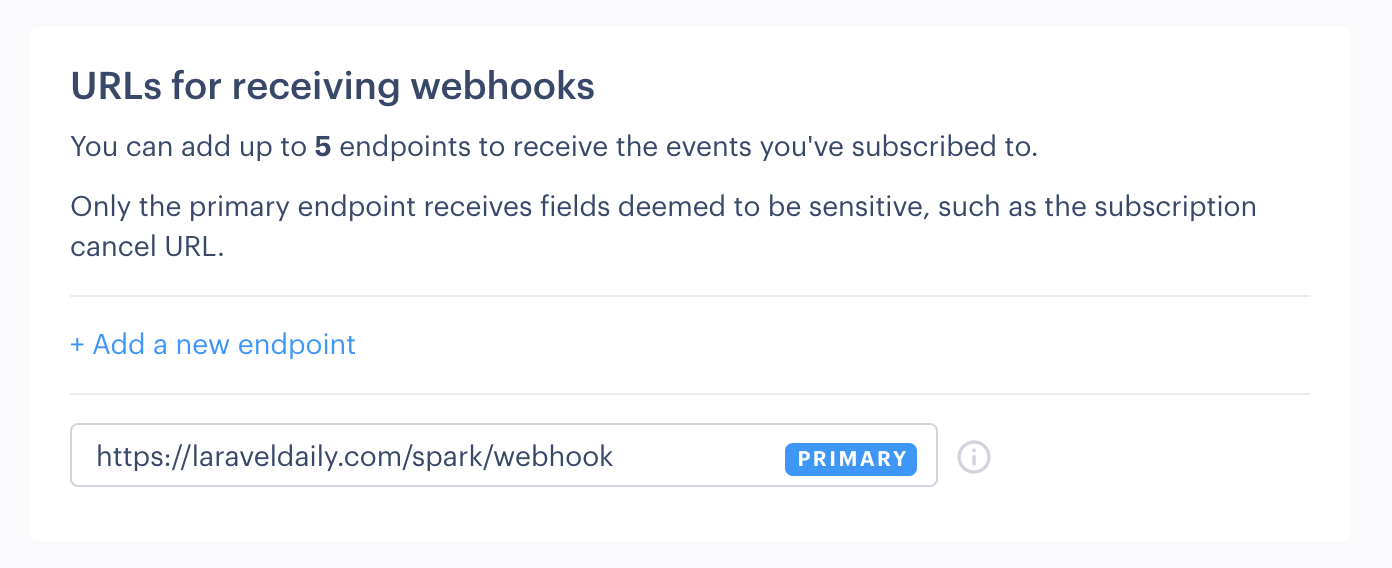
For that, both payment providers offer a wide range of webhook events, but the main thing that we need to know is that the webhook URL should be https://[yourproject.com]/spark/webhook: you need to specify it on Stripe/Paddle dashboard.
Paddle example:
Finally, whenever in your code you want to check if the user has an active subscription like if you want to show/hide a menu item or check the permission, you just use this:
if (auth()->user()->subscribed)Or, even shorter, you may use a middleware Spark\Http\Middleware\VerifyBillableIsSubscribed, and add it to specific routes.
And that's pretty much all you need to know about Laravel Spark for a typical basic SaaS. For more details, dive into the official documentation of Spark.
Currently, our administrator user works within the same Jetstream-powered application, just has access to different menu items on top. But what if you want to have a separate admin panel to manage Categories, and something else in the future?
For that, we can use a free popular package Filament. I have a separate 2-hour course called Laravel Filament Admin: Practical Course but in this tutorial I will briefly show you how to create the adminpanel for our small project.
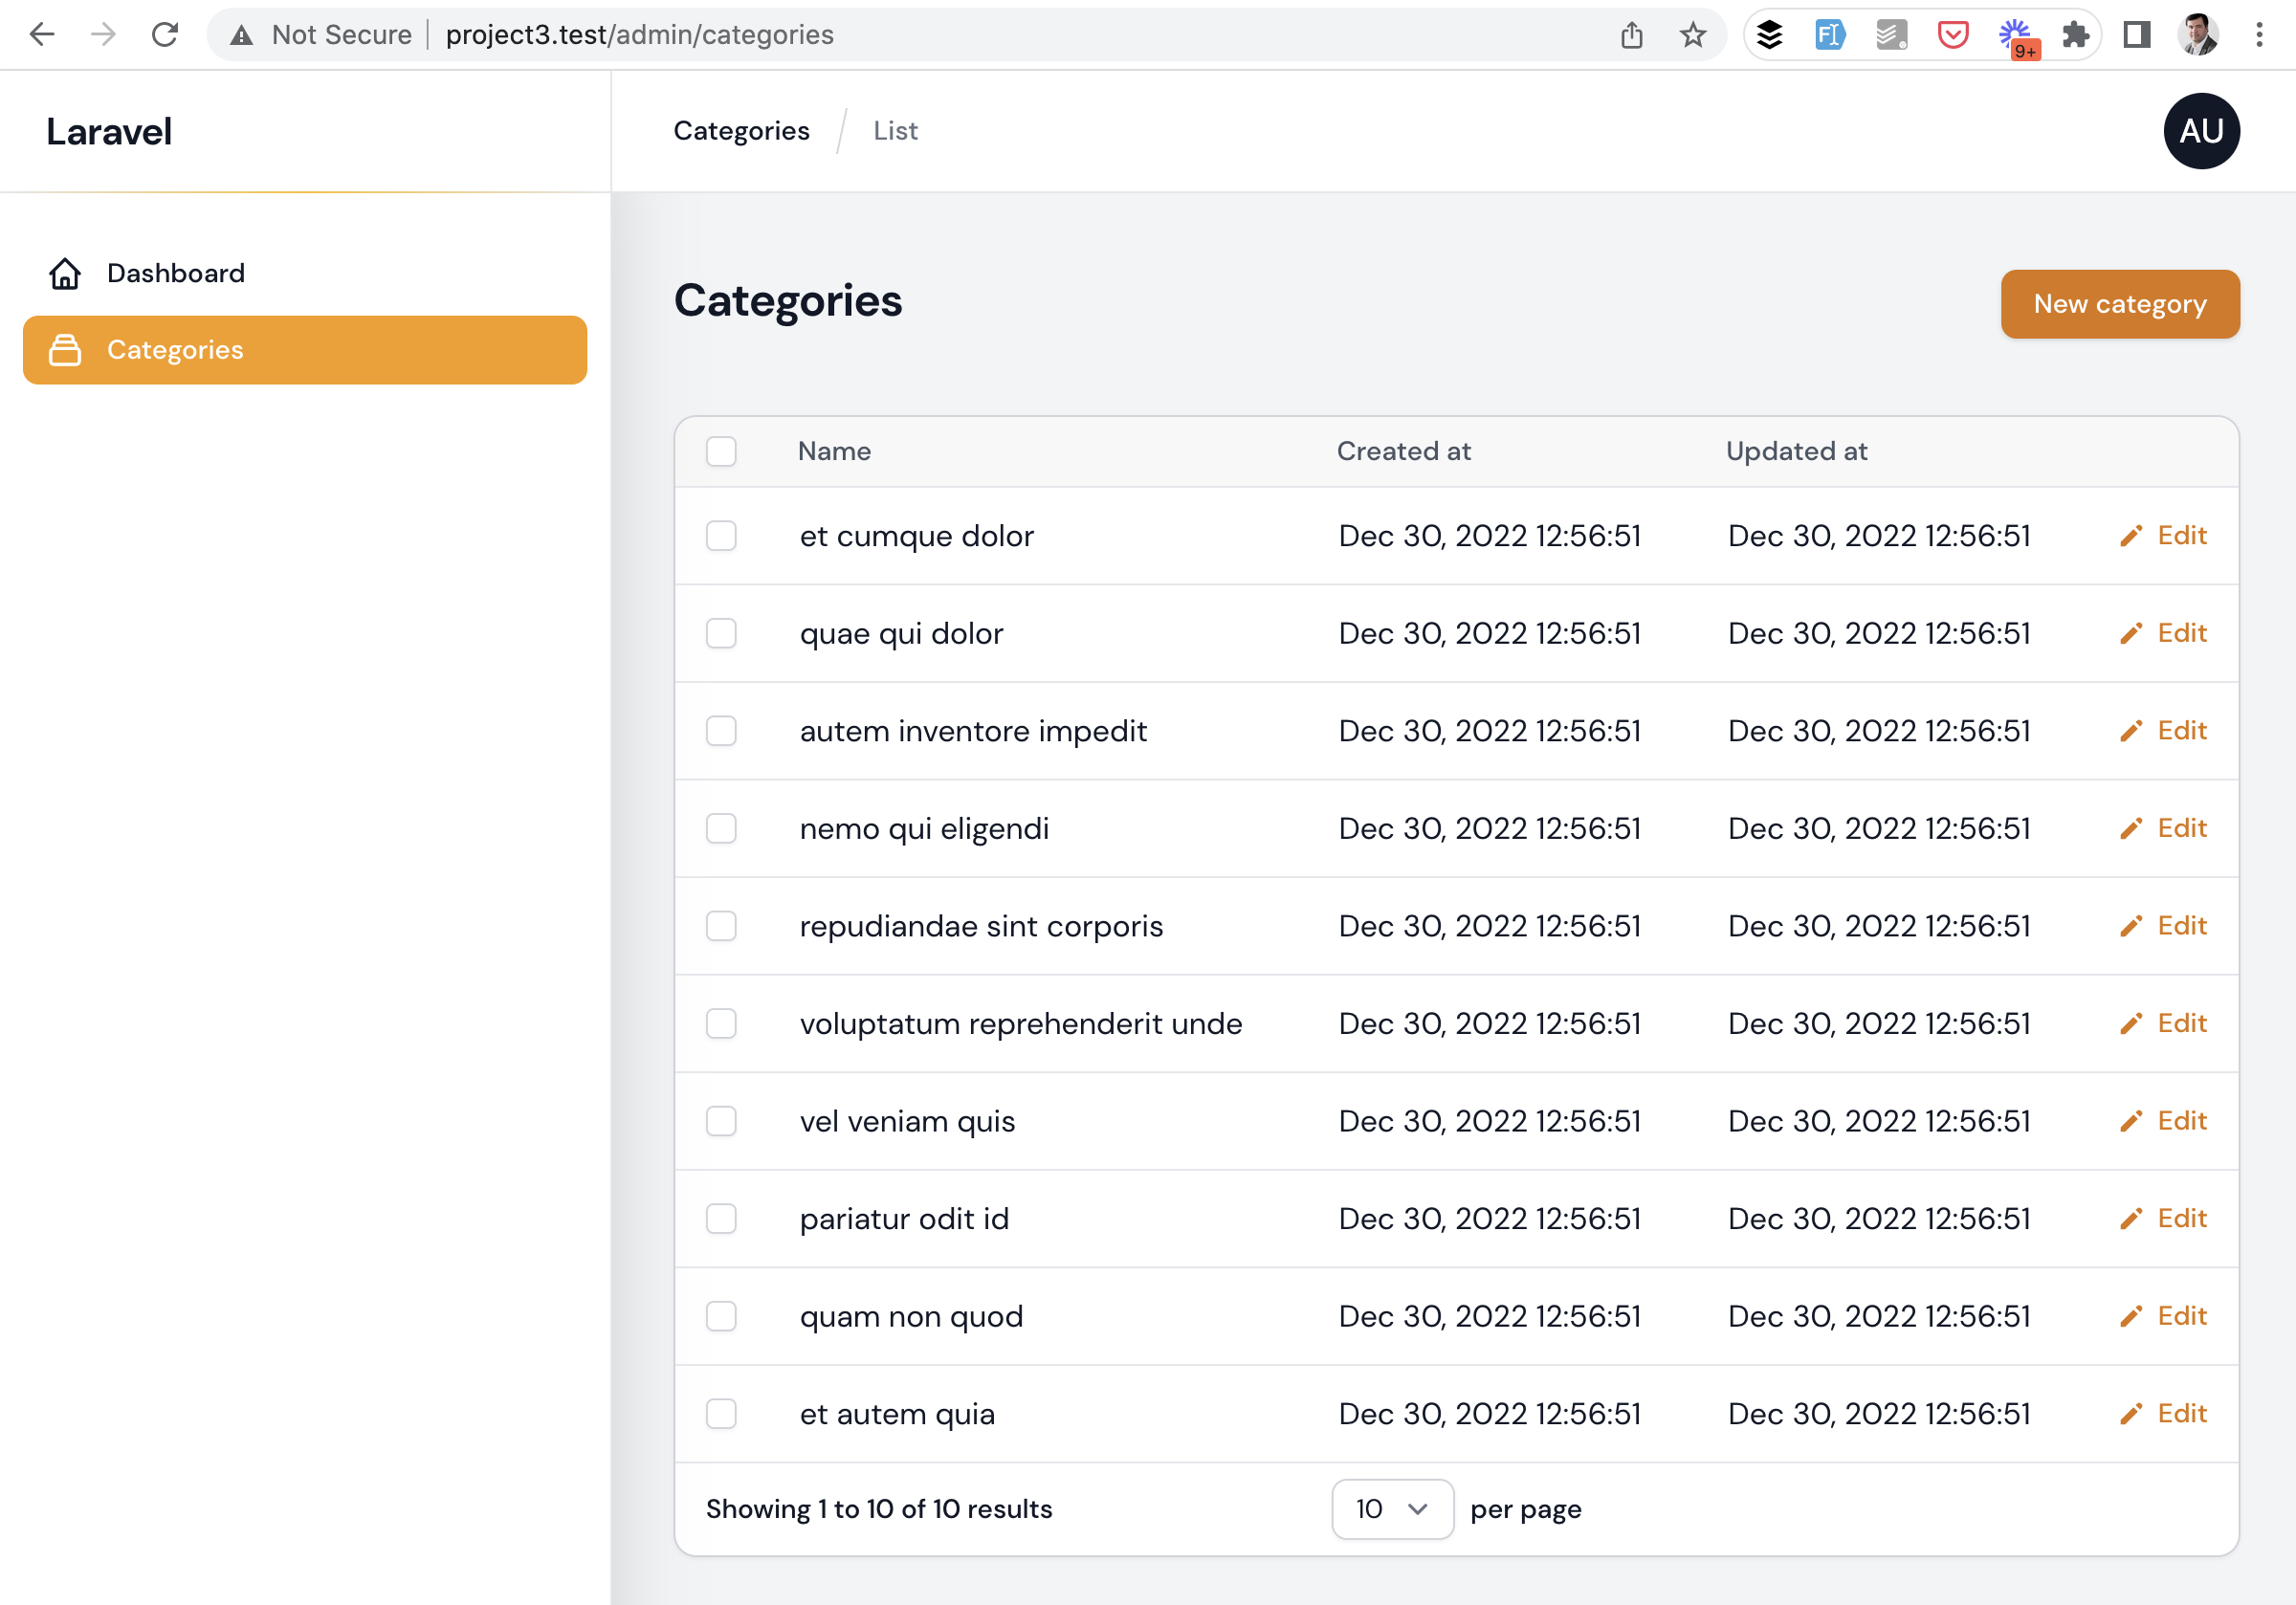
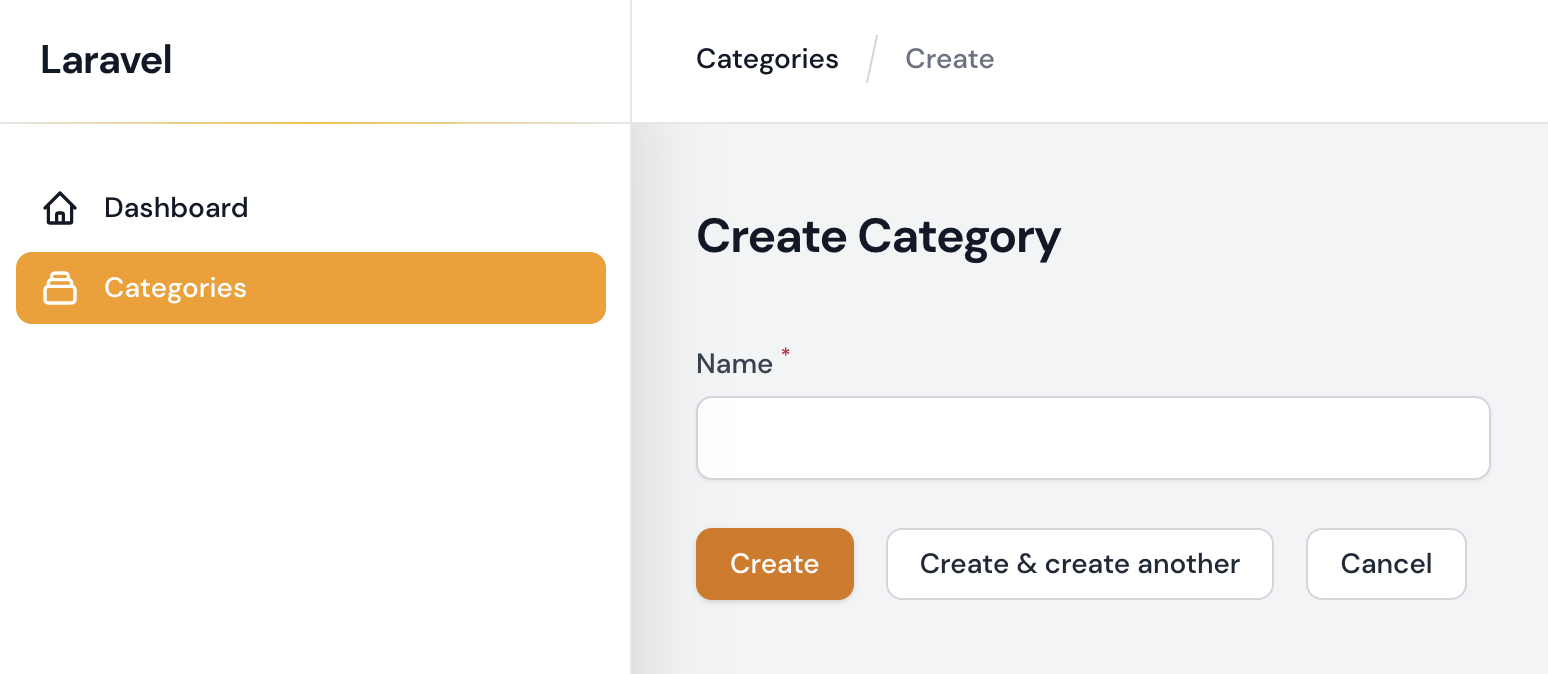
Categories table and form would look like this:
To achieve that, we need to perform these steps:
Installation is straightforward:
composer require filament/filamentThere are more commands but they are all optional, for additional configuration. You can take a look at Filament documentation.
And that's it, you can already visit /admin of your project! Of course, it would be empty, for now.
To restrict that /admin URL from public and non-administrator users, we need to make a few changes to our User model.
app/Models/User.php:
use Filament\Models\Contracts\FilamentUser; class User extends Authenticatable implements FilamentUser{ // ... other methods public function canAccessFilament(): bool { return $this->hasRole('admin'); }}Finally, to generate the Categories pages like a CRUD, we need to install another package:
composer require doctrine/dbal --devAnd then we can run this command:
php artisan make:filament-resource Category --generateIt generates a few files in the app/Filament/Resources folder, which we need to fill in with configuration - what columns we want to show in the table and edit in the form.
I will provide you with the full code for those files below, but don't feel overwhelmed: majority of their code is pre-generated by Filament, you just need to change a few bits here and there.
For more explanation you can read the official Filament Resources docs or watch my course.
app/Filament/Resources/CategoryResource.php:
namespace App\Filament\Resources; use App\Filament\Resources\CategoryResource\Pages;use App\Filament\Resources\CategoryResource\RelationManagers;use App\Models\Category;use Filament\Forms;use Filament\Resources\Form;use Filament\Resources\Resource;use Filament\Resources\Table;use Filament\Tables;use Illuminate\Database\Eloquent\Builder;use Illuminate\Database\Eloquent\SoftDeletingScope; class CategoryResource extends Resource{ protected static ?string $model = Category::class; protected static ?string $navigationIcon = 'heroicon-o-collection'; public static function form(Form $form): Form { return $form ->schema([ Forms\Components\TextInput::make('name') ->required() ->maxLength(255), ]); } public static function table(Table $table): Table { return $table ->columns([ Tables\Columns\TextColumn::make('name'), Tables\Columns\TextColumn::make('created_at') ->dateTime(), Tables\Columns\TextColumn::make('updated_at') ->dateTime(), ]) ->filters([ // ]) ->actions([ Tables\Actions\EditAction::make(), ]) ->bulkActions([ Tables\Actions\DeleteBulkAction::make(), ]); } public static function getRelations(): array { return [ // ]; } public static function getPages(): array { return [ 'index' => Pages\ListCategories::route('/'), 'create' => Pages\CreateCategory::route('/create'), 'edit' => Pages\EditCategory::route('/{record}/edit'), ]; }}app/Filament/Resources/CategoryResource/Pages/ListCategories.php:
namespace App\Filament\Resources\CategoryResource\Pages; use App\Filament\Resources\CategoryResource;use Filament\Pages\Actions;use Filament\Resources\Pages\ListRecords; class ListCategories extends ListRecords{ protected static string $resource = CategoryResource::class; protected function getActions(): array { return [ Actions\CreateAction::make(), ]; }}app/Filament/Resources/CategoryResource/Pages/CreateCategory.php:
namespace App\Filament\Resources\CategoryResource\Pages; use App\Filament\Resources\CategoryResource;use Filament\Pages\Actions;use Filament\Resources\Pages\CreateRecord; class CreateCategory extends CreateRecord{ protected static string $resource = CategoryResource::class;}app/Filament/Resources/CategoryResource/Pages/EditCategory.php:
namespace App\Filament\Resources\CategoryResource\Pages; use App\Filament\Resources\CategoryResource;use Filament\Pages\Actions;use Filament\Resources\Pages\EditRecord; class EditCategory extends EditRecord{ protected static string $resource = CategoryResource::class; protected function getActions(): array { return [ Actions\DeleteAction::make(), ]; }}As a result, we have this under /admin/categories:

Then, you may want to remove the menu item "Categories" from the Jetstream top menu and delete the Controller - everything related to the admin would be powered by Filament.
So this is how I would create a simple Laravel Saas, starting with Jetstream and finishing with Filament adminpanel.
Final repository is here on Github
The only things left for you to do would be the last two items in the original tweet.
Good luck with that! :)