Now that we can go through pages, we can move on to building a full CRUD for posts. In this lesson, we will build a create form with the select input for choosing a category.

So, first, let's add the HTML code for the form.
resources/js/components/Posts/Create.vue:
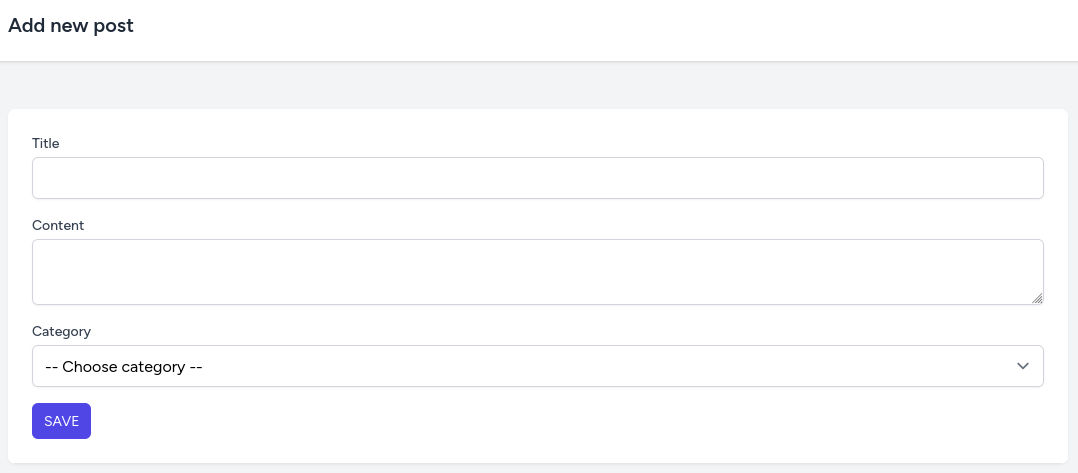
<template> <form> <!-- Title --> <div> <label for="post-title" class="block text-sm font-medium text-gray-700"> Title </label> <input id="post-title" type="text" class="mt-1 block w-full rounded-md border-gray-300 shadow-sm focus:border-indigo-300 focus:ring focus:ring-indigo-200 focus:ring-opacity-50"> </div> <!-- Content --> <div class="mt-4"> <label for="post-content" class="block text-sm font-medium text-gray-700"> Content </label> <textarea id="post-content" class="mt-1 block w-full rounded-md border-gray-300 shadow-sm focus:border-indigo-300 focus:ring focus:ring-indigo-200 focus:ring-opacity-50"></textarea> </div> <!-- Category --> <div class="mt-4"> <label for="post-category" class="block text-sm font-medium text-gray-700"> Category </label> <select id="post-category" class="mt-1 block w-full rounded-md border-gray-300 shadow-sm focus:border-indigo-300 focus:ring focus:ring-indigo-200 focus:ring-opacity-50"> <option value="" selected>-- Choose category --</option> </select> </div> <!-- Buttons --> <div class="mt-4"> <button class="rounded-md bg-indigo-600 px-3 py-2 text-sm uppercase text-white">Save</button> </div> </form></template>If you visit the "Create post" page now, you would see the form.

Now, let's add a list of categories to the category select. This is where the Composables shine. We have already written all the needed code and can easily reuse it!
resources/js/components/Posts/Create.vue:
<script setup>import { onMounted } from 'vue';import useCategories from '@/composables/categories'; const { categories, getCategories } = useCategories() onMounted(() => { getCategories()})</script>This part of the code is identical to how we got the categories in the PostsIndex Vue component. Now, below the Choose category option we need to show all the categories using the v-for directive.
resources/js/components/Posts/Create.vue:
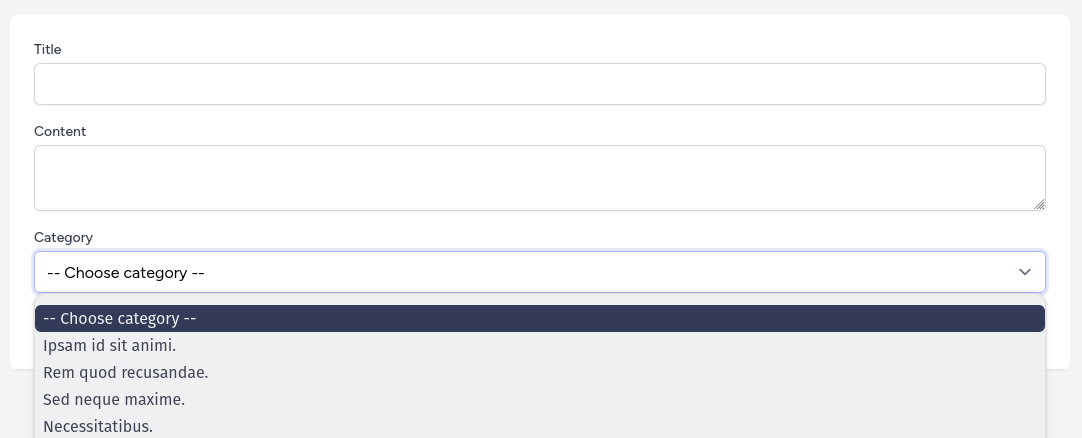
<template>// ...<label for="post-category" class="block text-sm font-medium text-gray-700"> Category</label><select id="post-category" class="mt-1 block w-full rounded-md border-gray-300 shadow-sm focus:border-indigo-300 focus:ring focus:ring-indigo-200 focus:ring-opacity-50"> <option value="" selected>-- Choose category --</option> <option v-for="category in categories" :value="category.id"> {{ category.name }} </option> </select>// ...</template>Now we have all the categories as a select option.

For the post submission, for now, let's add a method submit which will only console log after submitting.
resources/js/components/Posts/Create.vue:
<template> <form> <form @submit.prevent="submit"> // ... </form></template> <script setup>import { onMounted } from 'vue';import useCategories from '@/composables/categories'; const { categories, getCategories } = useCategories() const submit = () => { <!-- [tl! ++] --> console.log('submitted') <!-- [tl! ++] -->} <!-- [tl! ++] --> onMounted(() => { getCategories()})</script>After clicking the Save button you will see in the console message submitted.

Now, for submit to actually work, we will take care of the back-end. For the validation, we will use Form Request.
php artisan make:request StorePostRequestapp/Http/Requests/StorePostRequest.php:
class StorePostRequest extends FormRequest{ public function authorize(): bool { return true; } public function rules(): array { return [ 'title' => ['required'], 'content' => ['required'], 'category_id' => ['required', 'exists:categories,id'], ]; }}And then, inside PostController we need to create a new method store with the validation from the Form Request.
And inside store we create a post and return the new object of the post.
app/Http/Controllers/Api/PostController.php:
class PostController extends Controller{ // ... public function store(StorePostRequest $request) { $post = Post::create($request->validated()); return new PostResource($post); }}Next, in the API routes instead of the get posts route we need to change it to apiResource. Later, when we edit and delete the post we won't need to add those routes manually.
routes/api.php:
Route::get('posts', [PostController::class, 'index']); Route::apiResource('posts', PostController::class); Route::get('categories', [CategoryController::class, 'index']);Now in the posts composable, we need to create a new method for storing post, let's call it storePost(). It will accept the post object as a parameter. After creating the post, we will redirect the user to the posts index page. For this, we need to use the push() method from the vue-router Composable.
resources/js/composables/posts.js:
import { ref } from 'vue'import { useRouter } from 'vue-router' export default function usePosts() { const posts = ref({}) const router = useRouter() // ... const storePost = async (post) => { axios.post('/api/posts', post) .then(response => { router.push({ name: 'posts.index' }) }) } return { posts, getPosts } return { posts, getPosts, storePost } }Similar to the getPosts() in the storePost(), we make an Axios HTTP request, but this time it's a POST request and we pass the post as a parameter.
Next, in the PostsCreate Vue component we need to import posts Composable and add the storePost() method. For the submit action, we now need to change it to use the storePost() from the composable.
resources/js/components/Posts/Create.vue:
<template> <form @submit.prevent="submit"> <form @submit.prevent="storePost(post)"> // ... </form></template> <script setup>import { onMounted } from 'vue';import useCategories from '@/composables/categories';import usePosts from '@/composables/posts'; const { categories, getCategories } = useCategories()const { storePost } = usePosts() const submit = () => { console.log('submitted') } onMounted(() => { getCategories()})</script>Now, the storePost(post) parameters: that object needs to be a reactive object.
resources/js/components/Posts/Create.vue:
<script setup>import { onMounted } from 'vue'; import { onMounted, reactive } from 'vue'; import useCategories from '@/composables/categories';import usePosts from '@/composables/posts'; const post = reactive({ title: '', content: '', category_id: ''}) // ...</script>Now, we need to add a v-model directive to all fields.
resources/js/components/Posts/Create.vue:
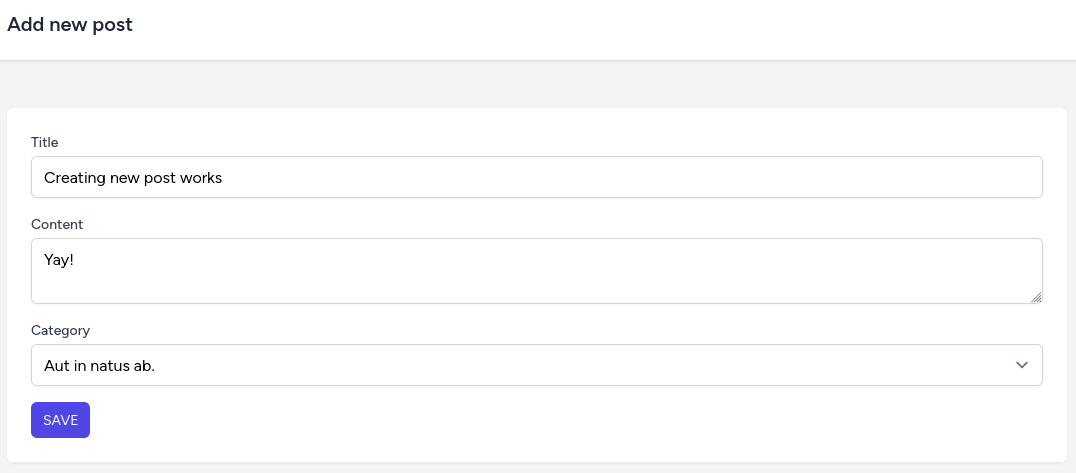
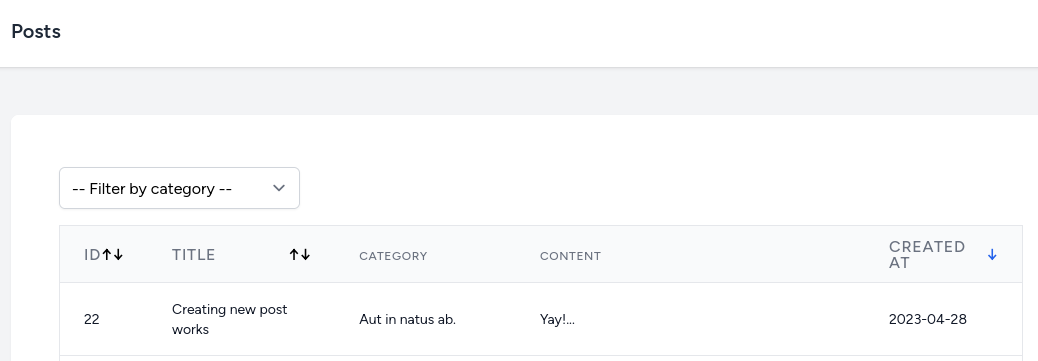
<template> <form @submit.prevent="storePost(post)"> <!-- Title --> <div> <label for="post-title" class="block text-sm font-medium text-gray-700"> Title </label> <input id="post-title" type="text" class="mt-1 block w-full rounded-md border-gray-300 shadow-sm focus:border-indigo-300 focus:ring focus:ring-indigo-200 focus:ring-opacity-50"> <input v-model="post.title" id="post-title" type="text" class="mt-1 block w-full rounded-md border-gray-300 shadow-sm focus:border-indigo-300 focus:ring focus:ring-indigo-200 focus:ring-opacity-50"> </div> <!-- Content --> <div class="mt-4"> <label for="post-content" class="block text-sm font-medium text-gray-700"> Content </label> <textarea id="post-content" class="mt-1 block w-full rounded-md border-gray-300 shadow-sm focus:border-indigo-300 focus:ring focus:ring-indigo-200 focus:ring-opacity-50"></textarea> <textarea v-model="post.content" id="post-content" class="mt-1 block w-full rounded-md border-gray-300 shadow-sm focus:border-indigo-300 focus:ring focus:ring-indigo-200 focus:ring-opacity-50"></textarea> </div> <!-- Category --> <div class="mt-4"> <label for="post-category" class="block text-sm font-medium text-gray-700"> Category </label> <select id="post-category" class="mt-1 block w-full rounded-md border-gray-300 shadow-sm focus:border-indigo-300 focus:ring focus:ring-indigo-200 focus:ring-opacity-50"> <select v-model="post.category_id" id="post-category" class="mt-1 block w-full rounded-md border-gray-300 shadow-sm focus:border-indigo-300 focus:ring focus:ring-indigo-200 focus:ring-opacity-50"> <option value="" selected>-- Choose category --</option> <option v-for="category in categories" :value="category.id"> {{ category.name }} </option> </select> </div> <!-- Buttons --> <div class="mt-4"> <button class="rounded-md bg-indigo-600 px-3 py-2 text-sm uppercase text-white">Save</button> </div> </form></template>And now our form saves the post to the DB and redirects to the posts list page.

