
There are a lot of textarea so-called WYSIWYG editors on the market. In this article, I took 4 popular ones - CKEditor, TinyMCE, Trix and Quill - and explained how to add them to a Laravel project, also adding a file/image upload feature in each case. Let's look at those examples.
For demonstration of those text editors, we will prepare a demo project with a form: it will be a basic Tasks CRUD with only title (text) and description (textarea for the upcoming editor) fields.
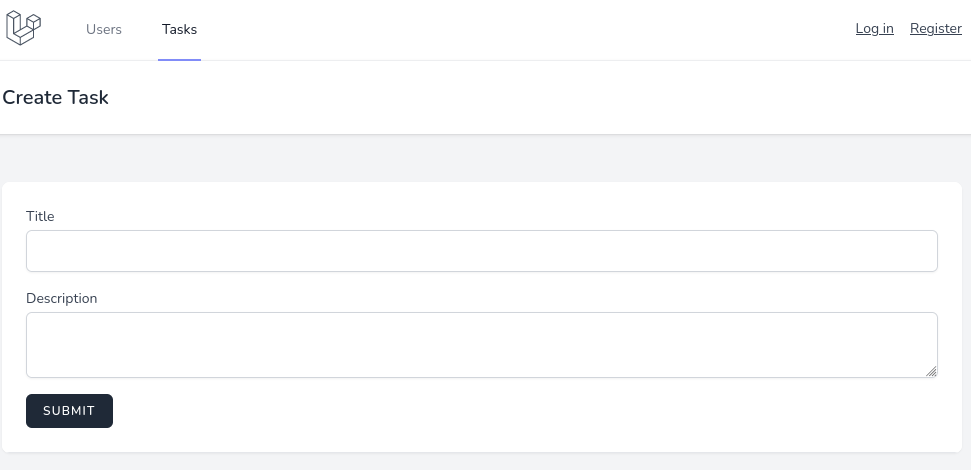
You can check CRUD's commit here to see how form fields will look initially.
Also, we're preparing two things for the upcoming file upload with the editors:
upload which will use TaskController method upload(). For now, it's empty - we will fill it in for every editor separately.Ok, now as we prepared our form, let's add the editors, one by one. Each of those editors will have a separate branch in the Github repository, the links will provided below.
First, of course, we need to initialize the CKEditor. According to the docs, we need two steps for that:
In both create and edit forms, at the end of the file, before </x-app-layout>, add JS code.
resources/views/tasks/create.blade.php && resources/views/tasks/edit.blade.php:
// ... @push('scripts') <script src="https://cdn.ckeditor.com/ckeditor5/35.1.0/classic/ckeditor.js"></script> <script> ClassicEditor .create(document.querySelector('#description')) .catch(error => { console.error(error); }); </script> @endpush</x-app-layout>Now you should see CKEditor in your form.
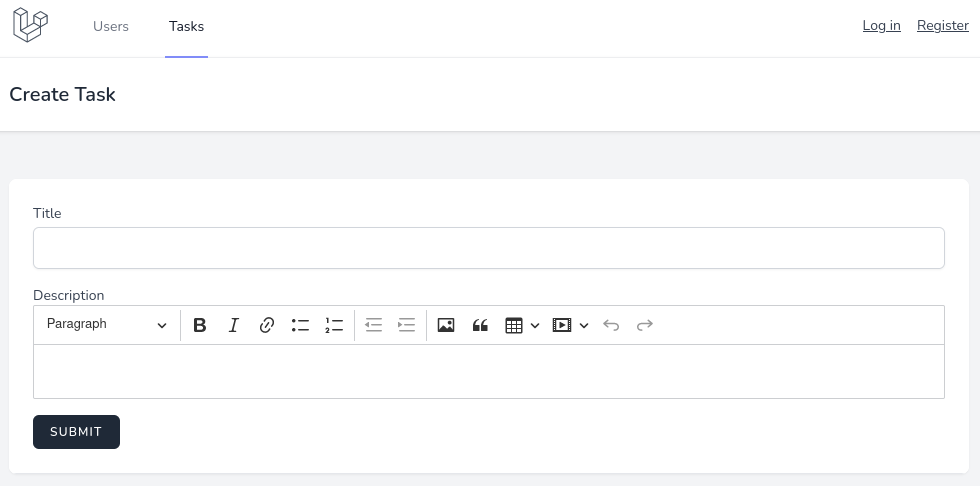
Now, for file uploading, we will use a CKFinder plugin. Again, for both create and edit forms, the code will be the same. We just need to add parameters when creating the editor.
resources/views/tasks/create.blade.php && resources/views/tasks/edit.blade.php:
// ... @push('scripts') .create(document.querySelector('#description'), { ckfinder: { uploadUrl: '{{ route('upload', ['_token' => csrf_token()]) }}' } }) .catch(error => { console.error(error); }); @endpush</x-app-layout>With uploadUrl, we tell the plugin which endpoint to send a POST request to. And, of course, we need to send a CSRF token.
For the backend part, upload() method should look like this:
app/Http/Controllers/TasksController.php:
public function upload(Request $request){ try { $task = new Task(); $task->id = 0; $task->exists = true; $image = $task->addMediaFromRequest('upload')->toMediaCollection('thumb'); return response()->json([ 'uploaded' => true, 'url' => $image->getUrl('thumb') ]); } catch (\Exception $e) { return response()->json( [ 'uploaded' => false, 'error' => [ 'message' => $e->getMessage() ] ] ); }}A few things here:
upload.thumb collection.uploaded => true and URL with the uploaded image's address. If failed, we send a message with the error.
Full code for the CKEditor example can be found in GitHub repository branch here.
The second in the list is a popular TinyMCE.
Again, first we need to replace the textarea with the editor. For this, in both form files, add this code at the end:
// ... @push('scripts') <script src="https://cdnjs.cloudflare.com/ajax/libs/tinymce/6.2.0/tinymce.min.js"></script> <script> tinymce.init({ selector: 'textarea#description', menubar: false, plugins: 'code table lists image', toolbar: 'undo redo | blocks | bold italic | alignleft aligncenter alignright | indent outdent | bullist numlist | table | image', }); </script> @endpush</x-app-layout>While there's no link to the CDN in TinyMCE docs, you can find the link to a CDN library directly at cdnjs.com.
In addition to initializing the editor, we also do a couple of other things:
image, which we will use for image uploads.Now you should see the TinyMCE editor in create and edit forms.
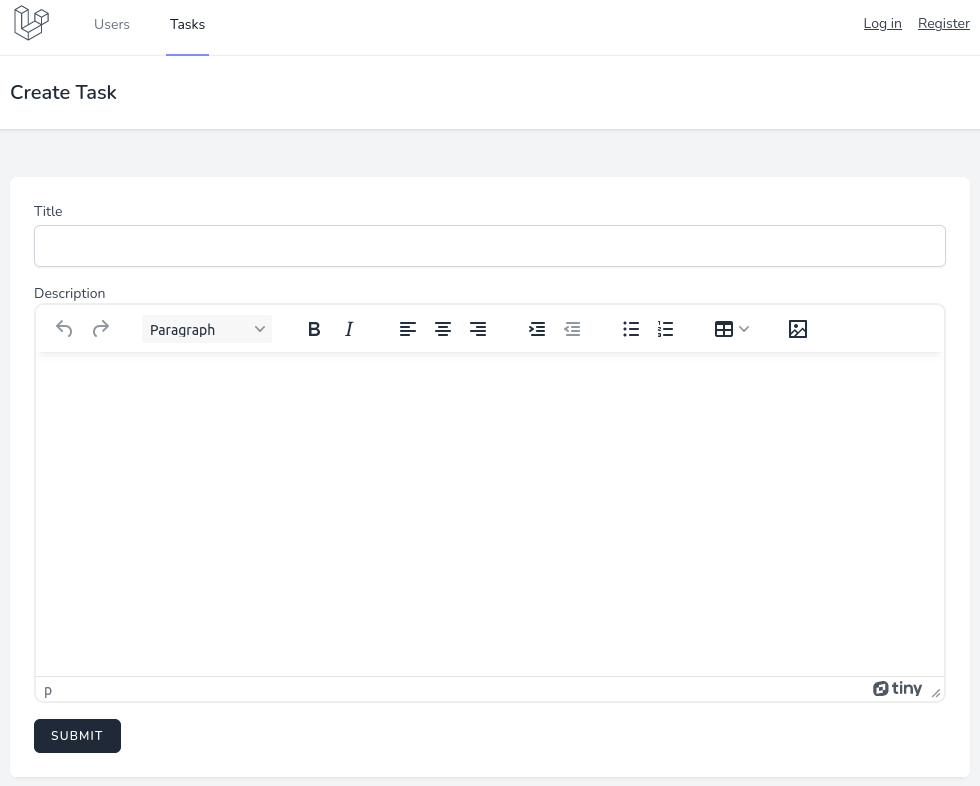
Before uploading images, first we need to add new parameters when initializing the editor.
tinymce.init({ selector: 'textarea#description', menubar: false, plugins: 'code table lists image', toolbar: 'undo redo | blocks | bold italic | alignleft aligncenter alignright | indent outdent | bullist numlist | table | image', convert_urls: false, images_upload_handler: image_upload_handler_callback,});What we have added:
convert_urls won't convert URLs received from the media library when upload is finished.images_upload_handler, well, handles the images upload.Now, when you press the image button in the toolbar, you should see the upload section.
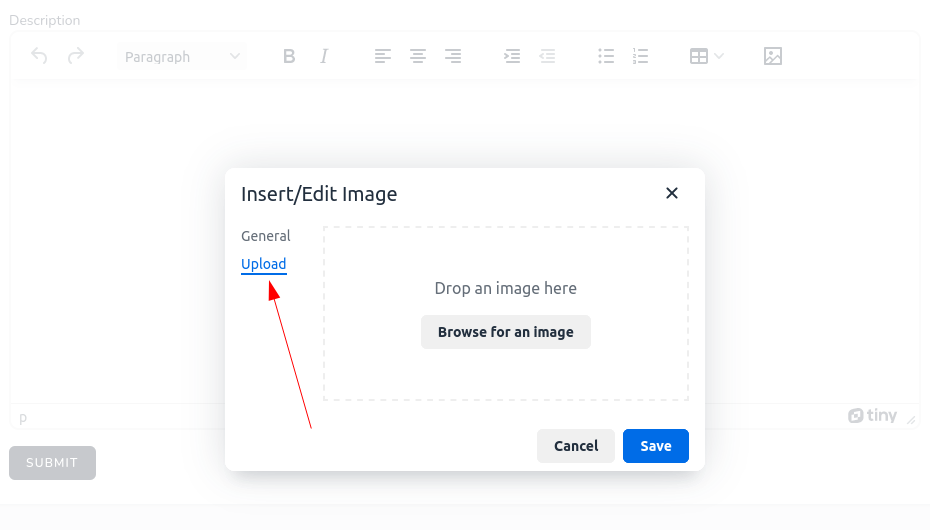
I think you saw earlier the image_upload_handler_callback. This will be the function for handling upload. The whole function is taken from the official docs, with two changes:
The whole <script> tag now looks like this:
<script> const image_upload_handler_callback = (blobInfo, progress) => new Promise((resolve, reject) => { const xhr = new XMLHttpRequest(); xhr.withCredentials = false; xhr.open('POST', '{{ route('upload') }}'); xhr.setRequestHeader("X-CSRF-Token", '{{ csrf_token() }}'); xhr.upload.onprogress = (e) => { progress(e.loaded / e.total * 100); }; xhr.onload = () => { if (xhr.status === 403) { reject({ message: 'HTTP Error: ' + xhr.status, remove: true }); return; } if (xhr.status < 200 || xhr.status >= 300) { reject('HTTP Error: ' + xhr.status); return; } const json = JSON.parse(xhr.responseText); if (!json || typeof json.location != 'string') { reject('Invalid JSON: ' + xhr.responseText); return; } resolve(json.location); }; xhr.onerror = () => { reject('Image upload failed due to a XHR Transport error. Code: ' + xhr.status); }; const formData = new FormData(); formData.append('file', blobInfo.blob(), blobInfo.filename()); xhr.send(formData); }); tinymce.init({ selector: 'textarea#description', menubar: false, plugins: 'code table lists image', toolbar: 'undo redo | blocks | bold italic | alignleft aligncenter alignright | indent outdent | bullist numlist | table | image', convert_urls: false, images_upload_handler: image_upload_handler_callback, });</script>From the backend, we need to return a JSON as location:
app/Http/Controllers/TasksController.php:
$task = new Task();$task->id = 0;$task->exists = true;$image = $task->addMediaFromRequest('file')->toMediaCollection('thumb'); return response()->json([ 'location' => $image->getUrl('thumb')]);Our file upload using TinyMCE editor now works!
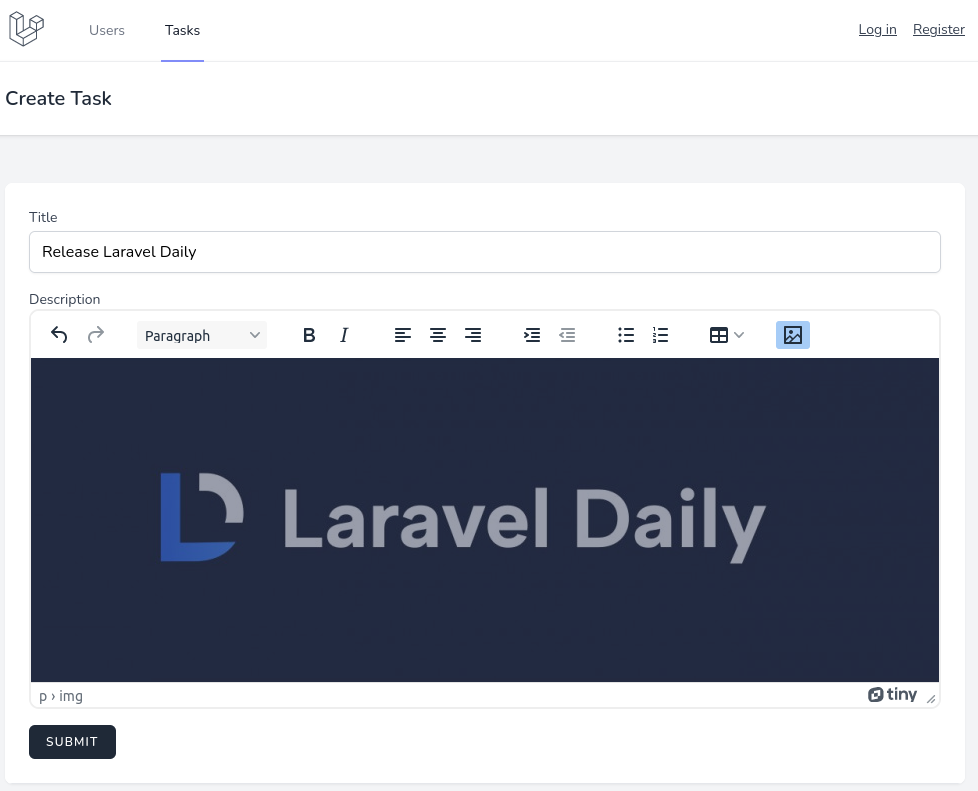
Full code for TinyMCE example can be found in GitHub repository branch here.
Trix editor is initialized a little differently. First, like with every script, we will add a CDN link to both create and edit forms.
// ... @push('scripts') <script src="https://cdnjs.cloudflare.com/ajax/libs/trix/1.3.1/trix.js"></script> @endpush</x-app-layout>Next, we need to add Trix styles. We will do that in resources/views/layouts/app.blade.php file, before the </head> tag.
// ... <link rel="stylesheet" href="https://cdnjs.cloudflare.com/ajax/libs/trix/1.3.1/trix.css"></head>// ...Now, for the textarea, we need to add a CSS class hidden.
resources/views/tasks/create.blade.php:
// ...<textarea id="description" class="hidden block mt-1 w-full rounded-md shadow-sm border-gray-300 focus:border-indigo-300 focus:ring focus:ring-indigo-200 focus:ring-opacity-50" name="description">{{ old('description') }}</textarea>// ...And after the textarea, we add a Trix editor:
// ...<textarea id="description" class="hidden block mt-1 w-full rounded-md shadow-sm border-gray-300 focus:border-indigo-300 focus:ring focus:ring-indigo-200 focus:ring-opacity-50" name="description">{{ old('description') }}</textarea><trix-editor input="description"></trix-editor>// ...Now you will see the Trix editor in forms.
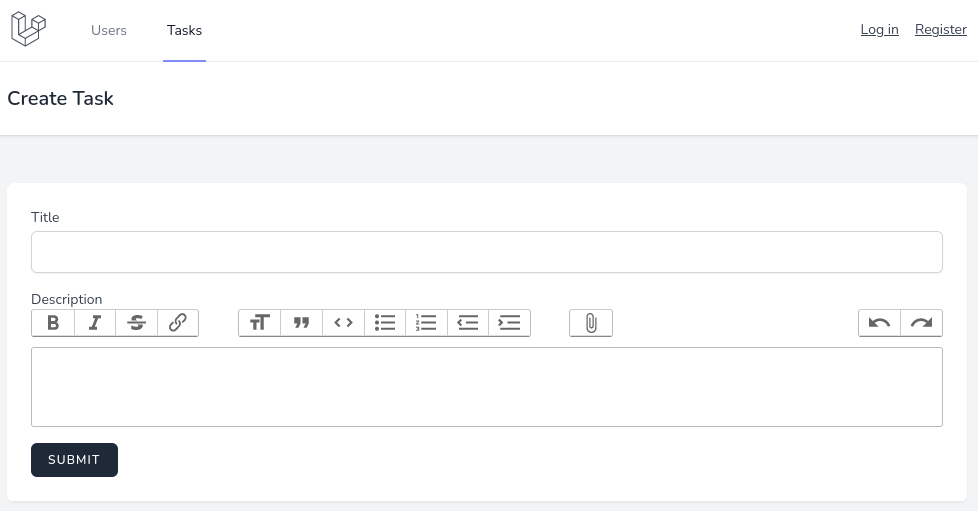
With uploading files, it's basically the same as Trix provided example. We just need to change the route and add a CSRF token to headers. So the whole <script> will look like this:
resources/views/tasks/create.blade.php & resources/views/tasks/edit.blade.php:
@push('scripts') <script src="https://cdnjs.cloudflare.com/ajax/libs/trix/1.3.1/trix.js"></script> <script> addEventListener("trix-attachment-add", function (event) { if (event.attachment.file) { uploadFileAttachment(event.attachment) } }) function uploadFileAttachment(attachment) { uploadFile(attachment.file, setProgress, setAttributes) function setProgress(progress) { attachment.setUploadProgress(progress) } function setAttributes(attributes) { attachment.setAttributes(attributes) } } function uploadFile(data, progressCallback, successCallback, errorCallback) { var formData = createFormData(data); var xhr = new XMLHttpRequest(); xhr.open("POST", "{{ route('upload') }}", true); xhr.setRequestHeader("X-CSRF-Token", '{{ csrf_token() }}'); xhr.upload.addEventListener("progress", function (event) { var progress = (event.loaded / event.total) * 100; progressCallback(progress); }); xhr.addEventListener("load", function (event) { if (xhr.status >= 200 && xhr.status < 300) { var response = JSON.parse(xhr.response); successCallback({ url: response.url, href: response.url }) } else { errorCallback(xhr, data.attachment) } }); xhr.send(formData); } function createFormData(key) { var data = new FormData() data.append("Content-Type", key.type); data.append("file", key); return data } </script>@endpushBackend is the same as with the others editors, the only difference here is we return url from JSON.
app/Http/Controllers/TasksController.php:
public function upload(Request $request){ $task = new Task(); $task->id = 0; $task->exists = true; $image = $task->addMediaFromRequest('file')->toMediaCollection('thumb'); return response()->json([ 'url' => $image->getUrl('thumb') ]);}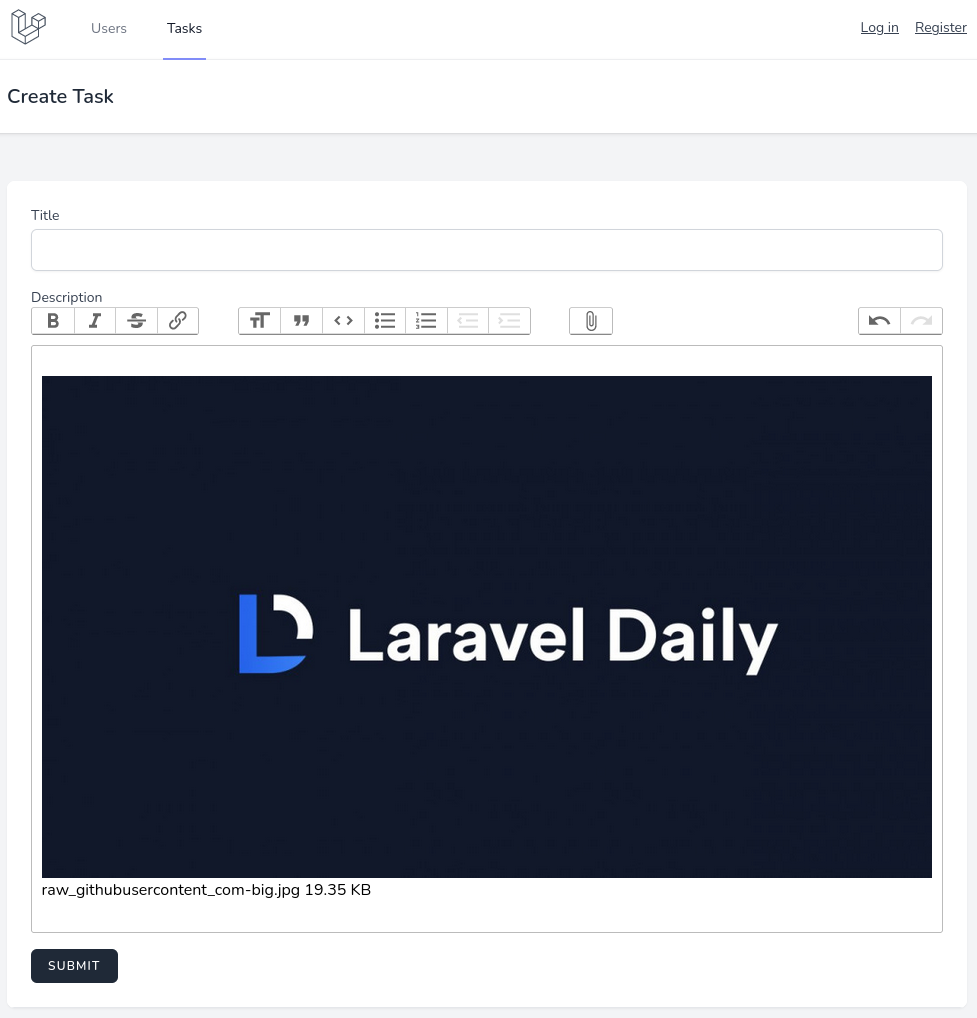
Full code for Trix example can be found in GitHub repository branch here.
For Quill editor, first we will add a CSS file for the theme in resources/views/layouts/app.blade.php.
// ... @vite(['resources/css/app.css', 'resources/js/app.js']) <link href="https://cdn.quilljs.com/1.3.6/quill.snow.css" rel="stylesheet" /> </head>// ...Now let's go to forms. In both create and edit forms, add a CSS class hidden to the textarea and a new div below with the ID of content.
resources/views/tasks/create.blade.php:
<textarea id="description" class="hidden block mt-1 w-full rounded-md shadow-sm border-gray-300 focus:border-indigo-300 focus:ring focus:ring-indigo-200 focus:ring-opacity-50" name="description"></textarea><div id="content">{!! old('description') !!}</div>resources/views/tasks/edit.blade.php:
<textarea id="description" class="hidden block mt-1 w-full rounded-md shadow-sm border-gray-300 focus:border-indigo-300 focus:ring focus:ring-indigo-200 focus:ring-opacity-50" name="description"></textarea><div id="content">{!! old('description', $task->description) !!}</div>JS will be the same for both forms. Here we add Quill from the CDN and initialize a new Quill.
The only difference from other editors is that we need to tell Quill that after changing the text, its value needs to be set as textarea ID. In our case, it's #description.
resources/views/tasks/create.blade.php & resources/views/tasks/edit.blade.php:
// ... @push('scripts') <script src="https://cdn.quilljs.com/1.3.6/quill.min.js"></script> <script> const quill = new Quill('#content', { theme: 'snow', }); quill.on('text-change', function(delta, oldDelta, source) { document.getElementById("description").value = quill.root.innerHTML; }); </script> @endpush</x-app-layout>Now, after visiting the create form, you should see a working Quill editor.
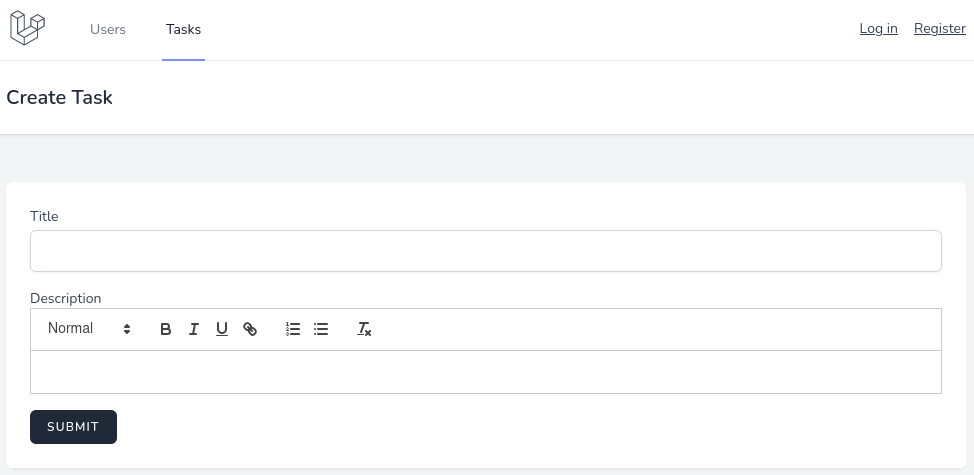
For the backend part, nothing new there: just create, upload, and return JSON with the URL.
app/Http/Controllers/TasksController.php:
public function upload(Request $request){ $task = new Task(); $task->id = 0; $task->exists = true; $image = $task->addMediaFromRequest('image')->toMediaCollection('thumb'); return response()->json([ 'url' => $image->getUrl('thumb') ]);}For the JS part, we will use a Quill ImageHandler Module.
We add this module from CDN and then we have to register it. Next, we need to make our toolbar and add Image to it. Now we can use the imageUploader to handle image upload. The whole JS part will look like this:
resources/views/tasks/create.blade.php & resources/views/tasks/edit.blade.php:
// ...@push('scripts') <script src="https://cdn.quilljs.com/1.3.6/quill.min.js"></script> <script src="https://unpkg.com/quill-image-uploader@1.2.1/dist/quill.imageUploader.min.js"></script> <script> Quill.register("modules/imageUploader", ImageUploader); const fullToolbarOptions = [ [{ header: [1, 2, 3, false] }], ["bold", "italic"], ["clean"], ["image"] ]; const quill = new Quill('#content', { theme: 'snow', modules: { toolbar: fullToolbarOptions, imageUploader: { upload: file => { return new Promise((resolve, reject) => { const formData = new FormData(); formData.append("image", file); fetch("{{ route('upload') }}", { method: "POST", body: formData, headers: { "X-CSRF-Token": '{{ csrf_token() }}' } }) .then(response => response.json()) .then(result => { resolve(result.url); }) .catch(error => { reject("Upload failed"); console.error("Error:", error); }); }); } } }, }); quill.on('text-change', function(delta, oldDelta, source) { document.getElementById("description").value = quill.root.innerHTML; }); </script>@endpushThis JS code is taken from the modules example which can be found here. We just needed to change the route path and, as always, set headers to send the CSRF token.
Now image upload should work!

Full code for Quill example can be found in GitHub repository branch here.
So, we're done with all four examples. In my opinion, all editors are almost the same in terms of initializing them with file upload, just the "skin" is different.
Which editor do you prefer? Or you have other suggestions? Shoot in the comments below.