.png-674b52368b309.jpg)
The term "multi-tenancy" has different meanings and implementations in Laravel. In this article, let's take a look at a multi-database approach, using the package stancl/tenancy: I will show you step-by-step, how to make it work.
This is a text-form excerpt from one of the sections of my 2-hour video course: Laravel Multi-Tenancy: All You Need To Know
Before starting everything about multi-tenancy, let's set up our project very quickly.
laravel new projectcd projectcomposer require laravel/breeze --devphp artisan breeze:install bladeThis is straightforward: install the Laravel project and then install Laravel Breeze for quick authentication scaffolding.
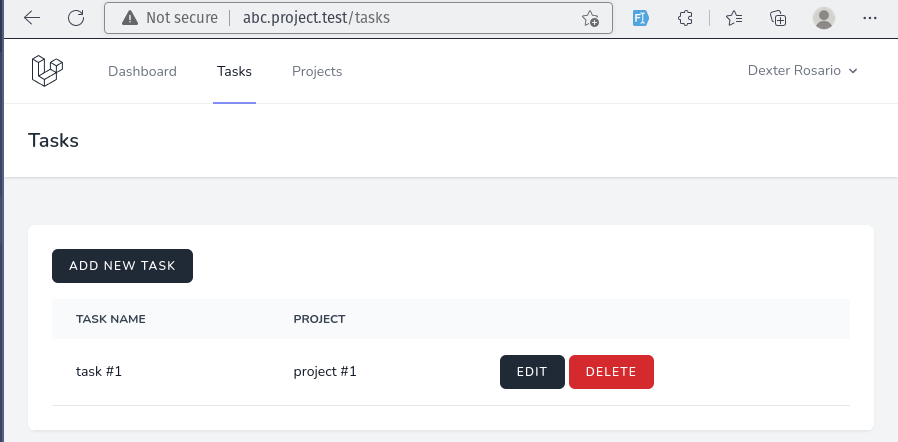
Next, we will have two basic CRUDs:
You can see wow those CRUDs are set up here in the GitHub repository.

We will use the stancl/tenancy package for managing multi-tenancy. Installation is the same as with any other Laravel package:
composer require stancl/tenancyphp artisan tenancy:installphp artisan migrateAfter installing the package, we need to register TenancyServiceProvider in the bootstrap/providers.php file.
bootstrap/providersphp:
return [ App\Providers\AppServiceProvider::class, App\Providers\TenancyServiceProvider::class, ];IMPORTANT NOTICE: Version 3 doesn't support the
databasesession driver. The easiest change would be tofileas a session driver.
Next, the package created migration for the Tenant modal, but we need to create it manually.
php artisan make:model TenantAnd replace the content of the Model with the code from the quickstart.
app/Models/Tenant.php:
namespace App\Models; use Stancl\Tenancy\Database\Models\Tenant as BaseTenant;use Stancl\Tenancy\Contracts\TenantWithDatabase;use Stancl\Tenancy\Database\Concerns\HasDatabase;use Stancl\Tenancy\Database\Concerns\HasDomains; class Tenant extends BaseTenant implements TenantWithDatabase{ use HasDatabase, HasDomains;}Next, in the config/tenancy.php we need to set that package would use our created Model.
config/tenancy.php:
use Stancl\Tenancy\Database\Models\Domain;use Stancl\Tenancy\Database\Models\Tenant; return [ 'tenant_model' => Tenant::class, 'tenant_model' => \App\Models\Tenant::class, //Next is routing. This package suggests that we need to have two types of routes: central routes and tenant routes.
Add a few new methods to the RouteServiceProvider:
bootstrap/app.php:
use Illuminate\Support\Facades\Route;use Illuminate\Foundation\Application;use Illuminate\Foundation\Configuration\Exceptions;use Illuminate\Foundation\Configuration\Middleware; return Application::configure(basePath: dirname(__DIR__)) ->withRouting( using: function () { $centralDomains = config('tenancy.central_domains'); foreach ($centralDomains as $domain) { Route::middleware('web') ->domain($domain) ->group(base_path('routes/web.php')); } Route::middleware('web')->group(base_path('routes/tenant.php')); }, web: __DIR__.'/../routes/web.php', commands: __DIR__.'/../routes/console.php', health: '/up', ) ->withMiddleware(function (Middleware $middleware) { // }) ->withExceptions(function (Exceptions $exceptions) { // })->create();Now, what is that central domain?
It comes from the config/tenancy.php. In our case, it will be project.test as a central domain, and everything else will be subdomains.
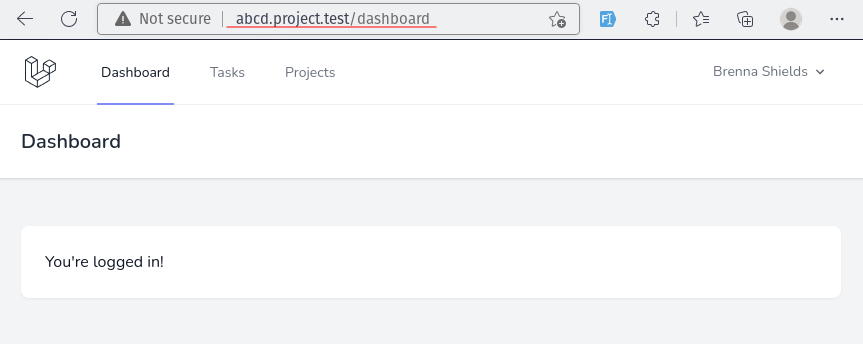
So, someone will go to project.test, register, and then will be redirected to their subdomain, which will be covered by tenant routes.
config/tenancy.php:
return [ // 'central_domains' => [ '127.0.0.1', 'localhost', 'project.test', ], //If you're using Laravel Sail, no changes are needed, and default values are good to go, otherwise, add the domains you use.
As for tenant routes, after package installation, the new routes/tenant.php is automatically created.
In that file, you need to place the tenant routes. In our case, all routes from routes/web.php in the auth middleware group need to go into tenant routes.
routes/web.php:
Route::middleware('auth')->group(function () { Route::view('/dashboard', 'dashboard')->name('dashboard'); Route::resource('tasks', TaskController::class); Route::resource('projects', ProjectController::class); Route::get('/profile', [ProfileController::class, 'edit'])->name('profile.edit'); Route::patch('/profile', [ProfileController::class, 'update'])->name('profile.update'); Route::delete('/profile', [ProfileController::class, 'destroy'])->name('profile.destroy');});routes/tenant.php:
Route::middleware([ 'web', InitializeTenancyByDomain::class, PreventAccessFromCentralDomains::class,])->group(function () { Route::view('/dashboard', 'dashboard')->name('dashboard'); Route::resource('tasks', TaskController::class); Route::resource('projects', ProjectController::class); Route::get('/profile', [ProfileController::class, 'edit'])->name('profile.edit'); Route::patch('/profile', [ProfileController::class, 'update'])->name('profile.update'); Route::delete('/profile', [ProfileController::class, 'destroy'])->name('profile.destroy'); Route::get('/', function () { return 'This is your multi-tenant application. The id of the current tenant is ' . tenant('id'); });});Now, let's move to creating a Tenant when the User registers. First, add a field to the register form.
resources/views/auth/register.blade.php:
//<!-- Subdomain --><div class="mt-2"> <x-input-label for="subdomain" :value="__('Subdomain')" /> <div class="flex items-baseline"> <x-text-input id="subdomain" class="block mt-1 mr-2 w-full" type="text" name="subdomain" :value="old('subdomain')" required /> .{{ config('tenancy.central_domains')[2] }} </div></div>//
The backend part for registration in Laravel Breeze goes to app/Http/Controllers/Auth/RegisteredUserController.php. Here we create Tenant, then we create a domain for that tenant and attach the tenant to the User.
To be able to attach a Tenant to a User, we need to create a many-to-many relation.
database/migrations/xxxx_create_tenant_user_table:
return new class extends Migration { public function up() { Schema::create('tenant_user', function (Blueprint $table) { $table->foreignId('tenant_id')->constrained(); $table->foreignId('user_id')->constrained(); }); }};app/Models/User.php:
class User extends Authenticatable{ // public function tenants(): BelongsToMany { return $this->belongsToMany(Tenant::class); }}To make it work, we also need to change the Tenant migrations to use id() instead of string for the primary key.
database/migrations/xxxx_create_tenants_table.php:
class CreateTenantsTable extends Migration{ public function up(): void { Schema::create('tenants', function (Blueprint $table) { $table->string('id')->primary(); $table->id(); // your custom columns may go here $table->timestamps(); $table->json('data')->nullable(); }); }}database/migrations/xxxx_create_domains_table.php:
class CreateDomainsTable extends Migration{ public function up(): void { Schema::create('domains', function (Blueprint $table) { $table->increments('id'); $table->string('domain', 255)->unique(); $table->string('tenant_id'); $table->foreignId('tenant_id')->constrained()->cascadeOnUpdate()->cascadeOnDelete(); $table->timestamps(); $table->foreign('tenant_id')->references('id')->on('tenants')->onUpdate('cascade')->onDelete('cascade'); }); }}config/tenancy.php:
return [ 'tenant_model' => \App\Models\Tenant::class, 'id_generator' => Stancl\Tenancy\UUIDGenerator::class, 'id_generator' => null, 'domain_model' => Domain::class, //For now, we haven't set up a package to use multi-database, so at this point, we need to temporarily comment out all
bootstrappersin theconfig/tenancy.phpfile. Also, inapp/Providers/TenancyServiceProviderwe need to comment out two jobs:CreateDatabaseandSeedDatabase.
The last thing: we need to set the session domain so that users would be authenticated in subdomains.
.env:
// ... SESSION_DRIVER=databaseSESSION_LIFETIME=120SESSION_ENCRYPT=falseSESSION_PATH=/SESSION_DOMAIN=tenancy.test // ...So now, after successful registration, the User will be redirected directly to their subdomain.

First, the DB_CONNECTION value should be the main database, which in this package is called central. This database consists of tenants, users, and all the global things.
Then, every tenant has their own database with data tables like projects and tasks, in our case.
If you have commented out lines in the previous section, in
app/Providers/TenancyServiceProvider.phpandconfig/tenancy.php, now it is time to uncomment them.
We change the logic of initializing tenancy: instead of by domain, now it will be by subdomain. This change needs to be done in the routes/tenant.php file.
routes/tenant.php:
use Stancl\Tenancy\Middleware\InitializeTenancyByDomain; Route::middleware([ 'web', 'auth', InitializeTenancyBySubdomain::class, InitializeTenancyByDomain::class, PreventAccessFromCentralDomains::class,])->group(function () { // ...});Currently, we have all migrations in one directory, but the package created a tenant directory inside of database/migrations which is empty. You need to move all the migrations of the tenant-able data to that folder. So in this example, Project and Task migrations need to go into the database/migrations/tenant directory.
Now, after the User registers and Tenant is created, the TenantCreated event is fired. It fires two jobs by default: CreateDatabase and MigrateDatabase.
What would be the database name? It is configurable in the config/tenancy.php: the database value has prefix and suffix. All the databases will be named prefix + tenant_id + suffix.
In this example, we have a Users table in the central database, so we need to overwrite the Model to use the central connection.
app/Models/User.php:
use Stancl\Tenancy\Database\Concerns\CentralConnection; class User extends Authenticatable{ use HasApiTokens, HasFactory, Notifiable; use CentralConnection; // ...}For registration, when using multiple databases, when creating a domain for a tenant, you only need the subdomain part.
app/Http/Controllers/Auth/RegisteredUserController.php:
class RegisteredUserController extends Controller{ // public function store(Request $request): RedirectResponse { // ... $tenant = Tenant::create([ 'name' => $request->name, ]); $tenant->domains()->create([ 'domain' => $request->subdomain . '.' . config('tenancy.central_domains')[0], 'domain' => $request->subdomain, ]); $user->tenants()->attach($tenant->id); event(new Registered($user)); Auth::login($user); return redirect('http://' . $request->subdomain . '.'. config('tenancy.central_domains')[0] . route('dashboard', absolute: false)); }}Finally, front-end assets: if, after successful registration, your assets for subdomain don't load well, you need to uncomment the ViteBundler class in the configuration.
config/tenancy.php:
return [ 'features' => [ // Stancl\Tenancy\Features\UserImpersonation::class, // Stancl\Tenancy\Features\TelescopeTags::class, // Stancl\Tenancy\Features\UniversalRoutes::class, // Stancl\Tenancy\Features\TenantConfig::class, // https://tenancyforlaravel.com/docs/v3/features/tenant-config // Stancl\Tenancy\Features\CrossDomainRedirect::class, // https://tenancyforlaravel.com/docs/v3/features/cross-domain-redirect Stancl\Tenancy\Features\ViteBundler::class, ],];
The beauty of this solution with separte databases is that you don't need to add any scopes, traits or filters to your Eloquent Models.
The whole model is working with that specific database, so it doesn't touch, projects and tasks, by other tenants/users.
That said, the downside is extra work when making future changes to the database: you need to migrate them in all databases separately.
As always, for more information about the package, read their official documentation.
You can find the source code in the GitHub repository.