Welcome! This is a text-based course, but in the video above, you can see the overview of the project we're gonna build.
Before we start creating Livewire/Vue/React dynamic pages, let's build the back-end "core" base of our app: models, migrations, factories, seeders.
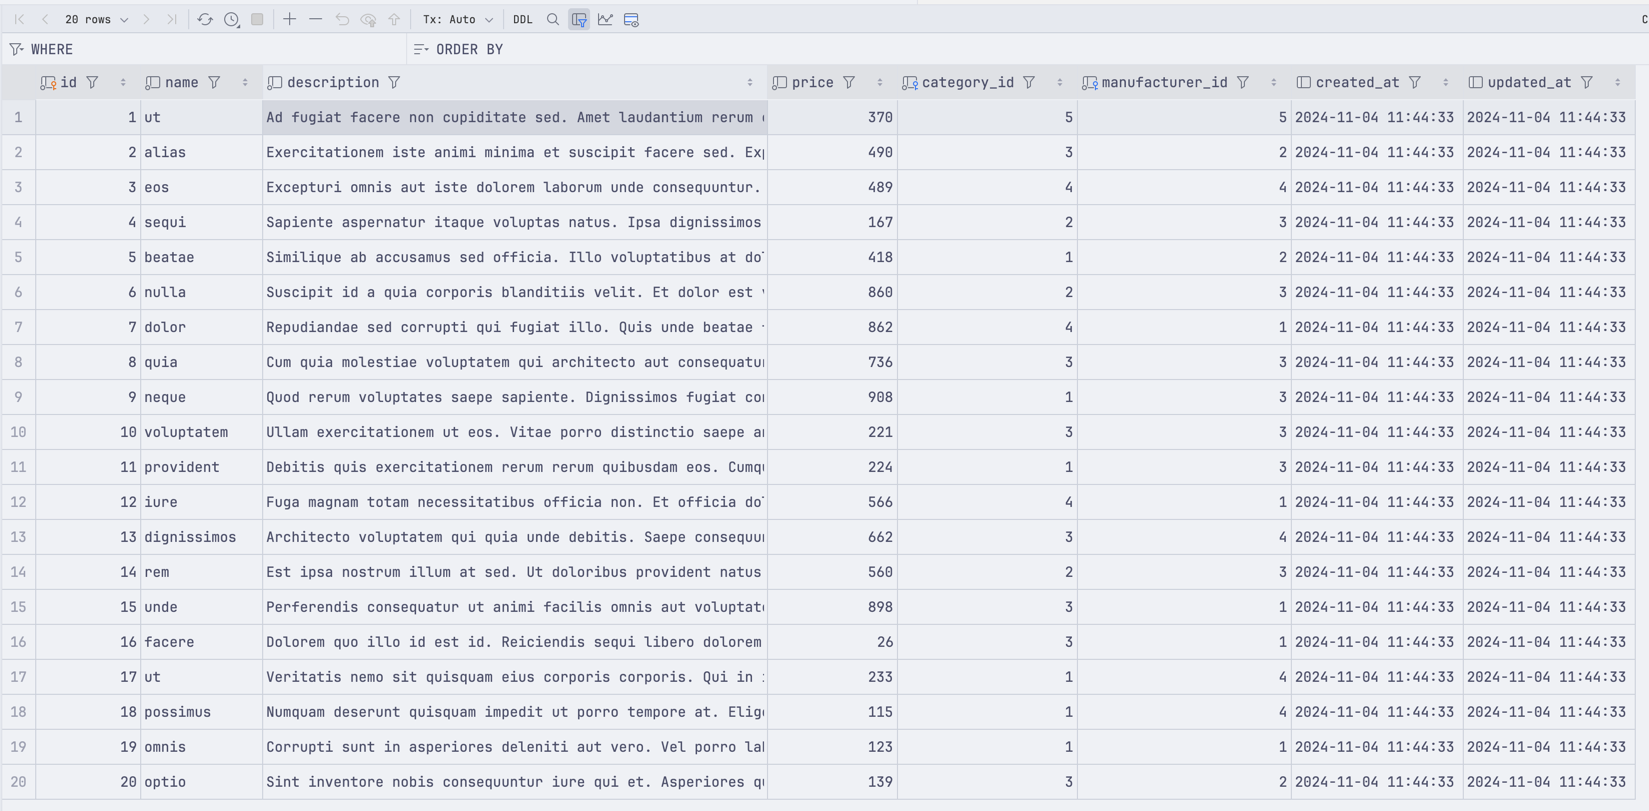
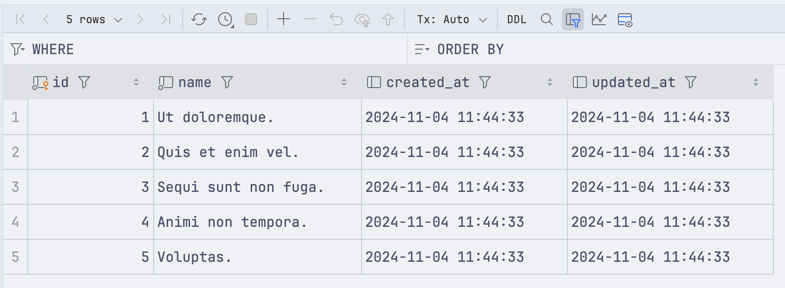
This is what we will have in the products table, by the end of this lesson:

Then, we will create three branches from that base, one for each stack.
This step has nothing special - just run:
laravel new product-demoOnce this is done, we can start working on our Models.
We want to create migration/model/factory combinations for these objects:
So, let's do it, model by model.
Let's start with the simple migration:
Migration
Schema::create('categories', function (Blueprint $table) { $table->id(); $table->string('name'); $table->timestamps();});app/Models/Category.php
use Illuminate\Database\Eloquent\Relations\HasMany;use Illuminate\Database\Eloquent\Factories\HasFactory;use Illuminate\Database\Eloquent\Model; class Category extends Model{ use HasFactory; protected $fillable = ['name']; public function products(): HasMany { return $this->hasMany(Product::class); }}database/factories/CategoryFactory.php
use Illuminate\Database\Eloquent\Factories\Factory; class CategoryFactory extends Factory{ public function definition(): array { return [ 'name' => $this->faker->text(20), ]; }}That's it. Our simple categories are ready.
Similar steps here.
Again, we start with our migration:
Migration
Schema::create('manufacturers', function (Blueprint $table) { $table->id(); $table->string('name'); $table->timestamps();});app/Models/Manufacturer.php
use Illuminate\Database\Eloquent\Relations\HasMany;use Illuminate\Database\Eloquent\Factories\HasFactory;use Illuminate\Database\Eloquent\Model; class Manufacturer extends Model{ use HasFactory; protected $fillable = ['name']; public function products(): HasMany { return $this->hasMany(Product::class); }}database/factories/ManufacturerFactory.php
use Illuminate\Database\Eloquent\Factories\Factory; class ManufacturerFactory extends Factory{ public function definition(): array { return [ 'name' => $this->faker->text(20), ]; }}Our Product table is a bit more complicated than the others, but nothing too hard:
Migration
Schema::create('products', function (Blueprint $table) { $table->id(); $table->string('name'); $table->text('description'); $table->decimal('price'); $table->foreignId('category_id')->constrained(); $table->foreignId('manufacturer_id')->constrained(); $table->timestamps();});But inside the Model, you will see us using a few things:
And don't get scared. It looks complicated, but it's just a lot of ->when() conditions.
Let's look at the code:
app/Models/Product.php
use Illuminate\Database\Eloquent\Relations\BelongsTo;use Illuminate\Database\Eloquent\Factories\HasFactory;use Illuminate\Database\Eloquent\Model; class Product extends Model{ use HasFactory; protected $fillable = ['category_id', 'name', 'description', 'price', 'manufacturer_id']; const PRICES = [ 'Less than 50', 'From 50 to 100', 'From 100 to 500', 'More than 500', ]; public function category(): BelongsTo { return $this->belongsTo(Category::class); } public function scopeWithFilters($query, $prices, $categories, $manufacturers) { return $query->when(count($manufacturers), function ($query) use ($manufacturers) { $query->whereIn('manufacturer_id', $manufacturers); }) ->when(count($categories), function ($query) use ($categories) { $query->whereIn('category_id', $categories); }) ->when(count($prices), function ($query) use ($prices){ $query->where(function ($query) use ($prices) { $query->when(in_array(0, $prices), function ($query) { $query->orWhere('price', '<', '50'); }) ->when(in_array(1, $prices), function ($query) { $query->orWhereBetween('price', ['50', '100']); }) ->when(in_array(2, $prices), function ($query) { $query->orWhereBetween('price', ['100', '500']); }) ->when(in_array(3, $prices), function ($query) { $query->orWhere('price', '>', '500'); }); }); }); }}And lastly, we do need a Factory:
database/factories/ProductFactory.php
use App\Models\Product;use App\Models\Category;use App\Models\Manufacturer;use Illuminate\Database\Eloquent\Factories\Factory; class ProductFactory extends Factory{ public function definition(): array { return [ 'name' => $this->faker->word(), 'category_id' => Category::inRandomOrder()->first()->id, 'manufacturer_id' => Manufacturer::inRandomOrder()->first()->id, 'description' => $this->faker->paragraph(), 'price' => rand(10, 999), ]; }}That's it, our products are ready.
Last preparation step - our Cart table.
Note: Since it's a demo application, we skip the user_id column, so adding to cart will be a bit "fake", just to focus on Livewire/Vue/React dynamic behavior. You should add the user_id in real applications!
Migration
Schema::create('carts', function (Blueprint $table) { $table->id(); $table->foreignId('product_id')->constrained(); $table->timestamps();});app/Models/Cart.php
use Illuminate\Database\Eloquent\Model; class Cart extends Model{ protected $fillable = ['product_id'];}For the Cart, we don't need a Factory, because we don't seed any demo data for this table.
That's it! Our Cart is now ready to be used in our Demo.
Of course, manually creating the data is tedious. That is why we had Factories in place. Now we can add a call to our seeder and get some rows into tables:
database/seeders/DatabaseSeeder.php
use App\Models\Category;use App\Models\Manufacturer;use App\Models\Product;use App\Models\User;use Illuminate\Database\Seeder; // use Illuminate\Database\Console\Seeds\WithoutModelEvents; class DatabaseSeeder extends Seeder{ /** * Seed the application's database. */ public function run(): void { User::factory()->create([ 'name' => 'Test User', 'email' => 'admin@admin.com', ]); Category::factory(5)->create(); Manufacturer::factory(5)->create(); Product::factory(20)->create(); }}Now, if you would run:
php artisan migrate --seedYou should see that there is data in all the tables.


That's it for our base application!
From here, we will start working with UI-based elements, as they all use the same "base application".
In all lessons, we will install Laravel Breeze with different stack choice. So expect to see these examples:
In the final GitHub repository, all those three stacks will have separate branches, and direct links will be available after each of the following lessons.